
Embrace the Blues: Why Ektachrome shifts cooler and how to handle it
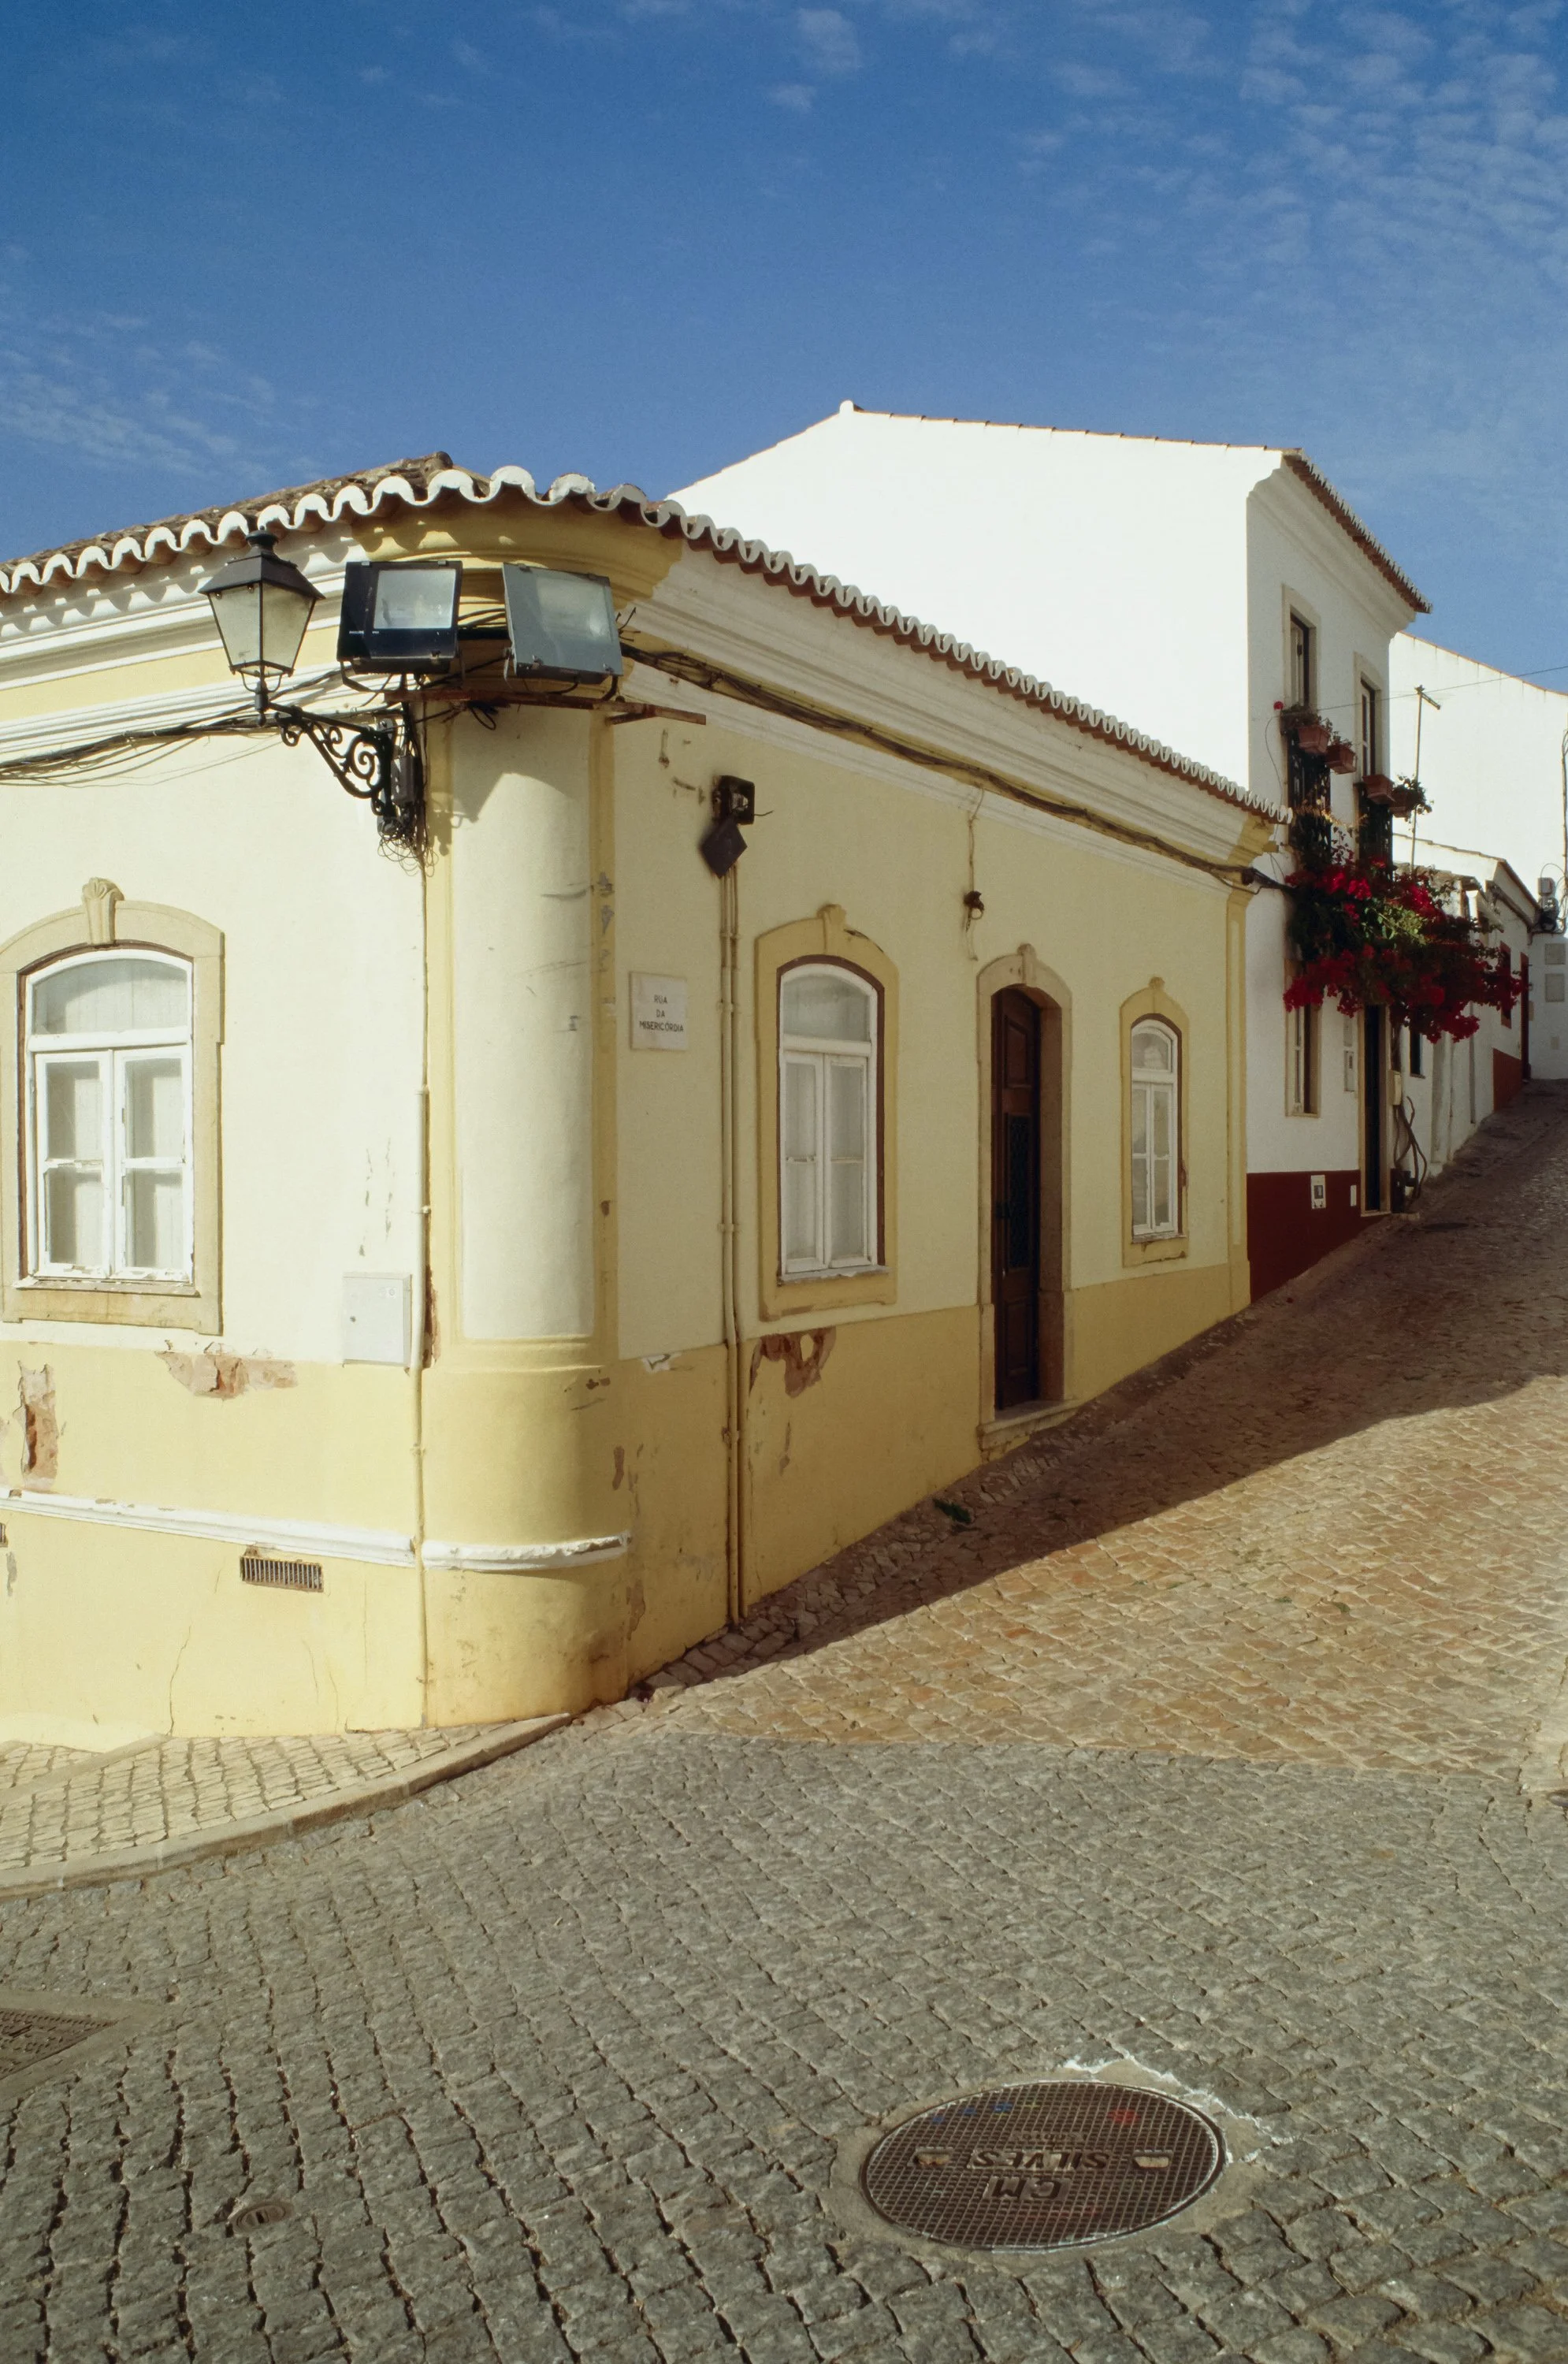
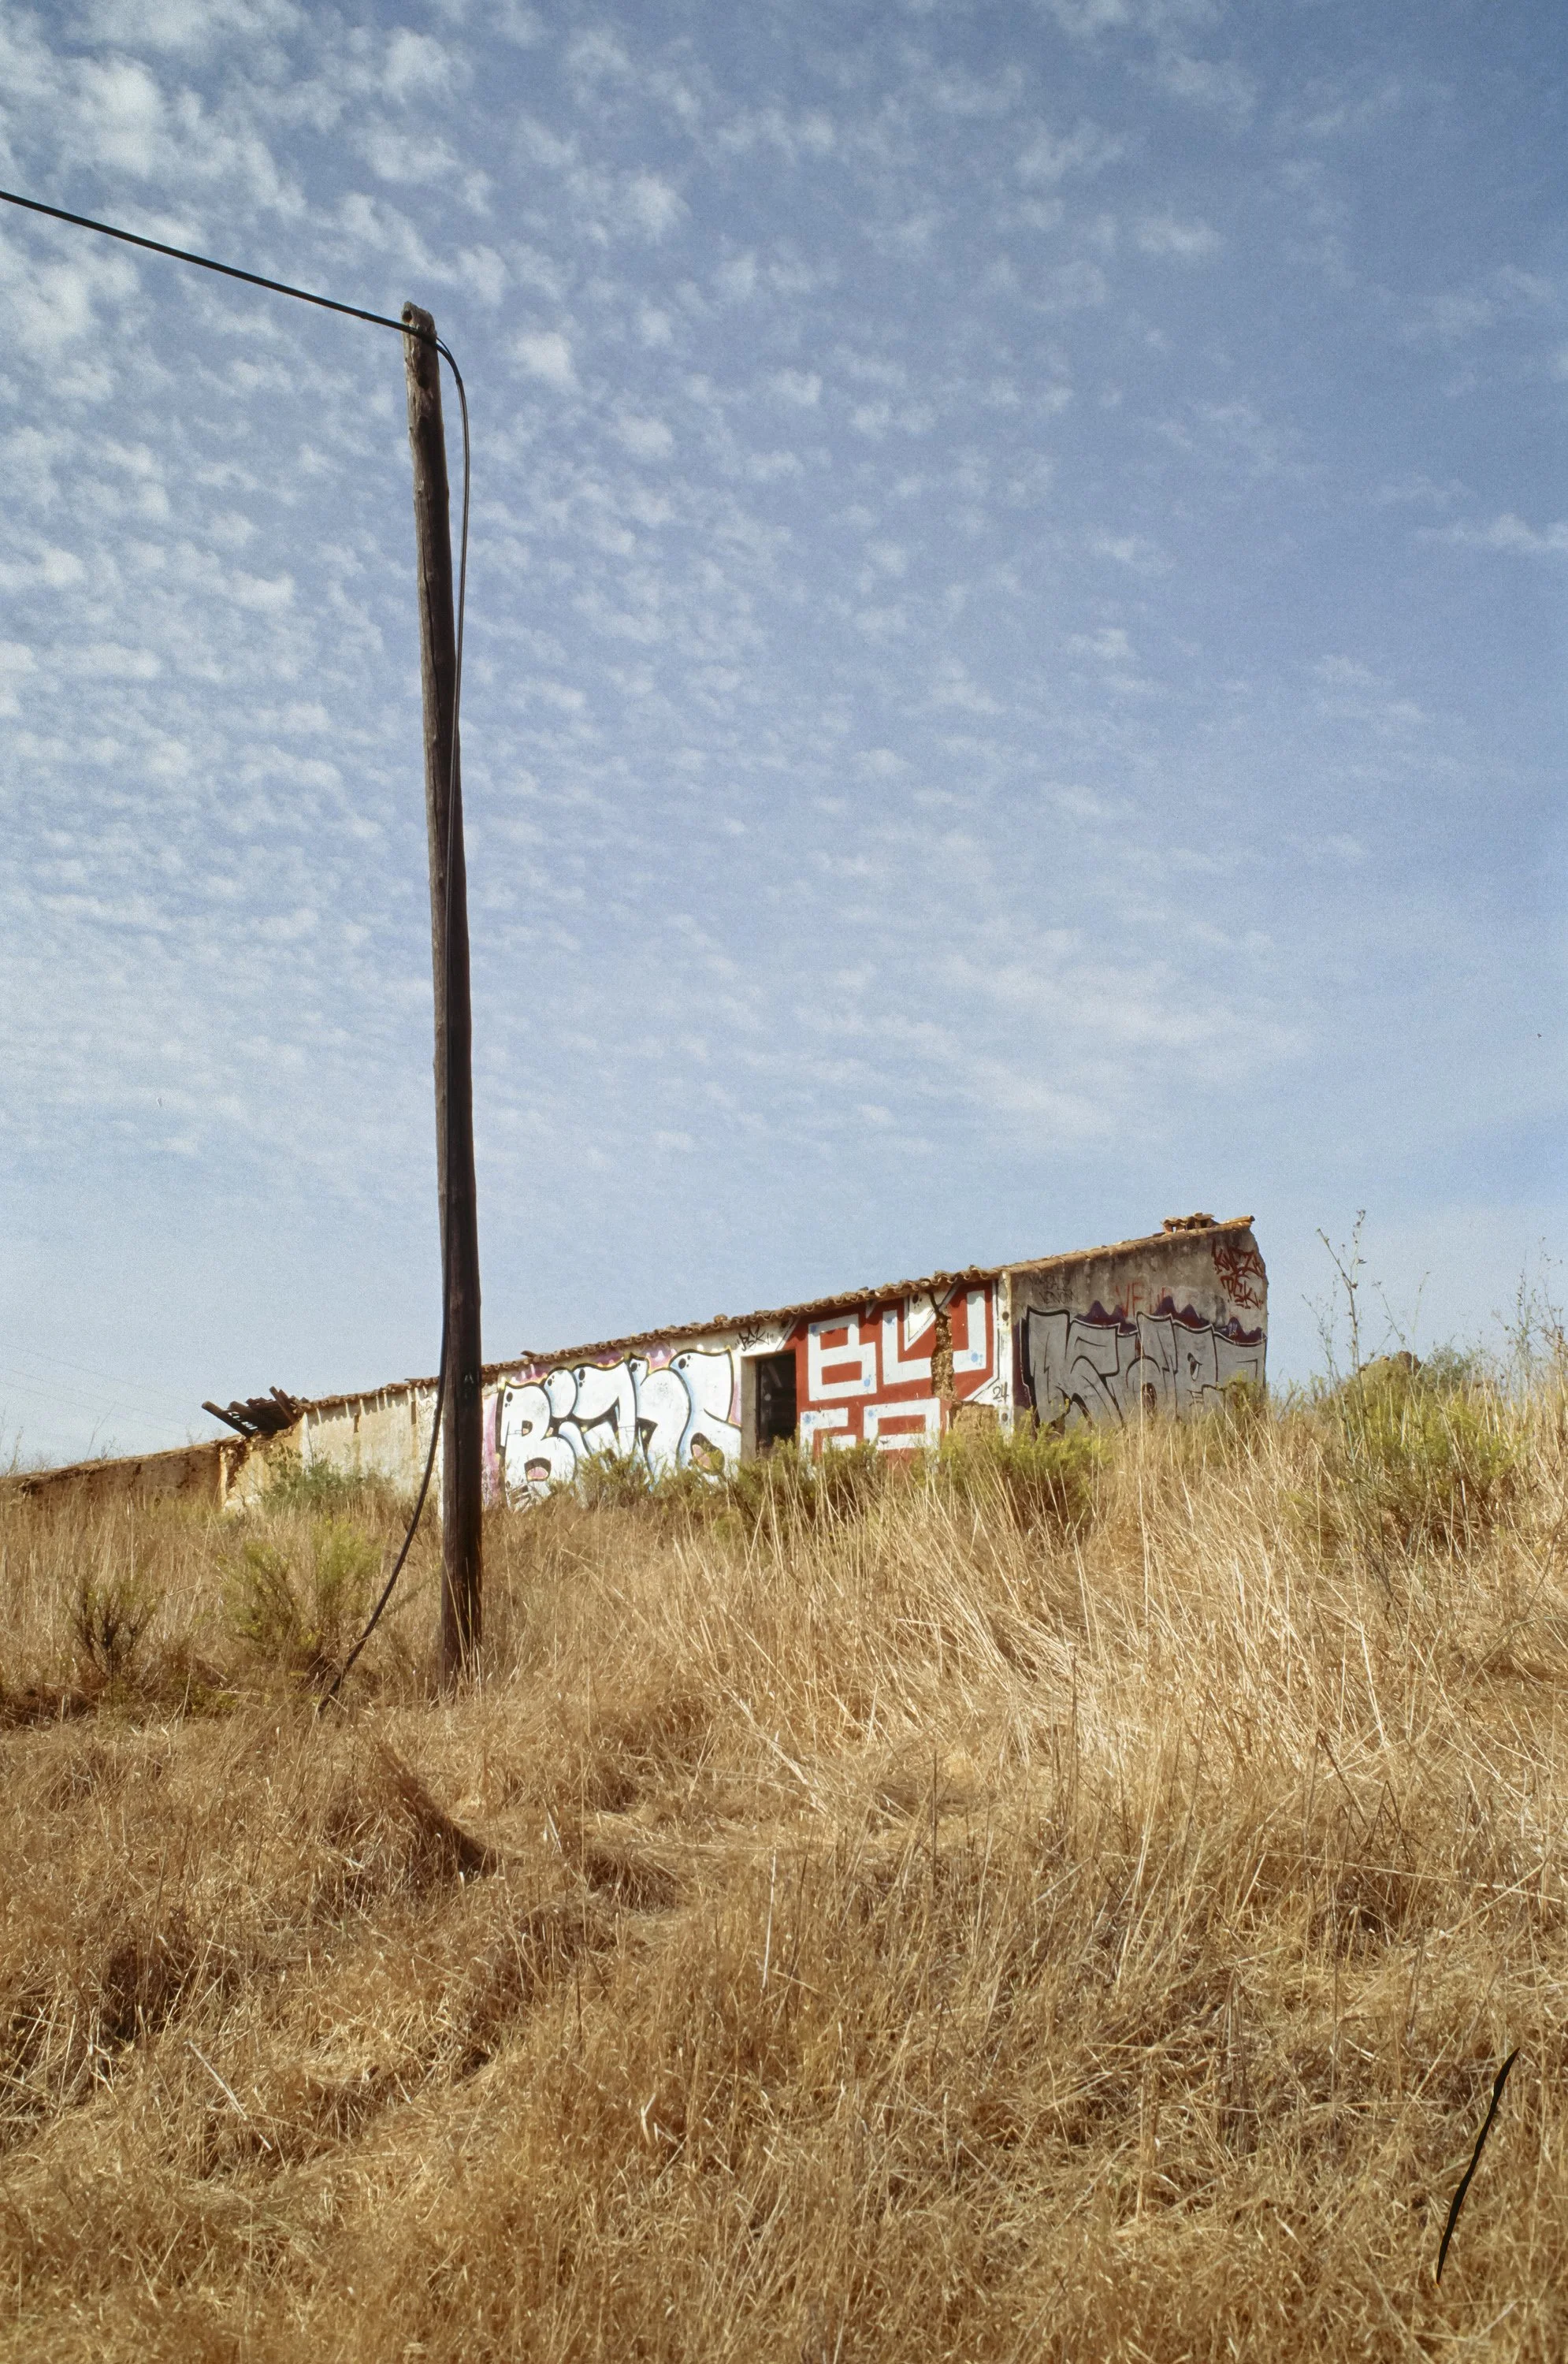
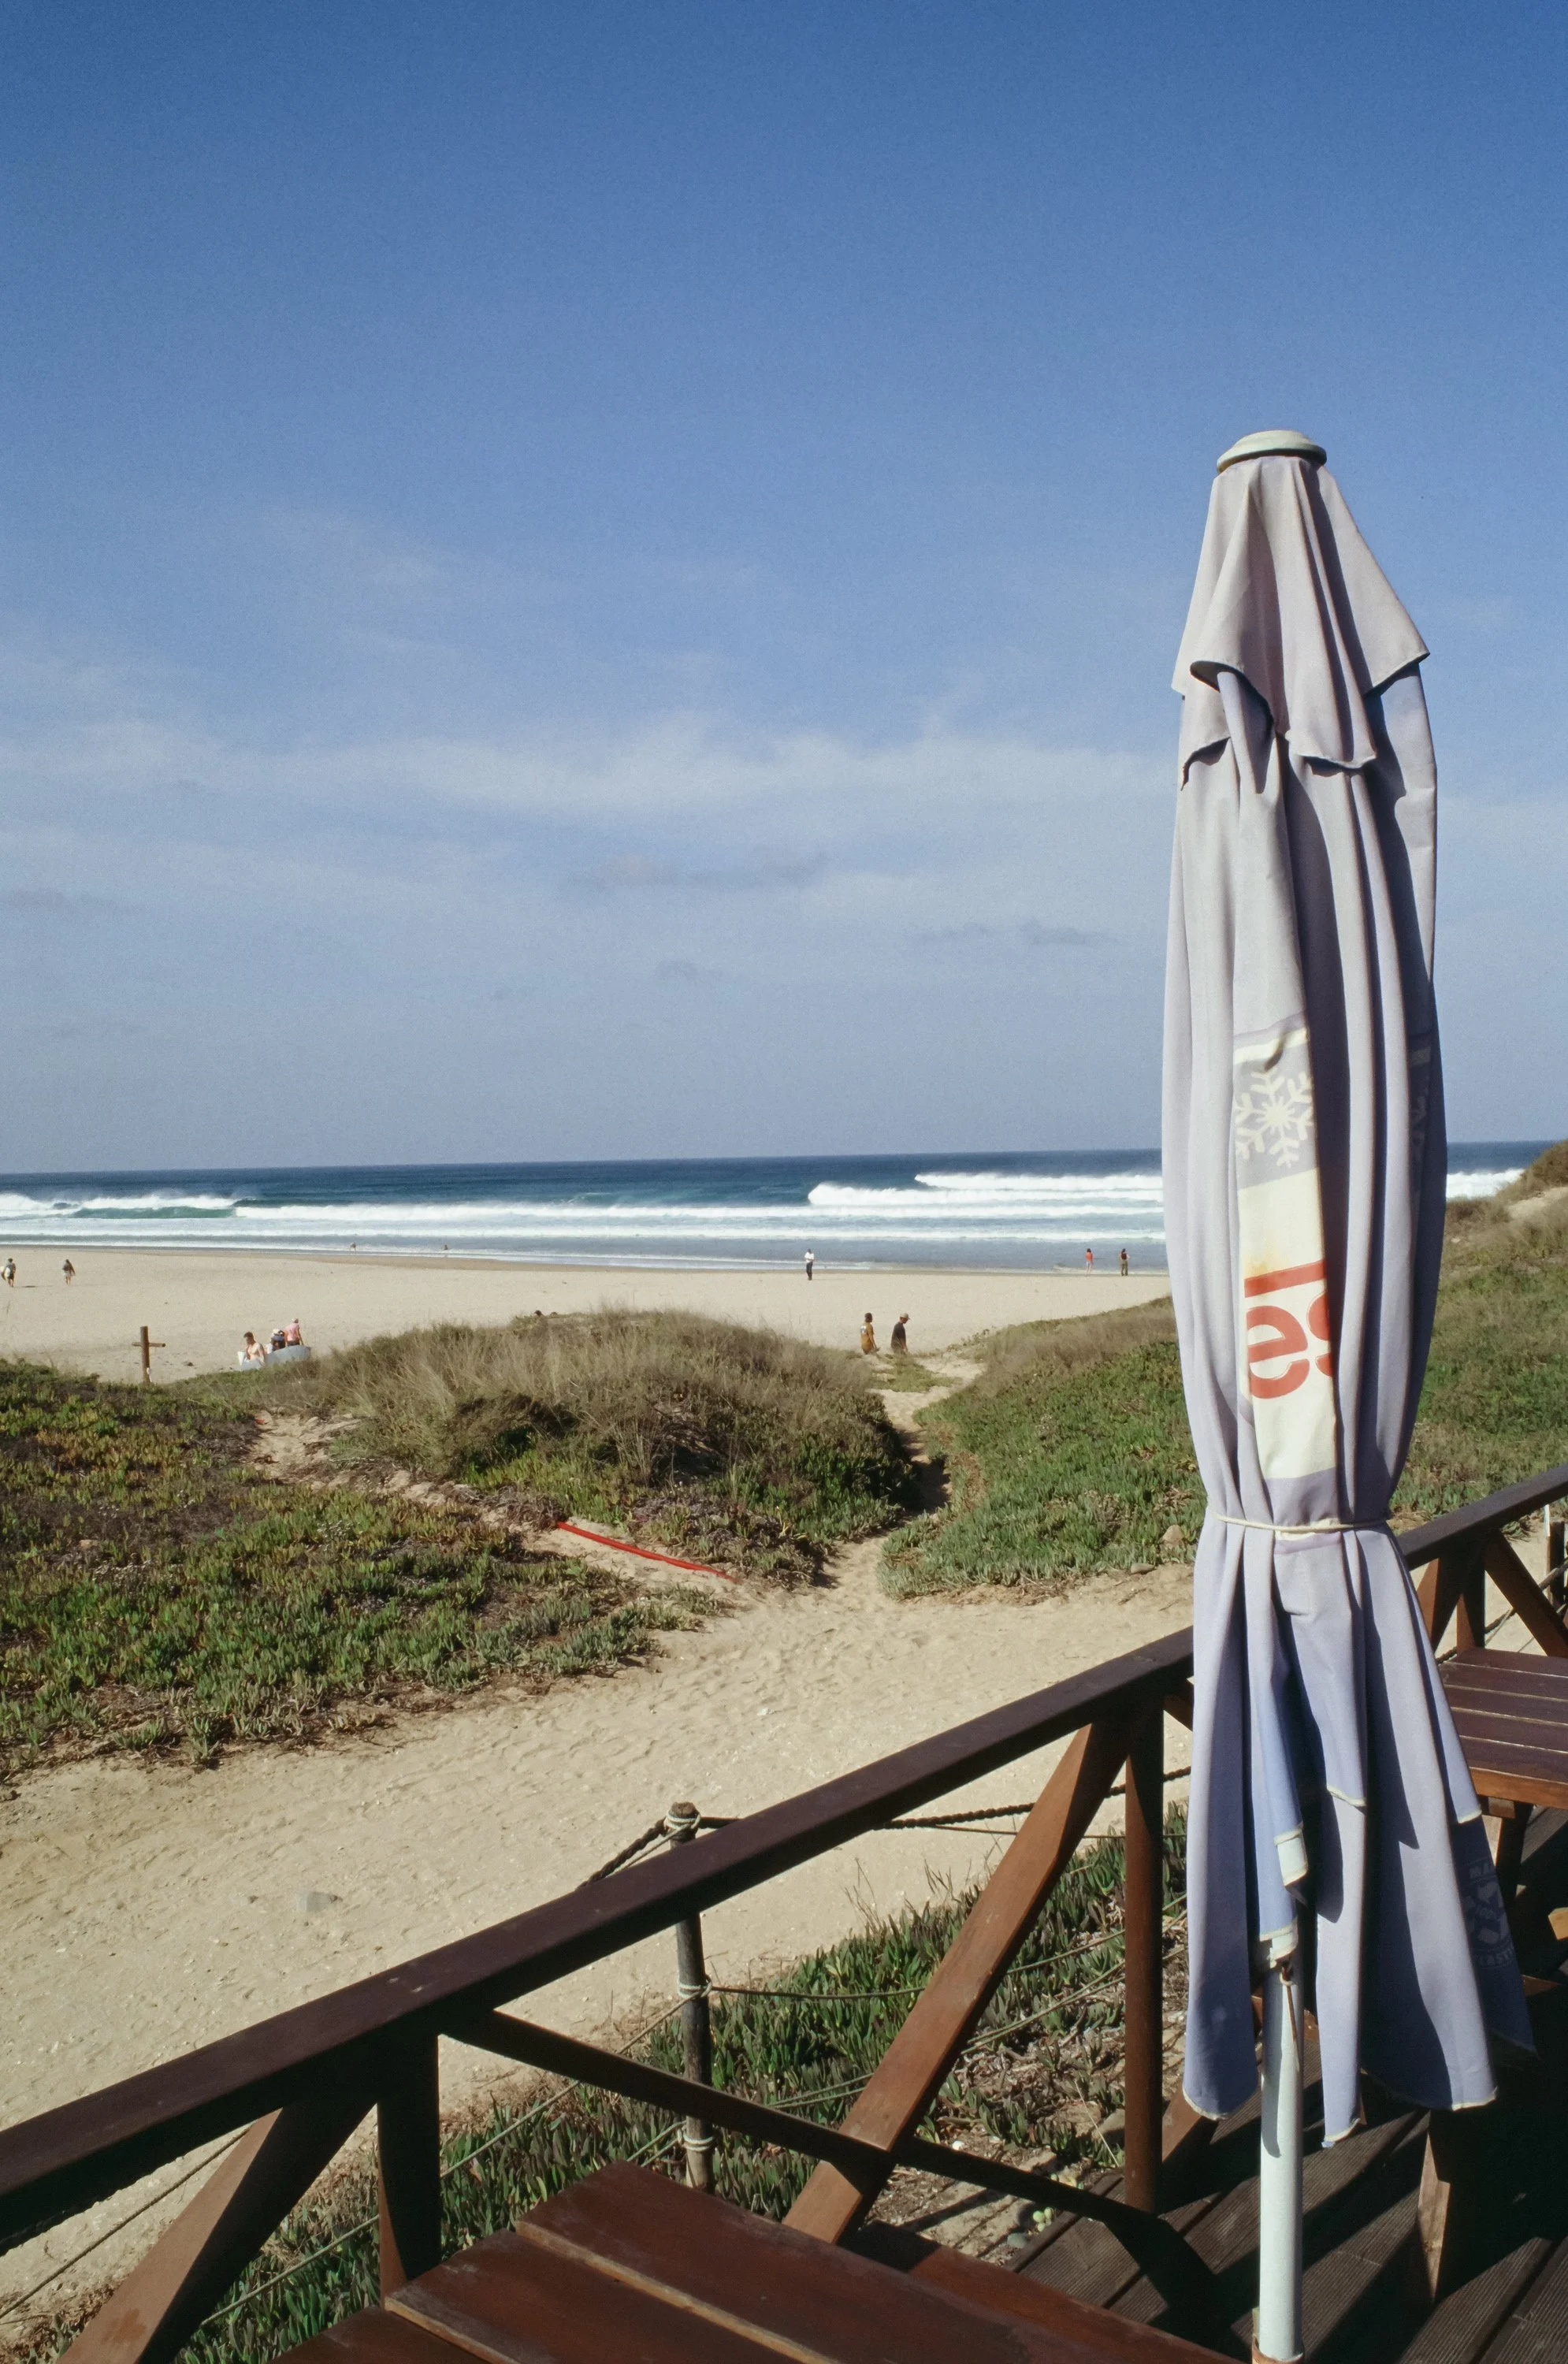
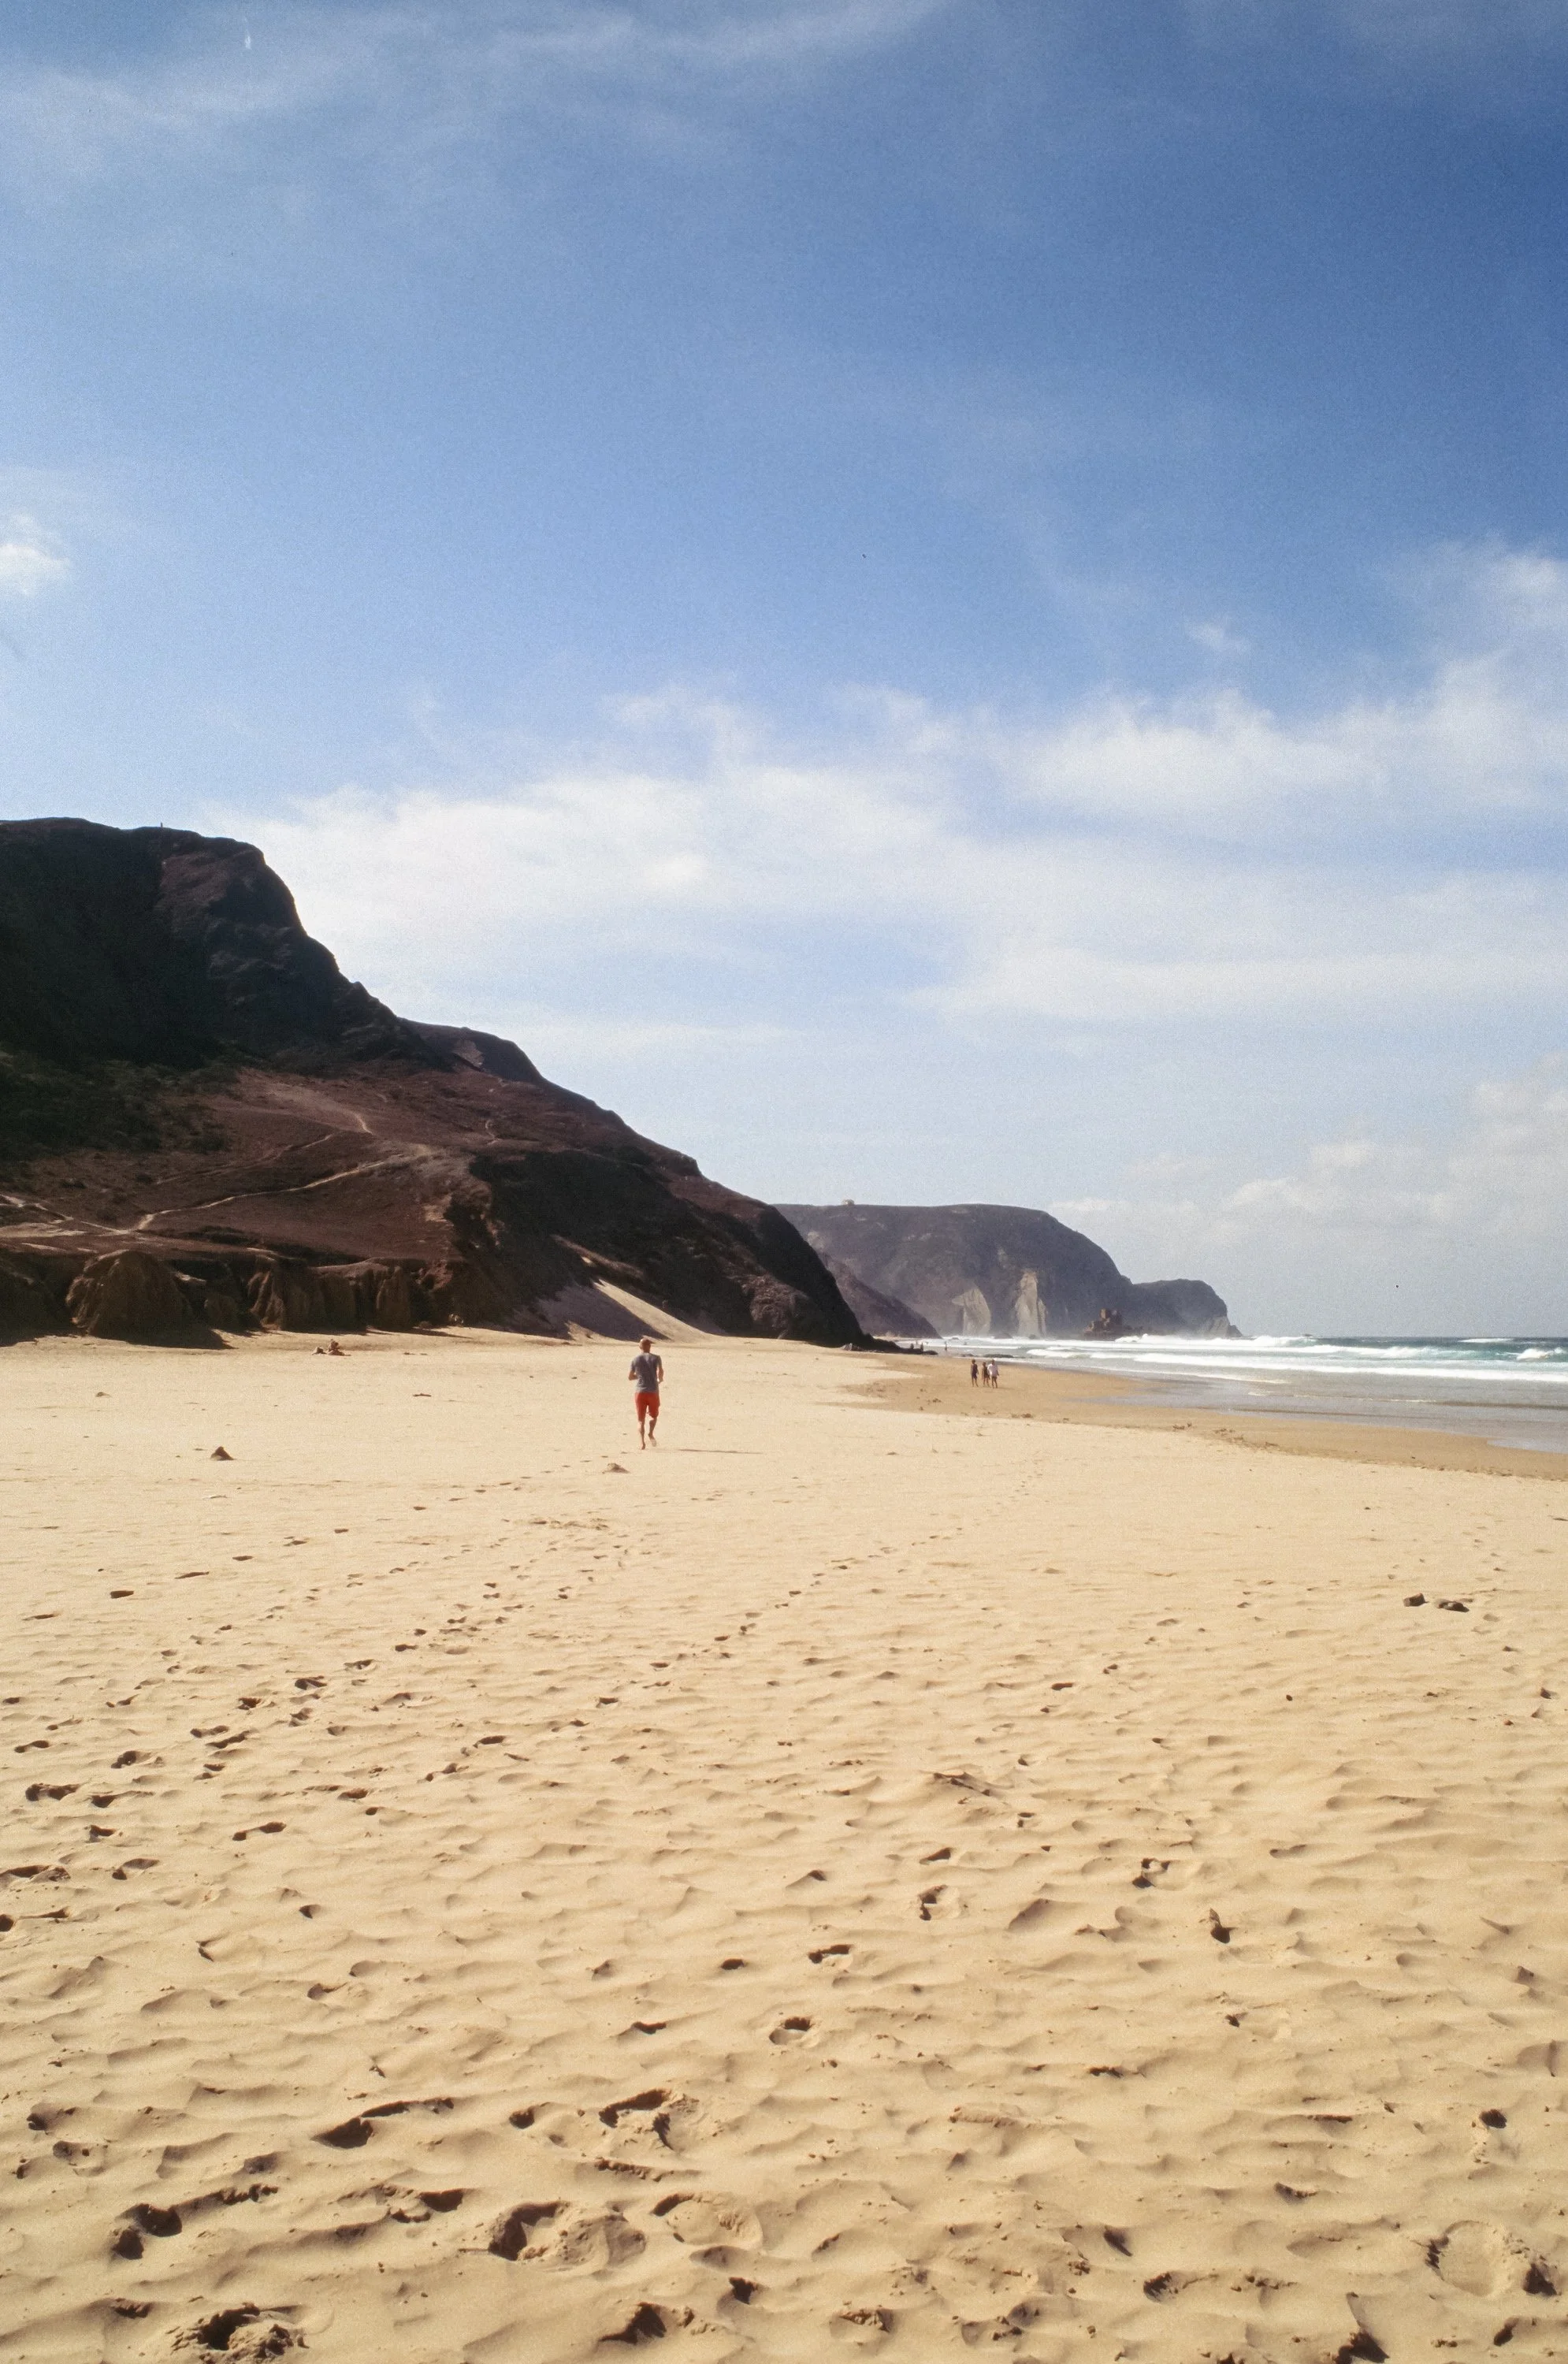
Yes, that’s Ektachrome - Portugal
The king is dead, long live the king!
We all know Ektachrome. It’s one of the last slide films out there. We already buried it way back, but it was brought back by Kodak in 2017. Just like in the Middle Ages: The king is dead, long live the king.
It’s not only the last slide film Kodak is currently manufacturing; it can also be considered Kodachrome’s far cousin and, therefore, probably one of the closest things if you are after the Kodachrome look. But unlike Kodachrome, it tends to lean cooler. At least that’s what we hear. But honestly, have you ever shot Kodachrome and Ektachrome side by side and looked at them how they were intended to be looked at – via projection? Yeah, I figured. Me neither.
A little bit of history
When slide film (also known as reversal film) was invented by Kodak with the introduction of Kodachrome in 1935, its main purpose was to be viewed via projection. This allowed photographers to skip the expensive and often lower-quality color prints of that era. As revolutionary as it was, Kodak realized as early as the 1940s that they needed a more accessible alternative.
The original Kodachrome required an incredibly complex development process—eventually refined into the famous 14-bath K-14 process—where color couplers had to be added to the individual layers during development. This was practically impossible for small labs or home use. In response, Kodak introduced Ektachrome in 1946. Unlike its predecessor, Ektachrome had the color couplers already incorporated into the film emulsion, making the development process significantly faster and, more importantly, "consumer-friendly" enough for local labs.
The Ektachrome process and look
Modern Ektachrome is developed in E-6 chemistry. While still more involved than developing negative films in C-41, it yields high contrast and incredibly rich colors! However, it also has very little exposure latitude (compared to negative film)—it doesn't forgive mistakes. Interestingly its the slide film with largest dynamic range out there. 5 stops to be exact. According to the datasheet provided by Kodak.
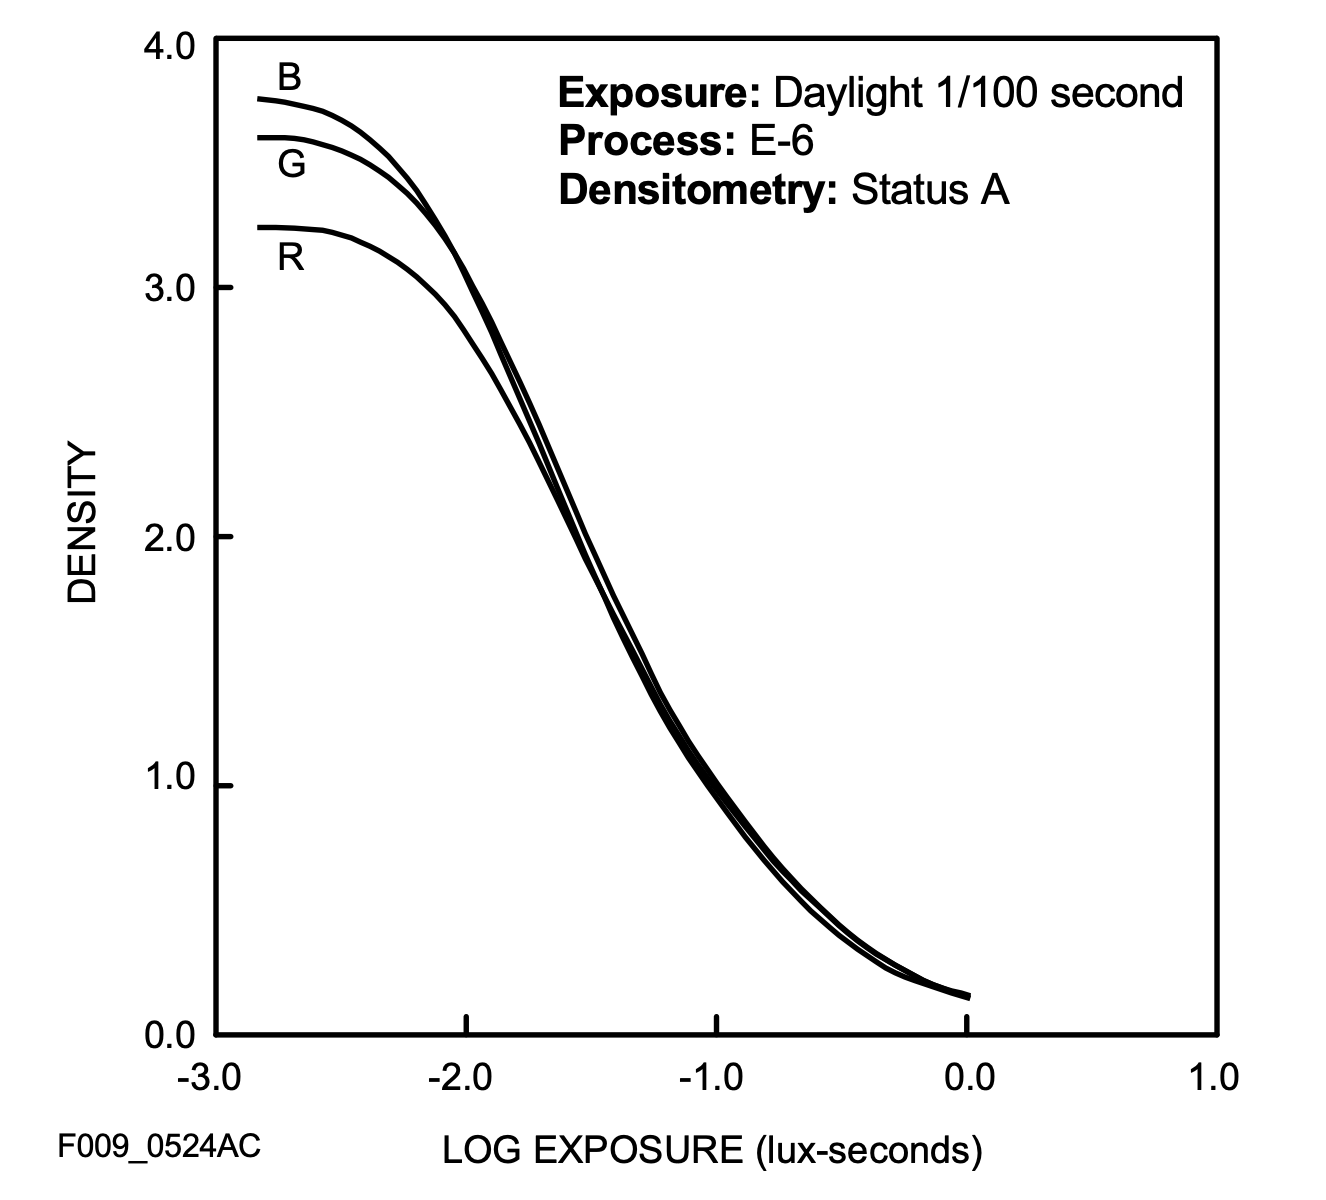
Comparing this to Velvia 100`s datasheet, E100 offer two stops more of latitude!
Reading forums and Reddit threads, many people are disappointed when they receive their scans back. More often than not, the scans appear too blue. Interestingly, this is rarely the case when the slides are projected. On a light table or screen, they appear well-balanced and neutral with high sharpness, deep blacks, and vibrant colors. Quite the opposite of what a lot of scans look like.
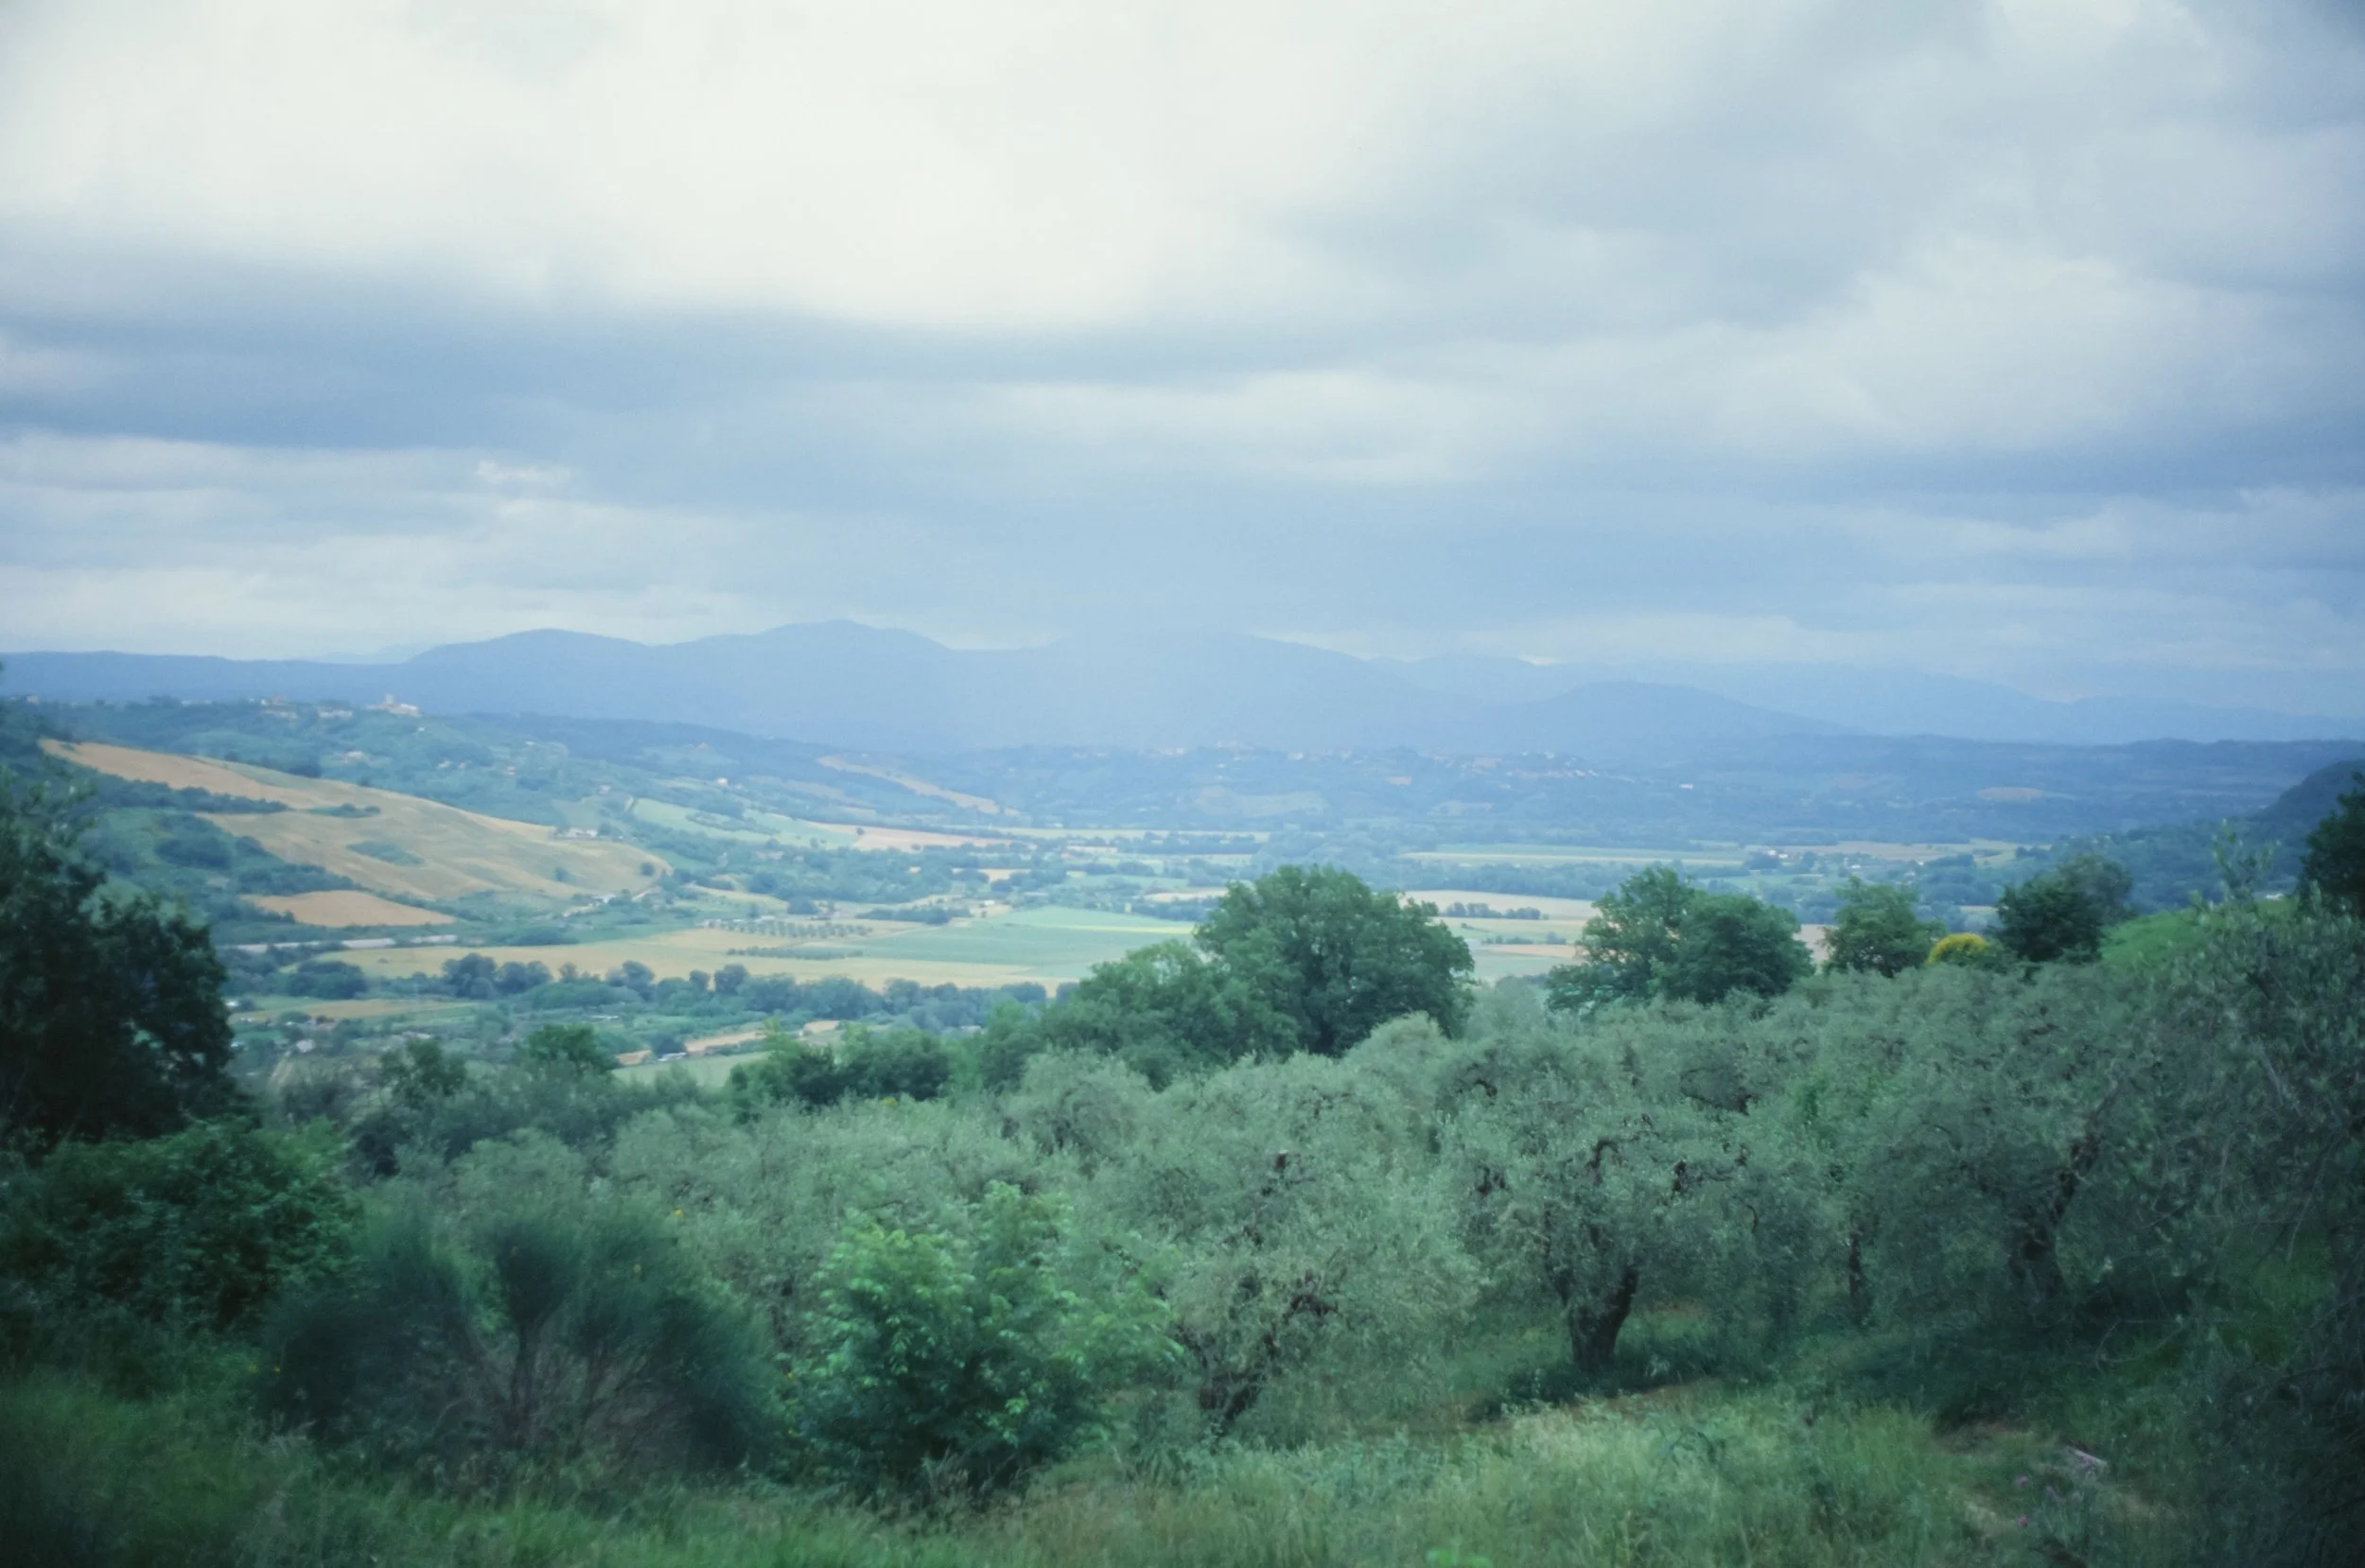
A bit more blue than i remember the scene to have in reality - Italy
Why is it so blue?
The technical reality is: Slide film is daylight balanced for 5500K. But unlike negative film, it has a "memory" like an elephant. It doesn't forgive. If you shoot in the shadows, at high elevation or under a clear blue sky, the film picks up a high amount of UV light and blue spill. While our brain compensates for this in real life, Ektachrome simply records it.
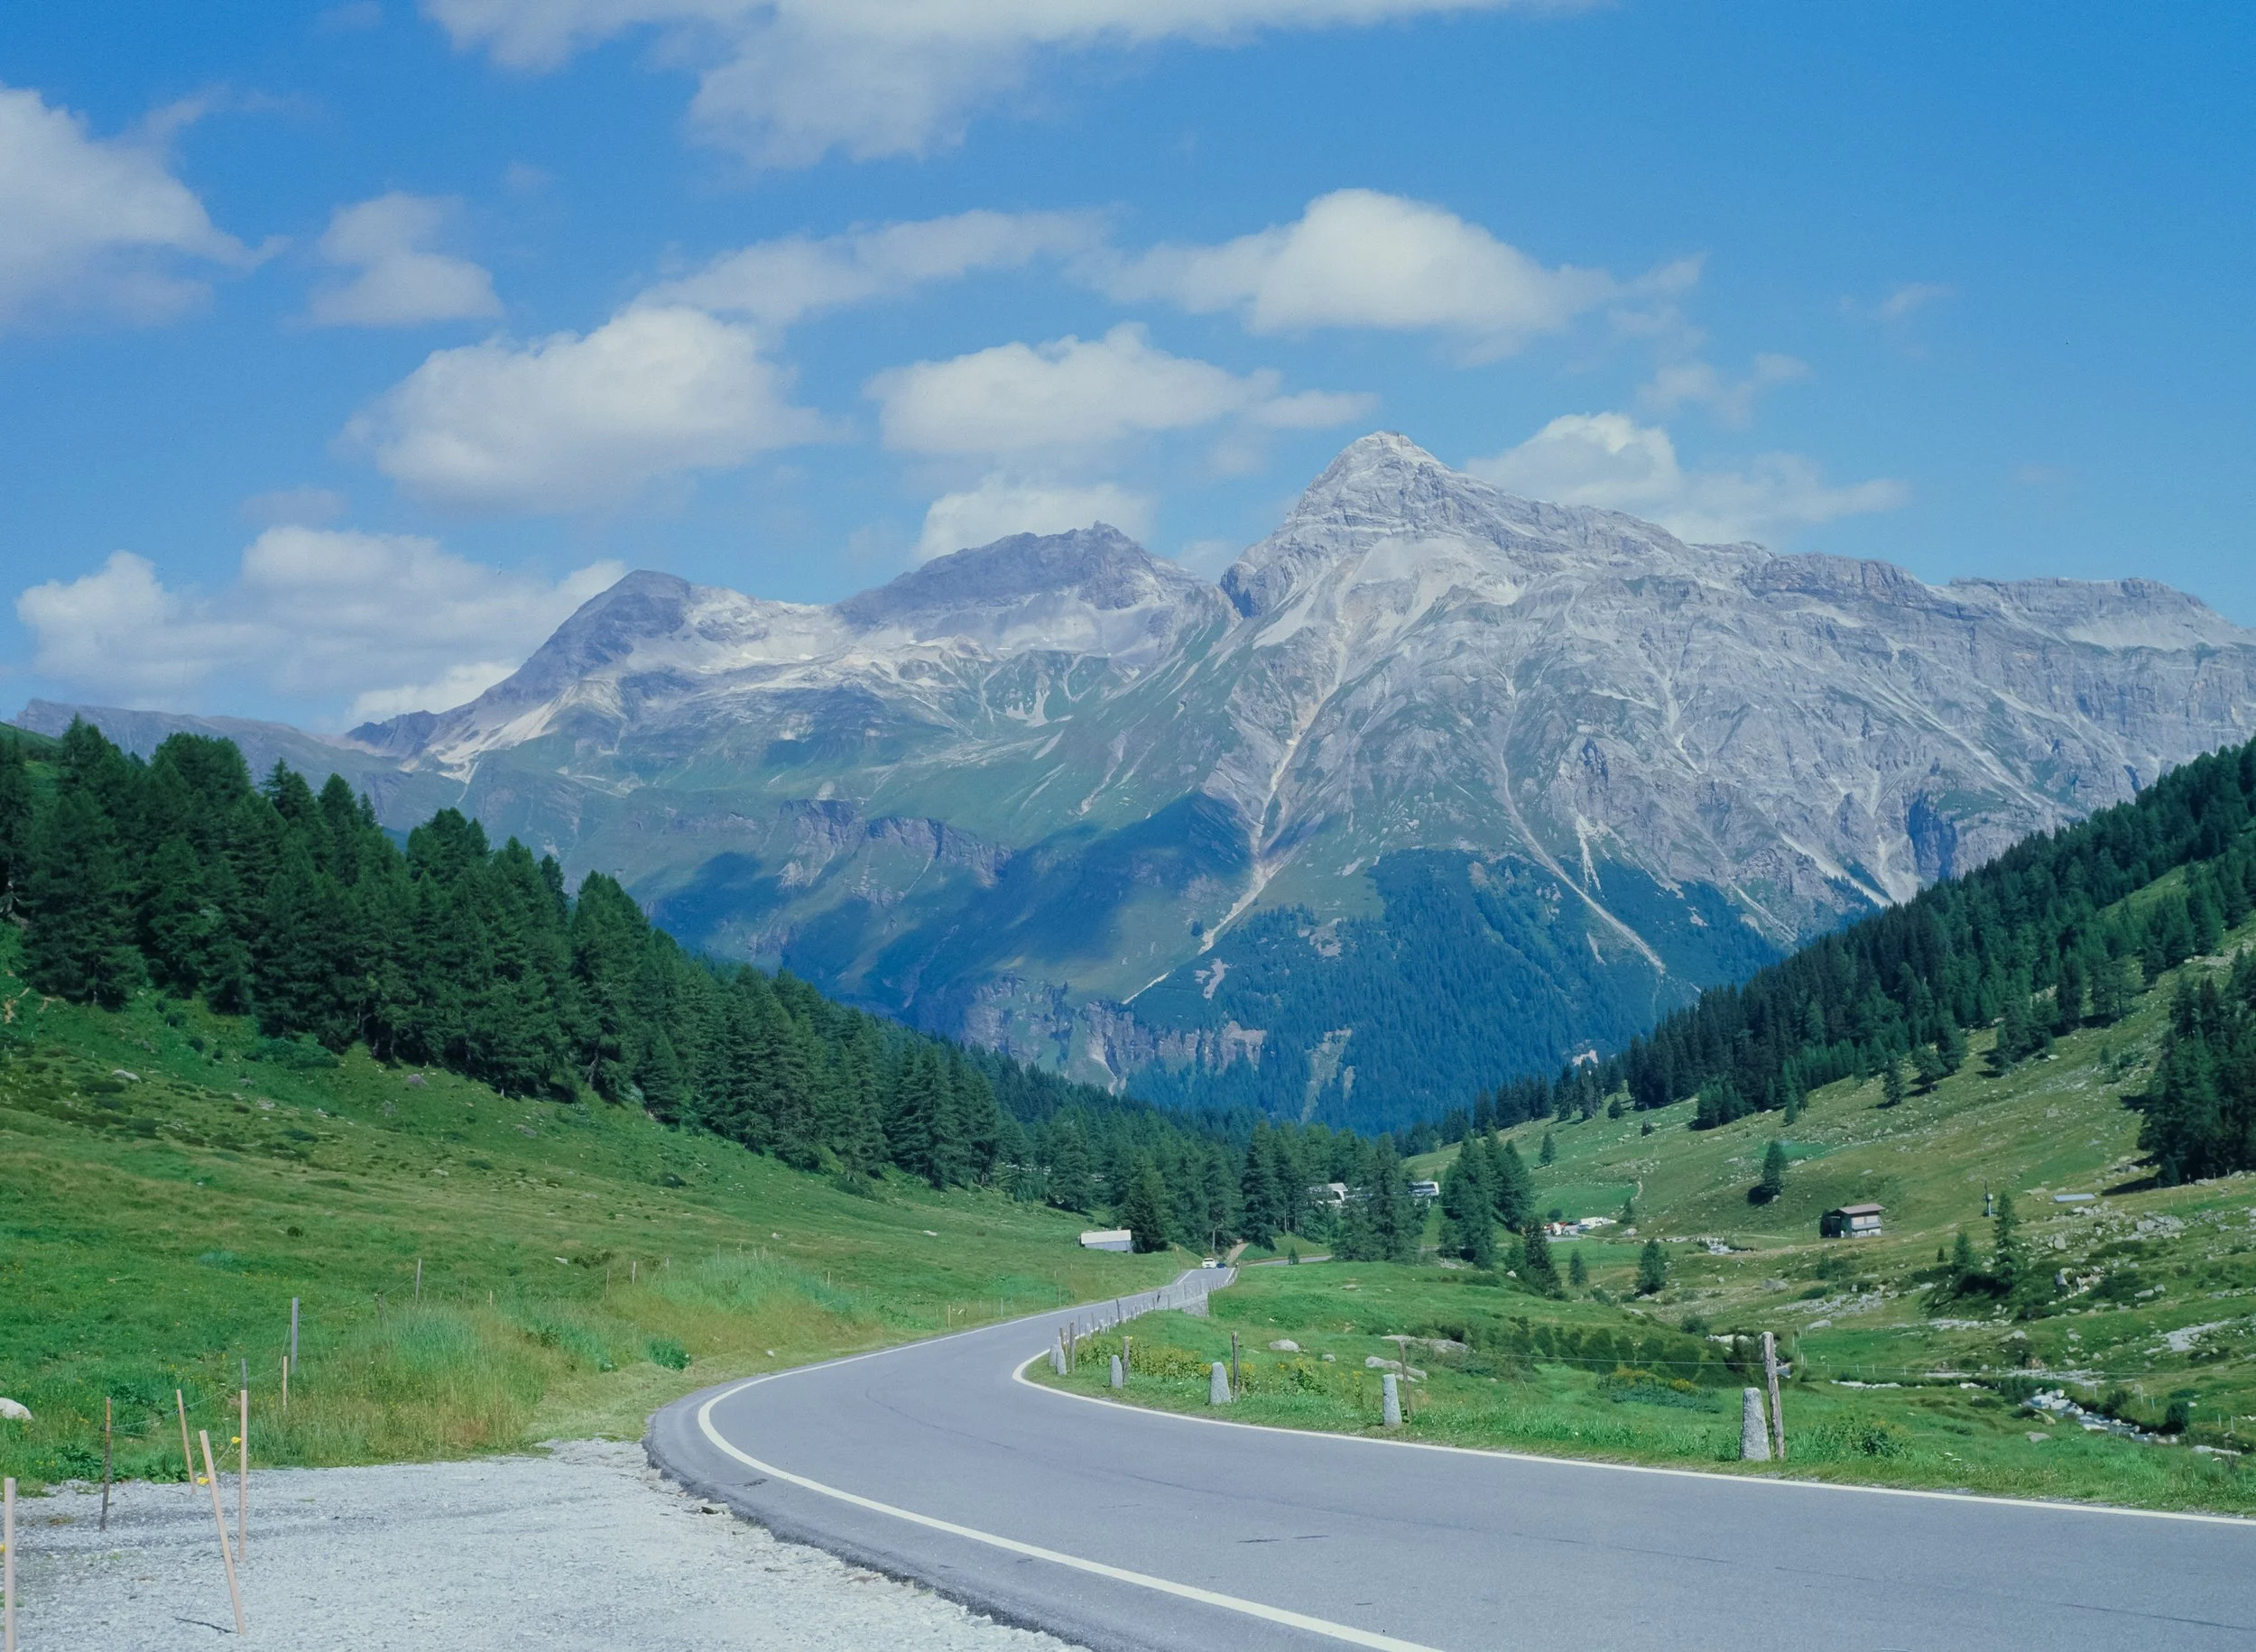
The typical blue shift - Splügen 1400 m a.s.l.
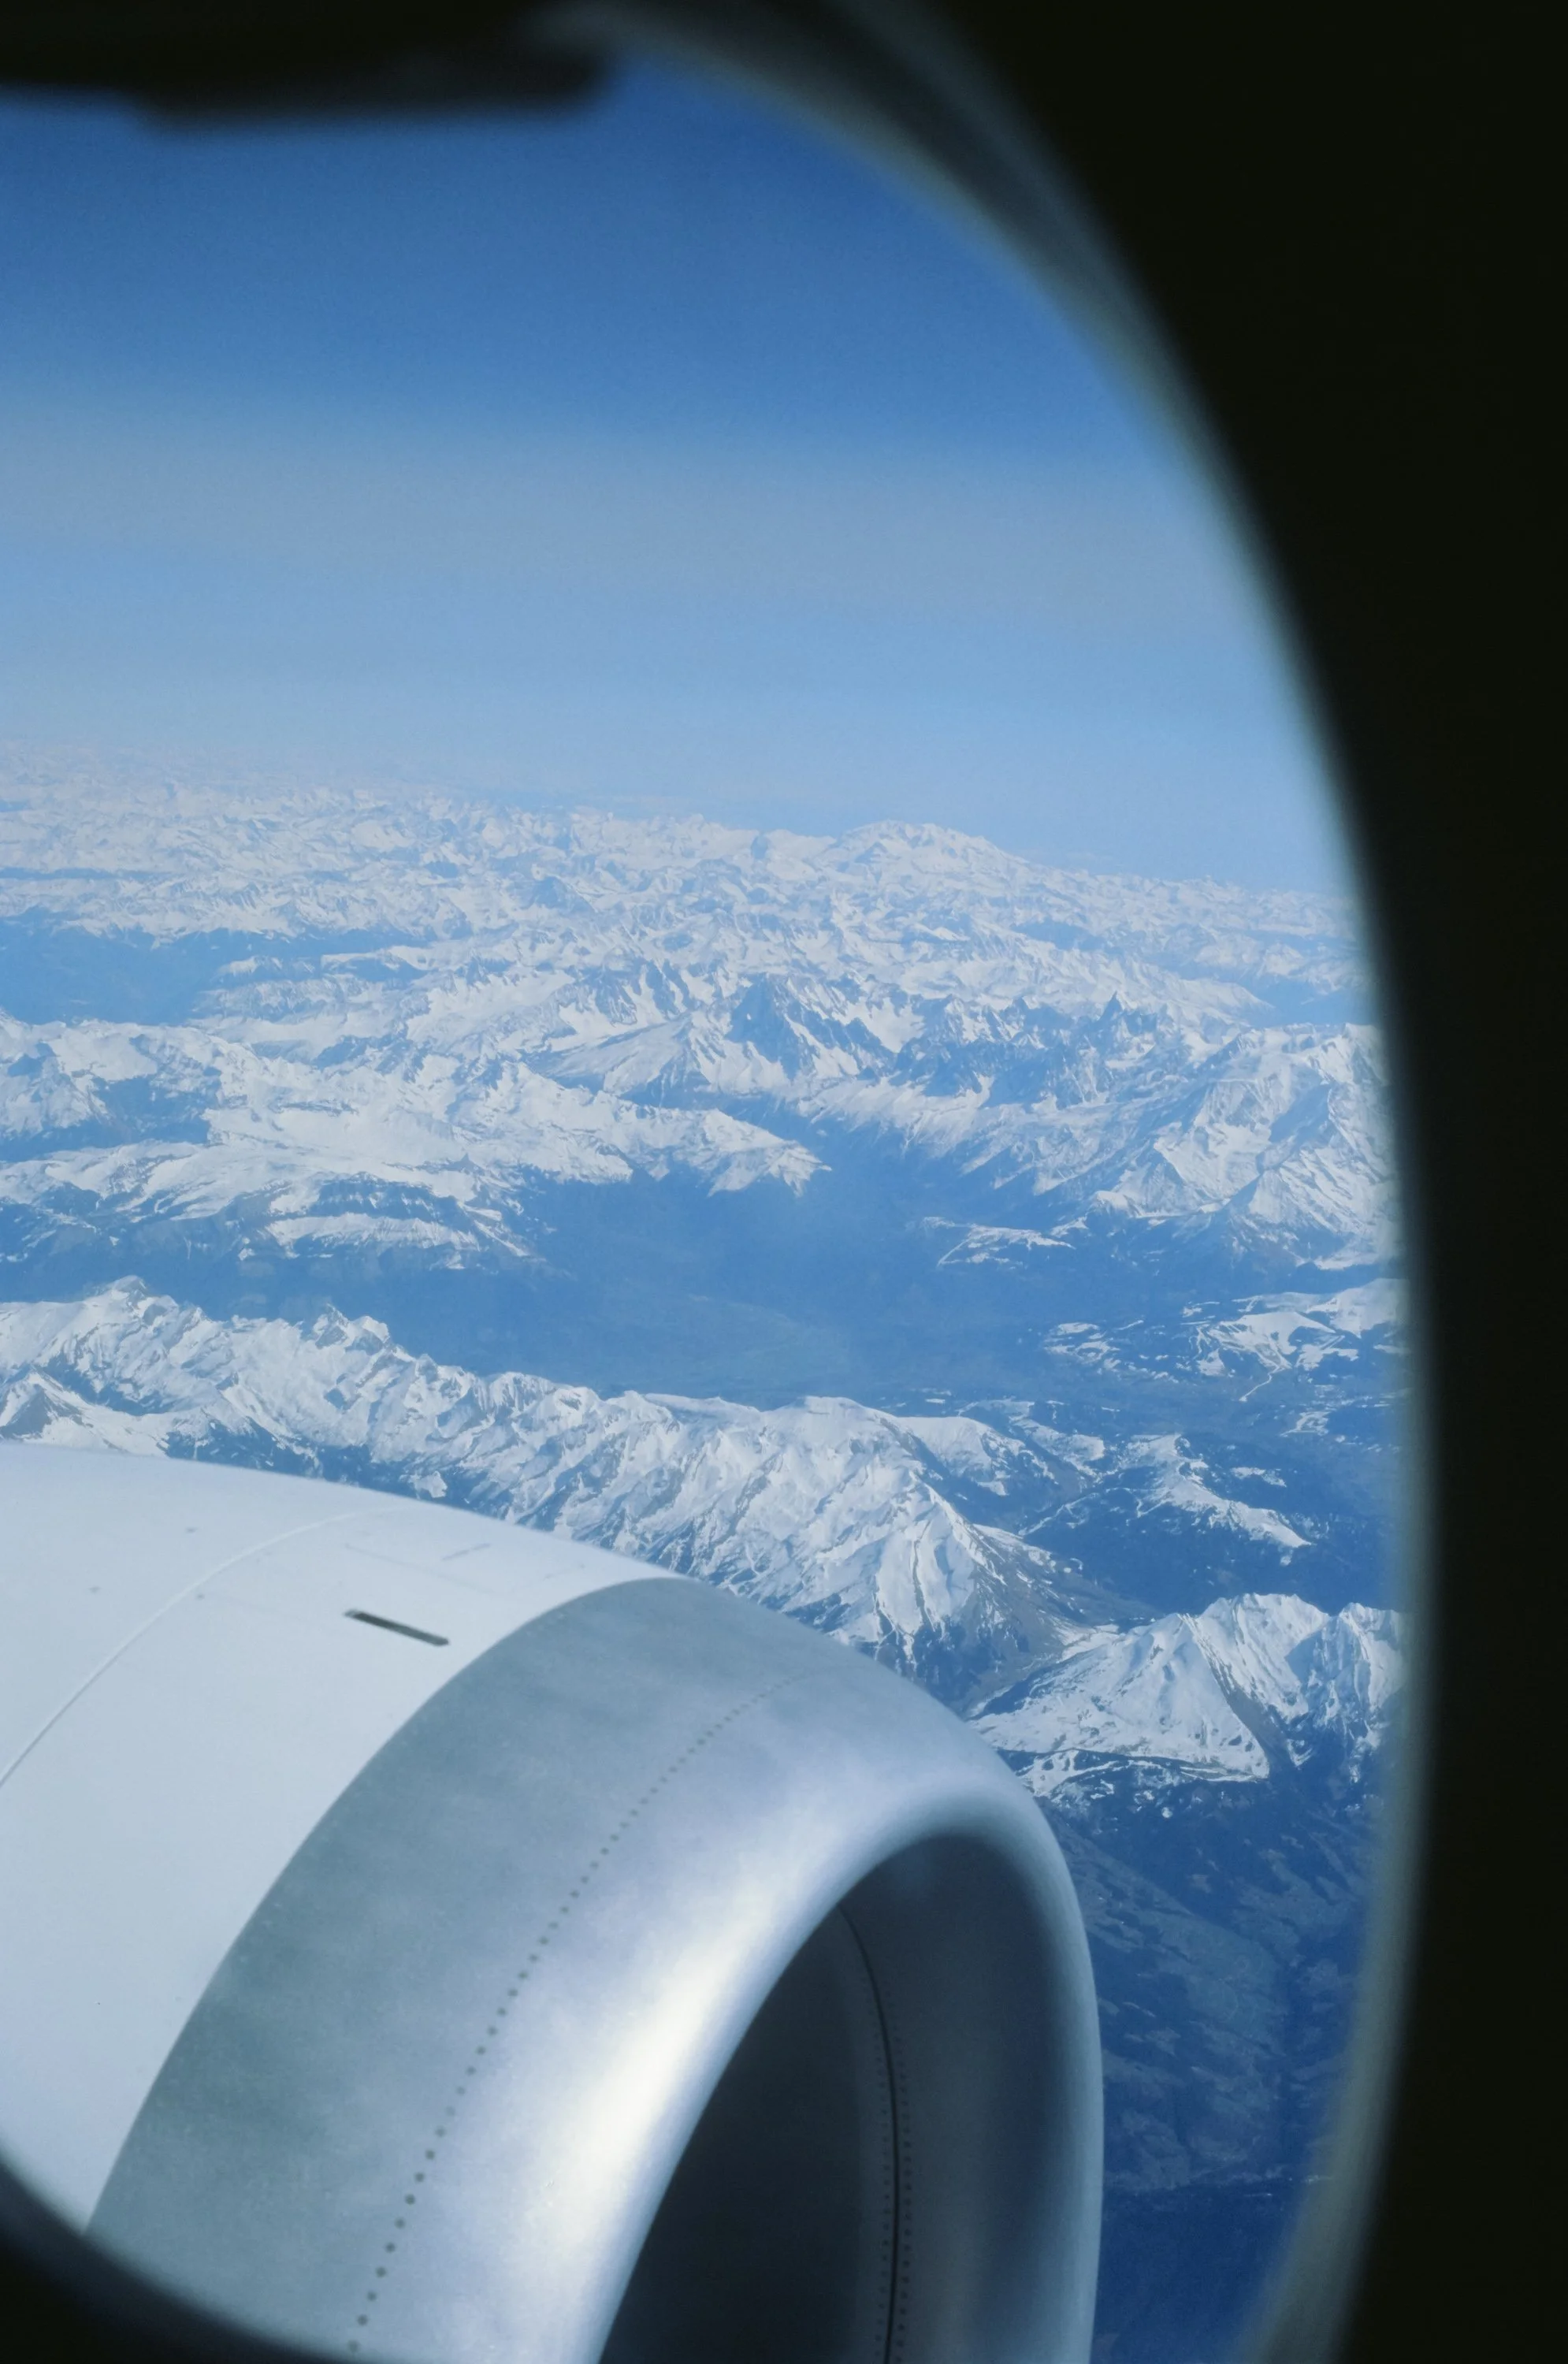
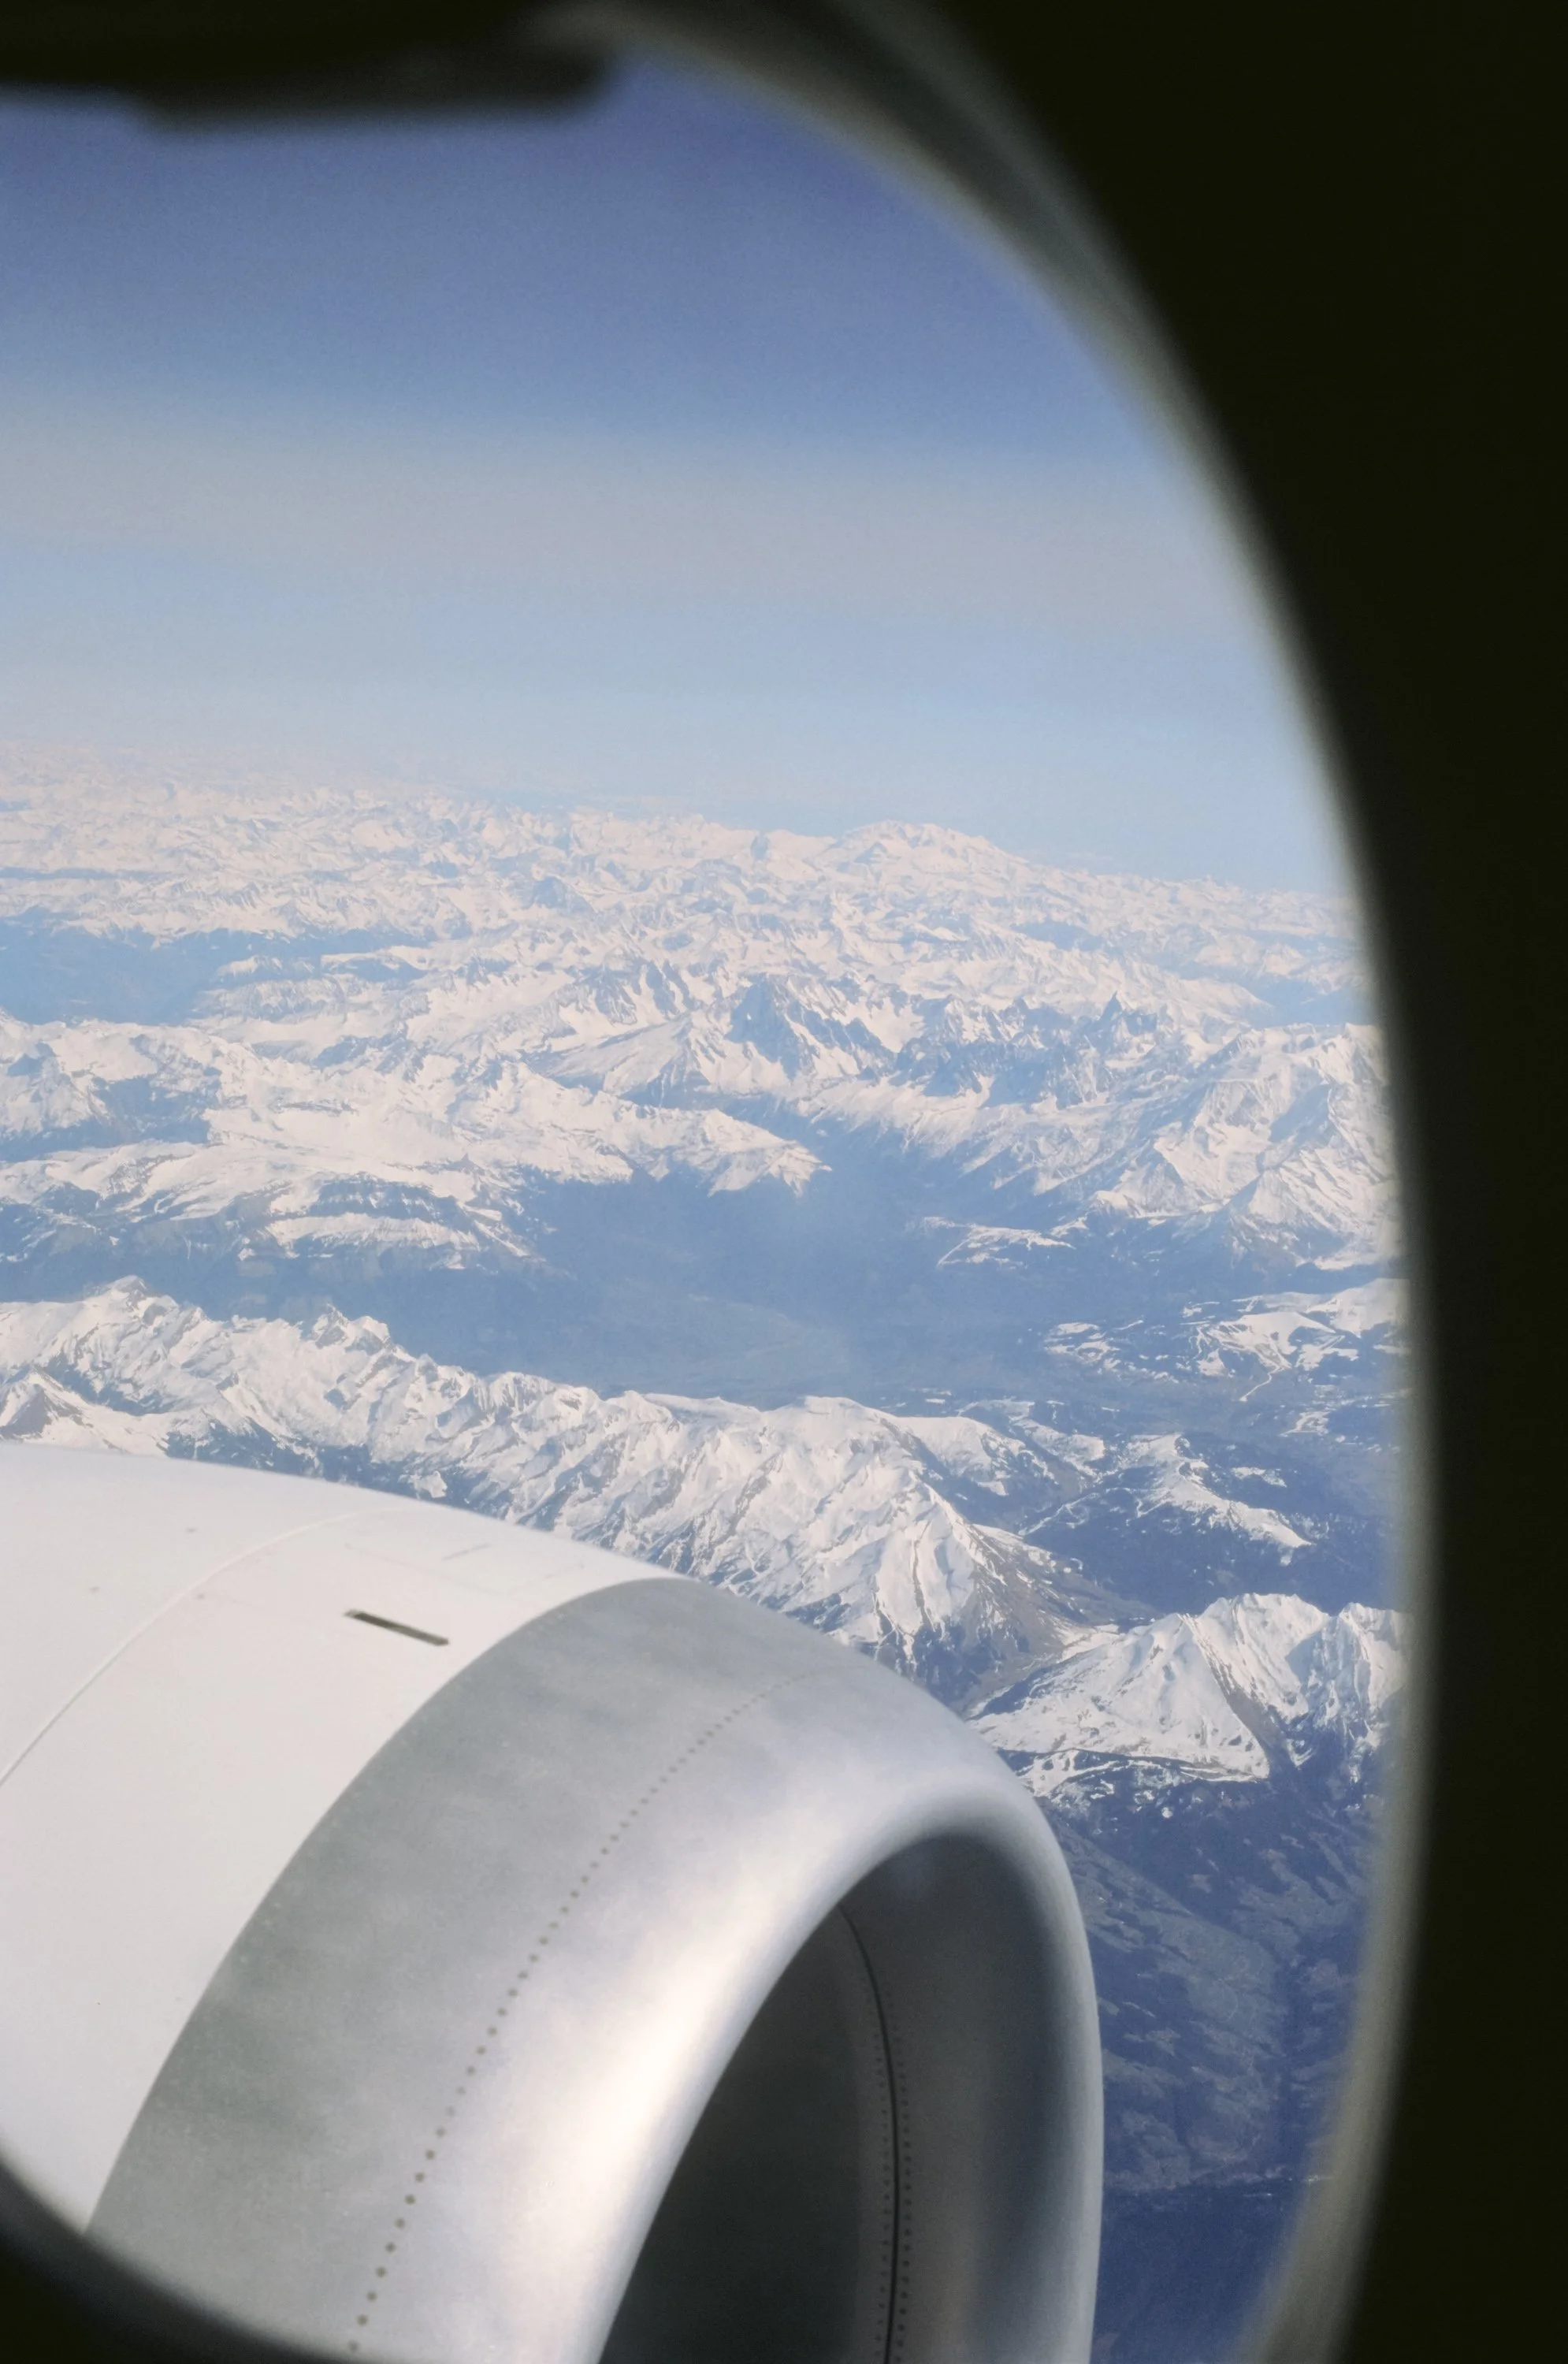
Also, the shooting location on our beautiful planet will make a drastic difference (Hollywood is where it is for a reason). Here are two unedited snap shots from the same day, same lab and the same 35mm roll. It’s not hard to tell Germany and Spain apart:
Kodak Ektachrome - Germany

Kodak Ektachrome - Spain
The Scan process
And then there is the scanner. Most lab scanners (looking at you, Frontier and Noritsu) were designed for negative film. But lets ask an expert: Tobias Urban from Urbanfilmlab:
Scanner Type: Which scanner do you use and why?
“Slide film tends to look better when scanned with the Noritsu compared to the Frontier, due to its neutral colors, higher dynamic range, and improved shadow detail. The Frontier, on the other hand, works better with negative film as it has its own unique aesthetic.”
Color Cast: How do you handle the typical color tint that comes with Ektachrome?
“To color-correct slide film, especially Kodak Ektachrome, I use the built-in correction channels the scanner itself offers: Cyan, Magenta, and Yellow. However, generally speaking, there is not a whole lot of wiggle room without shifting the colors or ending up with a very unnatural-looking image.
If you want to warm up the look of Ektachrome, it is a good idea to do this right away when taking the picture. You can use a light warming/bronzing filter, such as an 81B. It will provide a slightly warmer result at the moment of exposing the film.”
Exposure Latitude: Ektachrome has a narrow dynamic range. Can you recover details in the shadows or highlights if the exposure is not 100% on point?
“Slide film has a super narrow exposure latitude, with Ektachrome clocking in at around 5 stops of dynamic range (for comparison, Fujichrome Velvia 100 has 3 stops). Blown-out highlights, such as parts of the sky, are almost impossible to recover. If you drop the exposure during the scanning process, those overexposed areas turn flat and yellow, which simply does not look good.
Shadows are easier to recover, especially with the Noritsu. Of course, this is nowhere near the possibilities that negative film offers, but it is still better than you might think.”
Thanks Tobias for the behind the scenes info! If you don’t know Urbanfilmlab, go and check them out! Great scans and more important great human beings.
The Bulb
Most importantly, the light source in scanners is not color-balanced the way a projector's bulb is. Projector bulbs are actually a whole lot warmer than daylight, typically ranging from 3200K to 3500K. This results in the warm, glowing slides we remember from projections. So, there you have it: we actually need to edit our scans in order to make them look the way they were intended to be seen. Or you camera scan yourself with a warmer light like the Cinestill CS-Lite SpectraCOLOR. (I am not affiliated with them in any way.)
Handling the shift
So, how do we get that "projector-esque" warmth back without losing the Ektachrome soul?
The goal - nice warm colors
1. Analog Correction (The Filter Way)
If you want to fix it “in-camera”, look for an 81A or 81B warming filter as suggested by Tobias. It’s a subtle amber tint that counteracts the blue cast in shadows. It gives the film that slightly golden "National Geographic" glow.
2. The Digital Darkroom
If you want your pictures to look as if they were projected, you guessed it: the best way is to actually get yourself a projector and try to match the digital image to the projected one. Depending on how cool your scans are, a simple adjustment of the color temperature will do the trick, as you can see here:mo
Using the Tonecurves
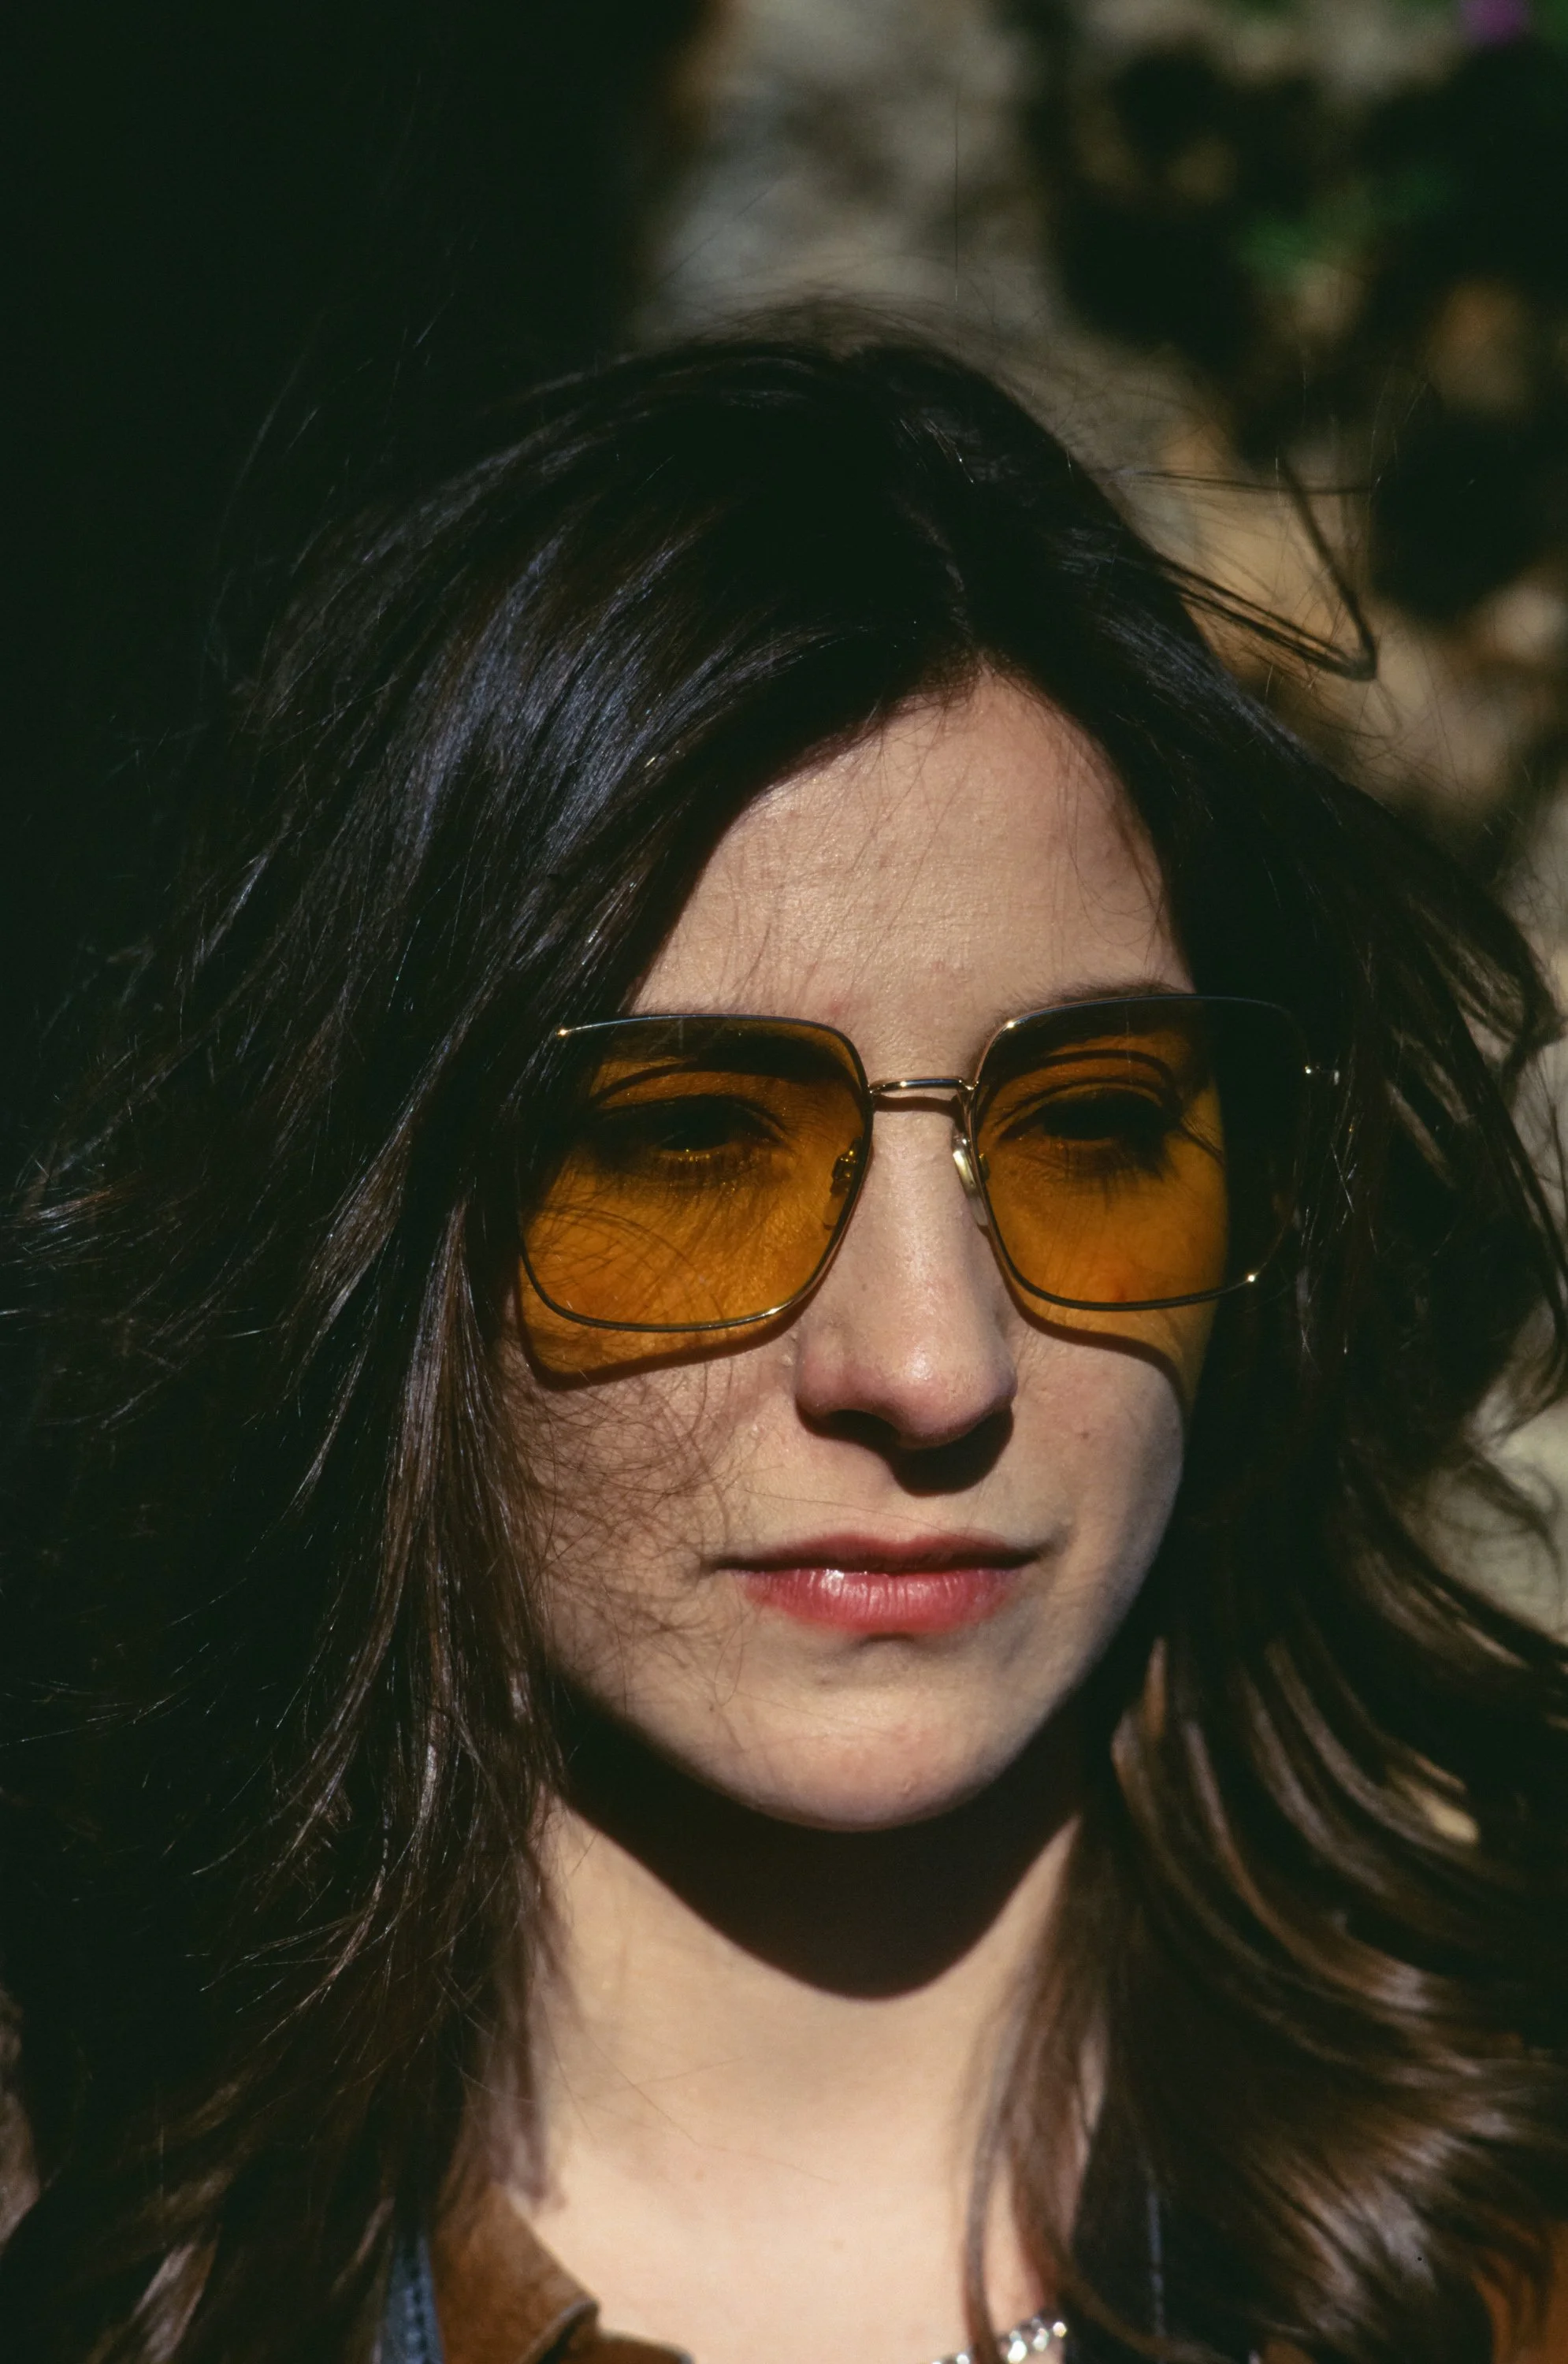
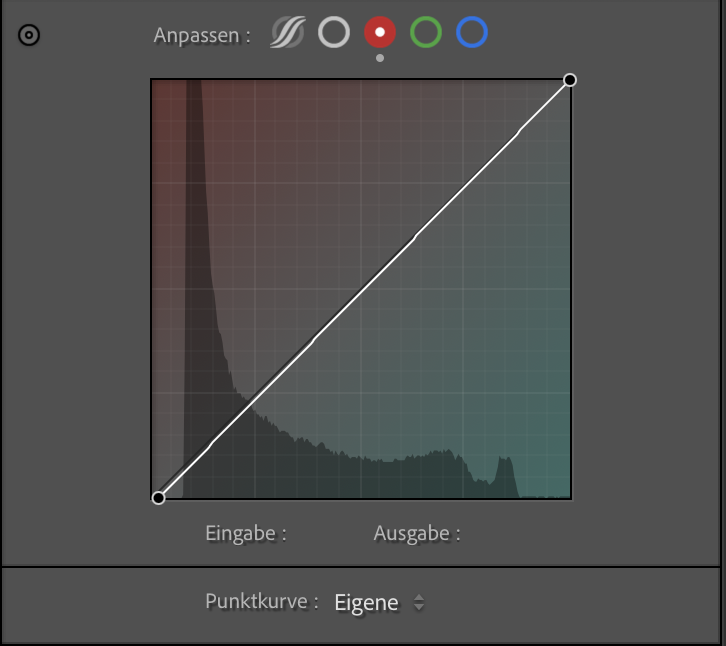
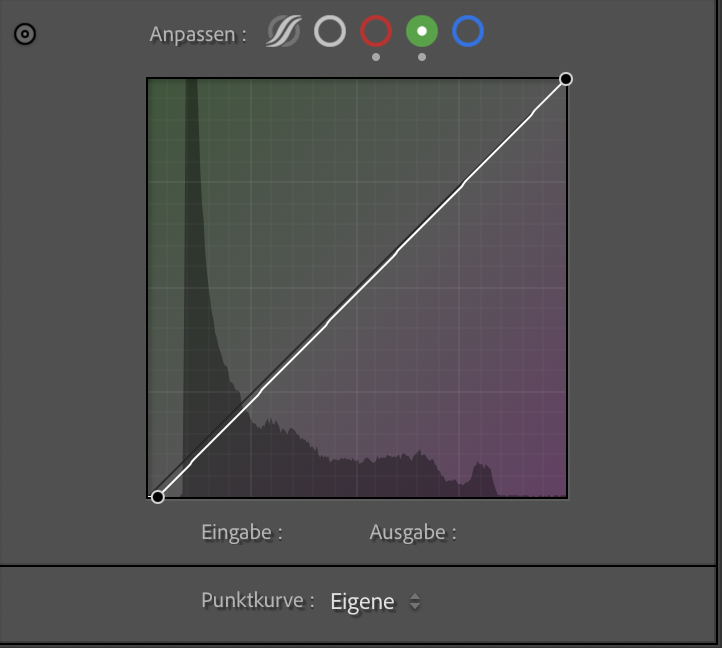
For more severe cases and nailing skin tones, I recommend using individual RGB curves for adjustment. Let’s have a look at how I edited this image:

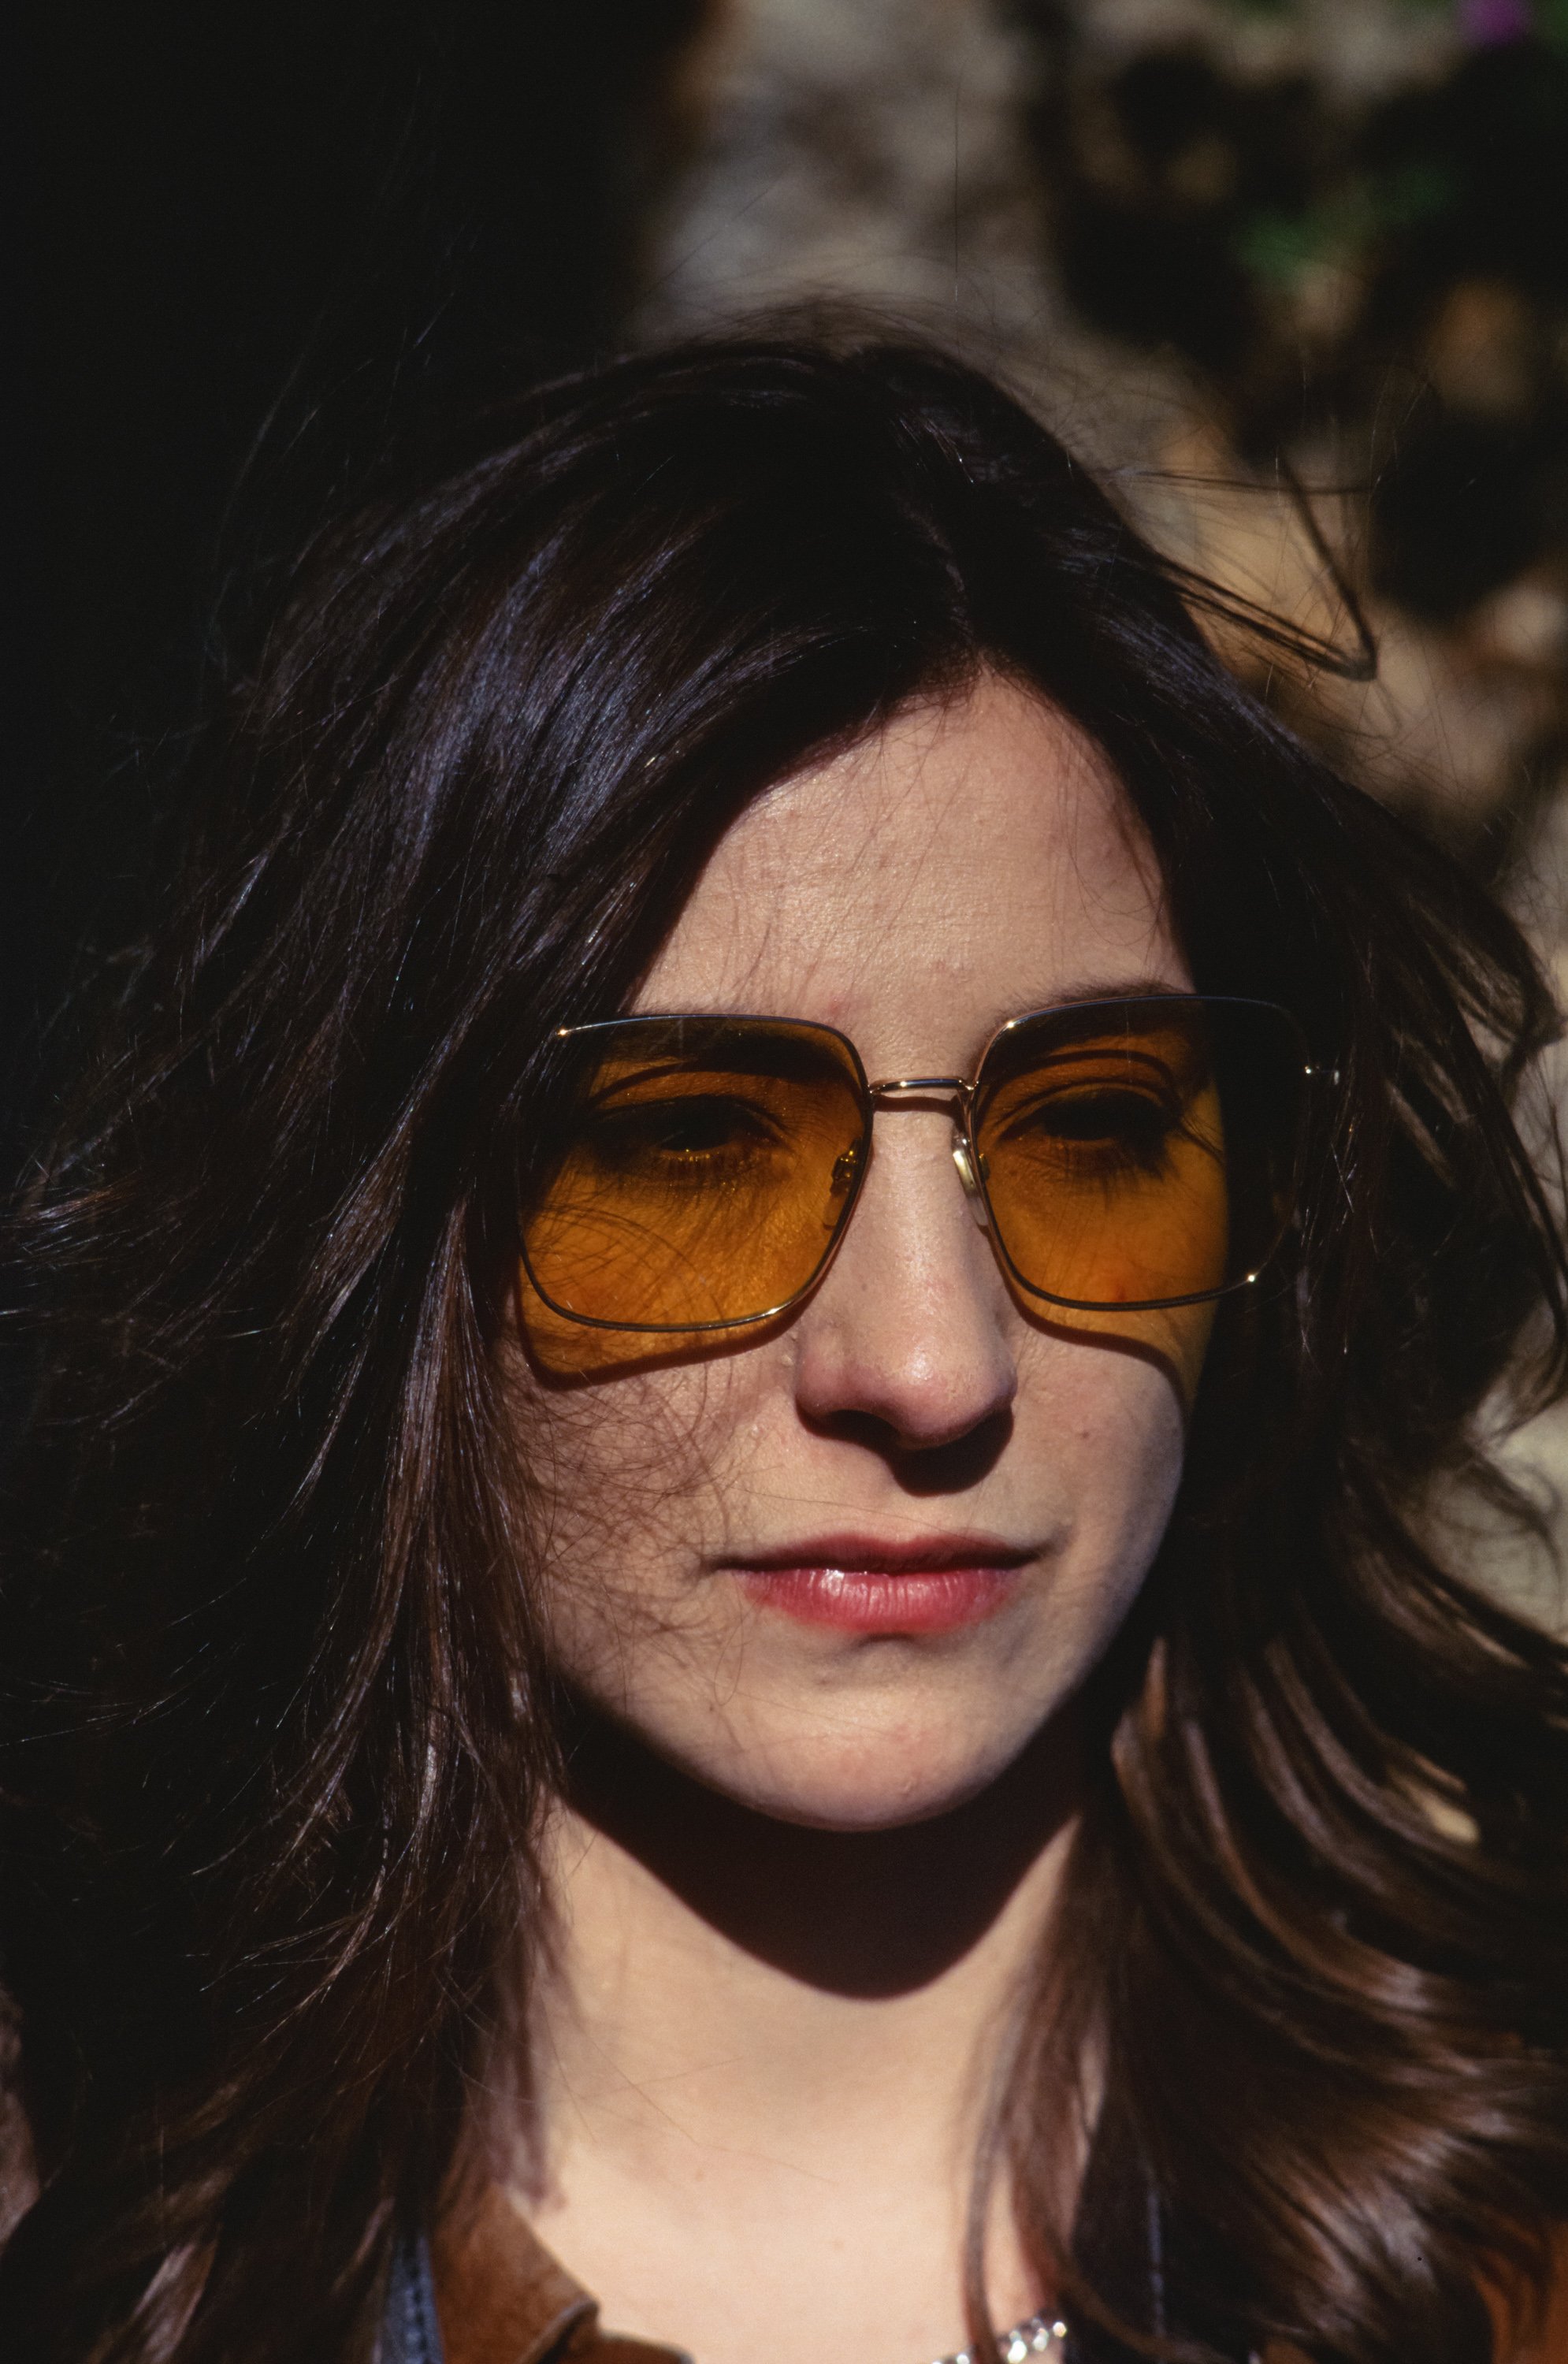
Straight lab scan - Image 1
The shadows were too red - add a touch of cyan - Image 2 & 3
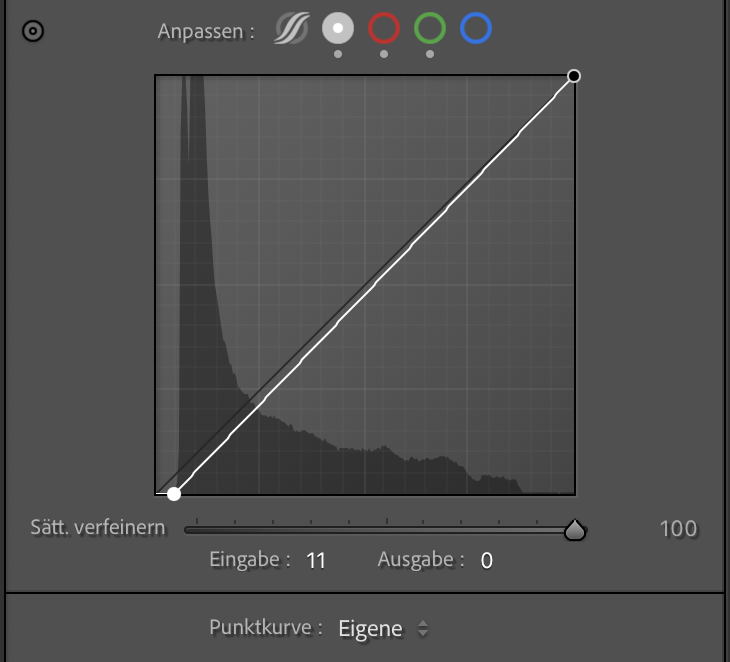
Adding some magenta to the shadows - Image 4 & 5
Stretching the histogram for richer blacks - Image 6 & 7
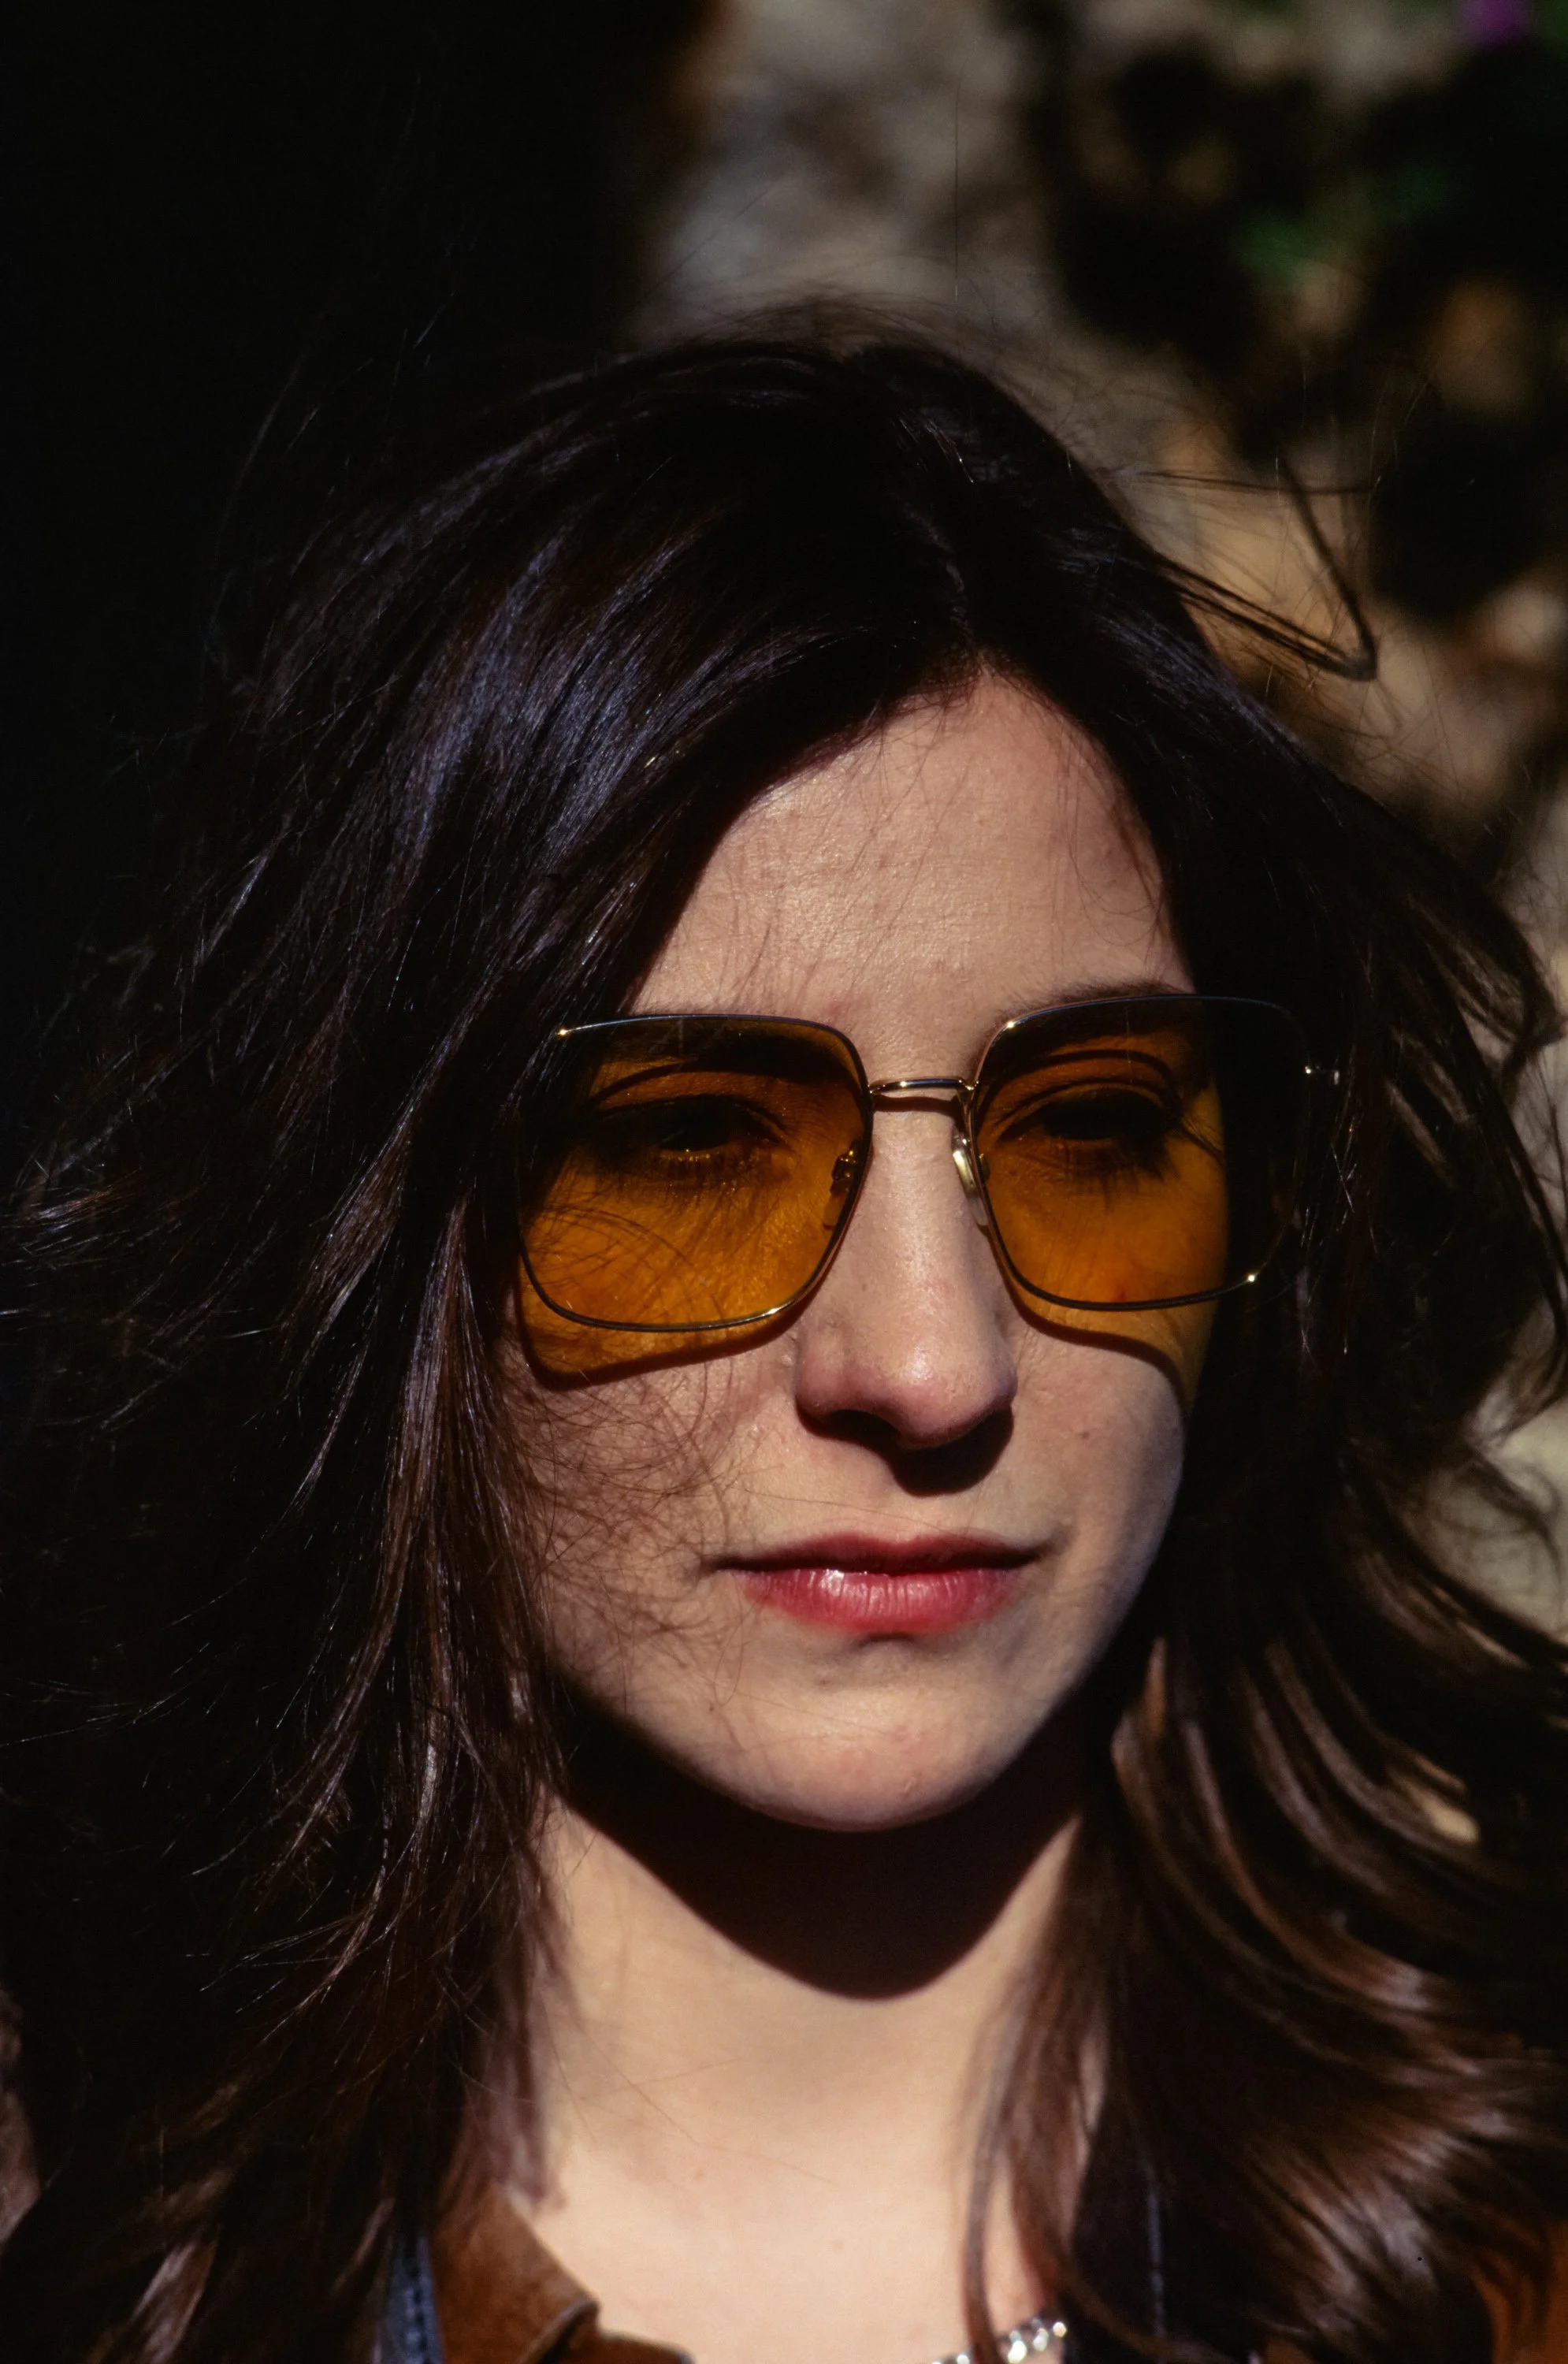
Increased exposure and added a tad of warmth - Image 8 & 9
As you can see, the little adjustments add up, making the image look more true to life and natural.
Embrace the Blues
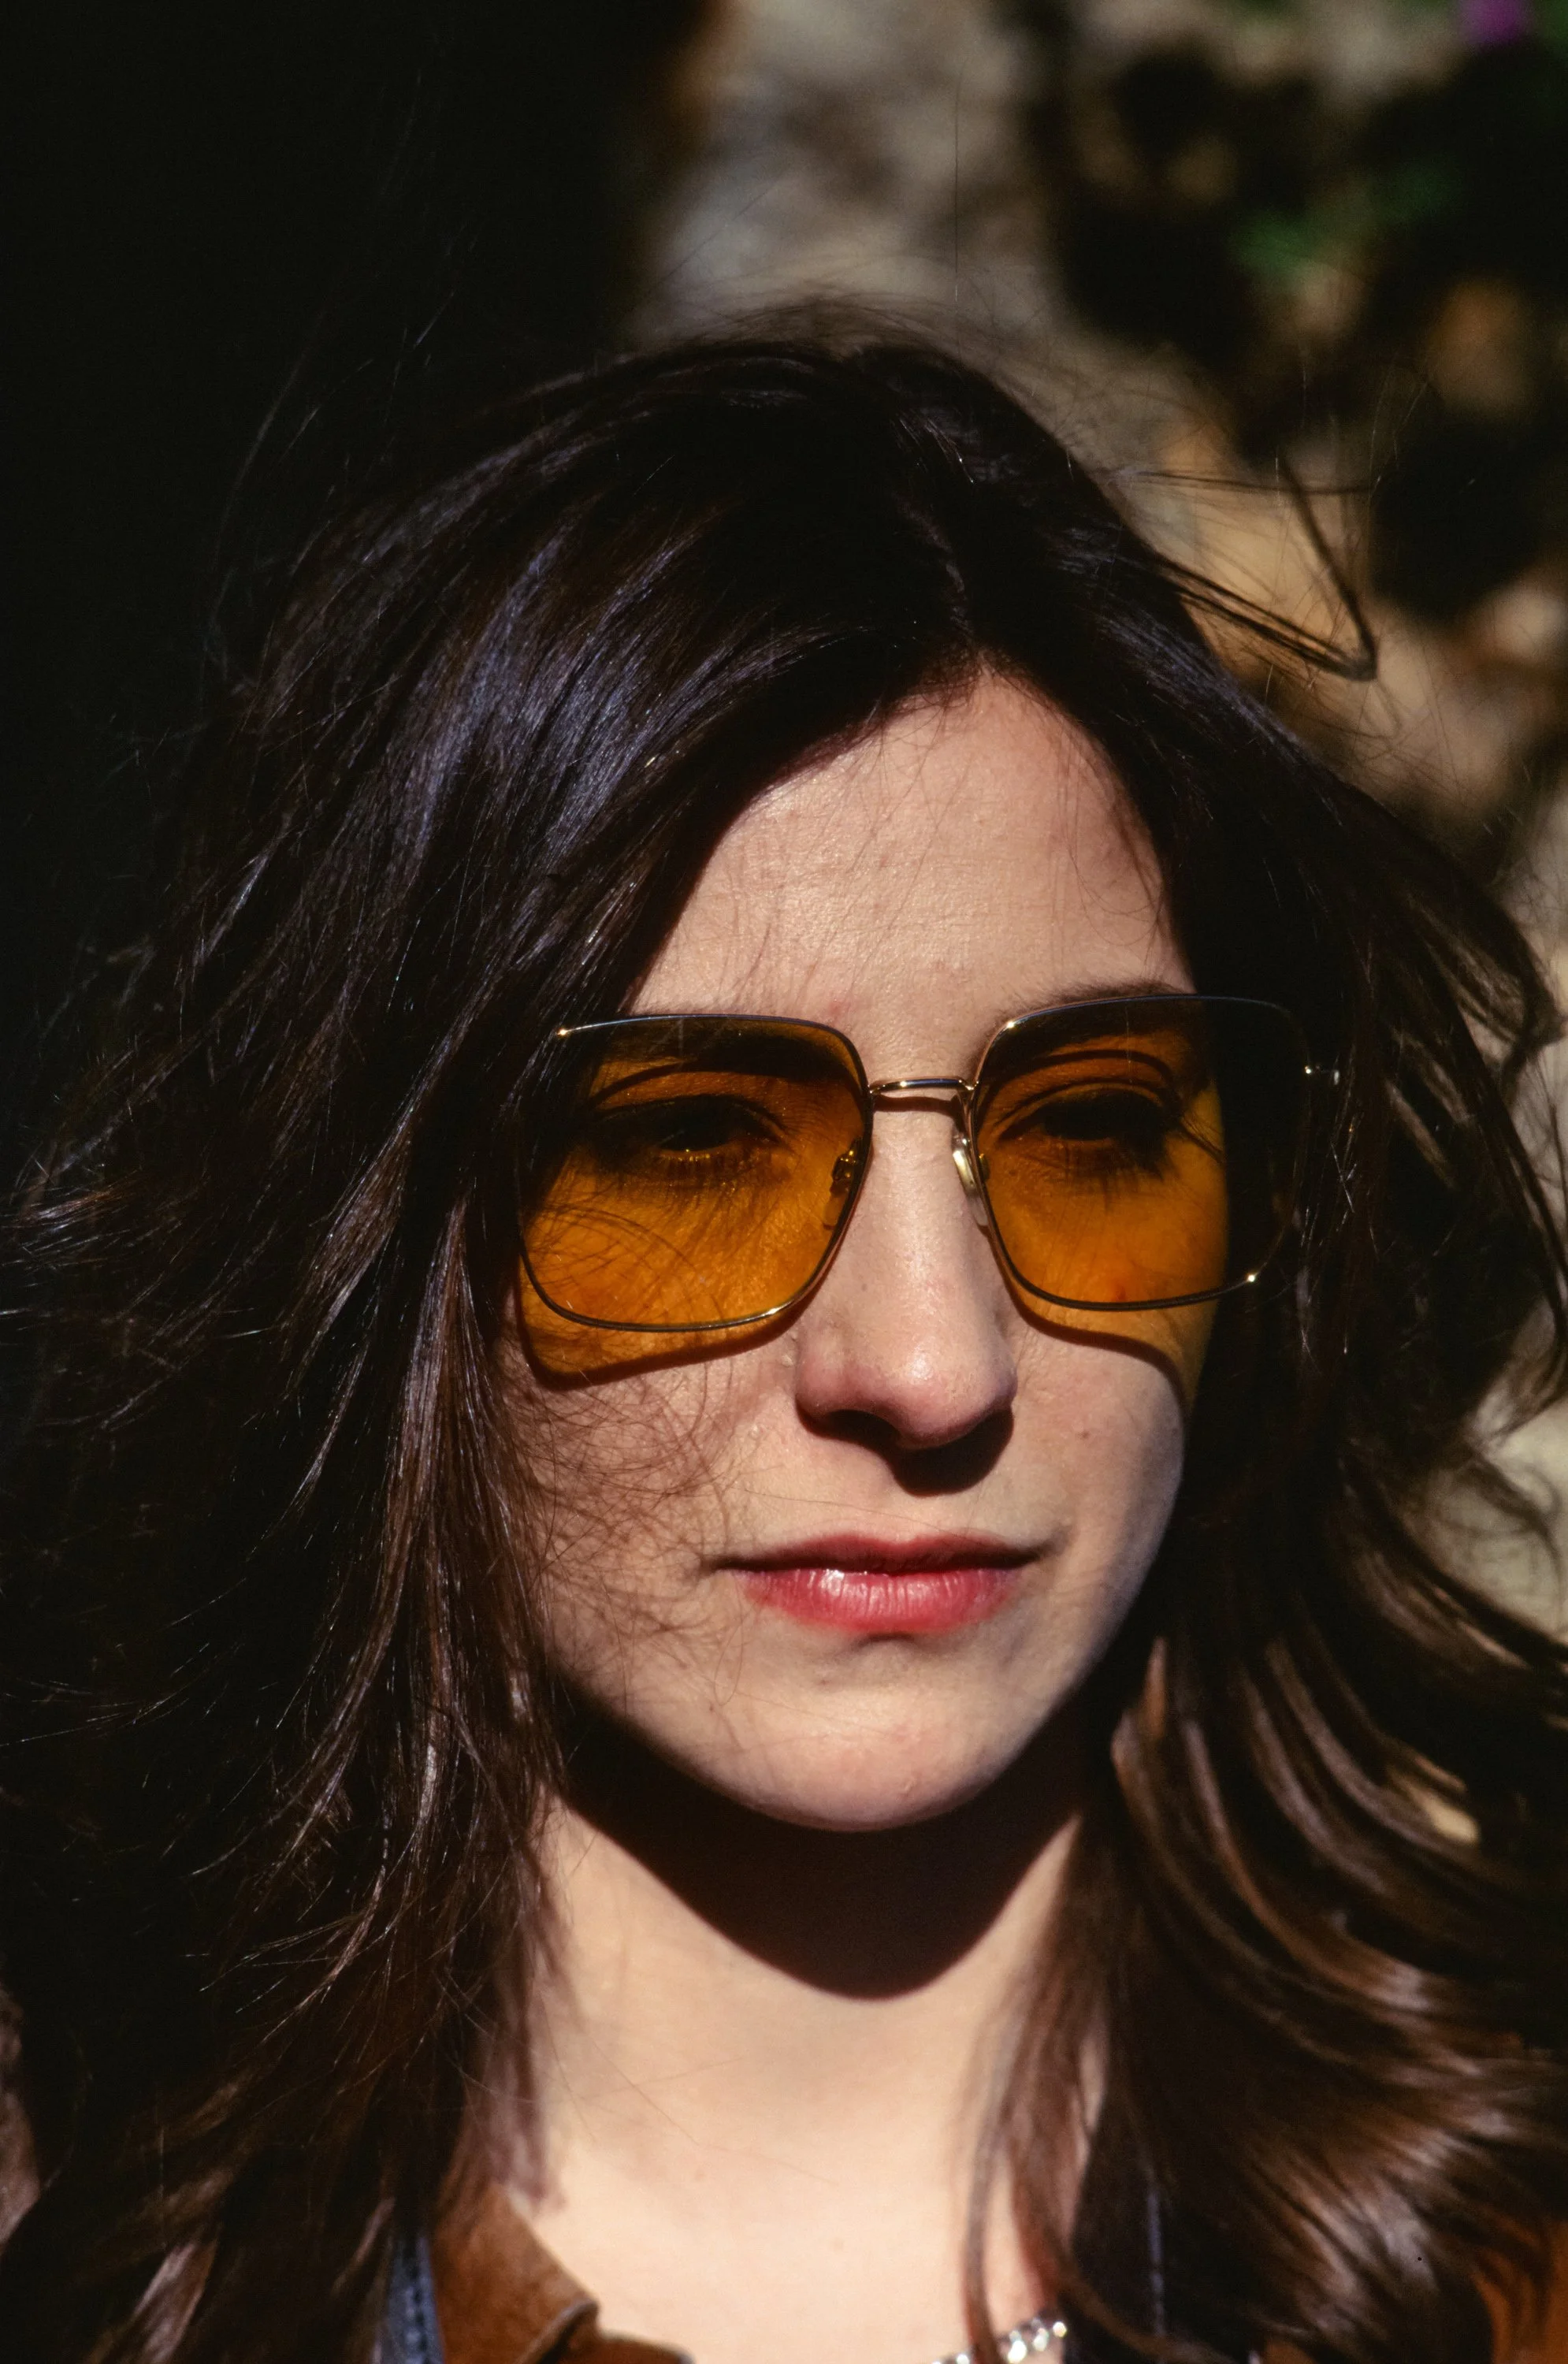
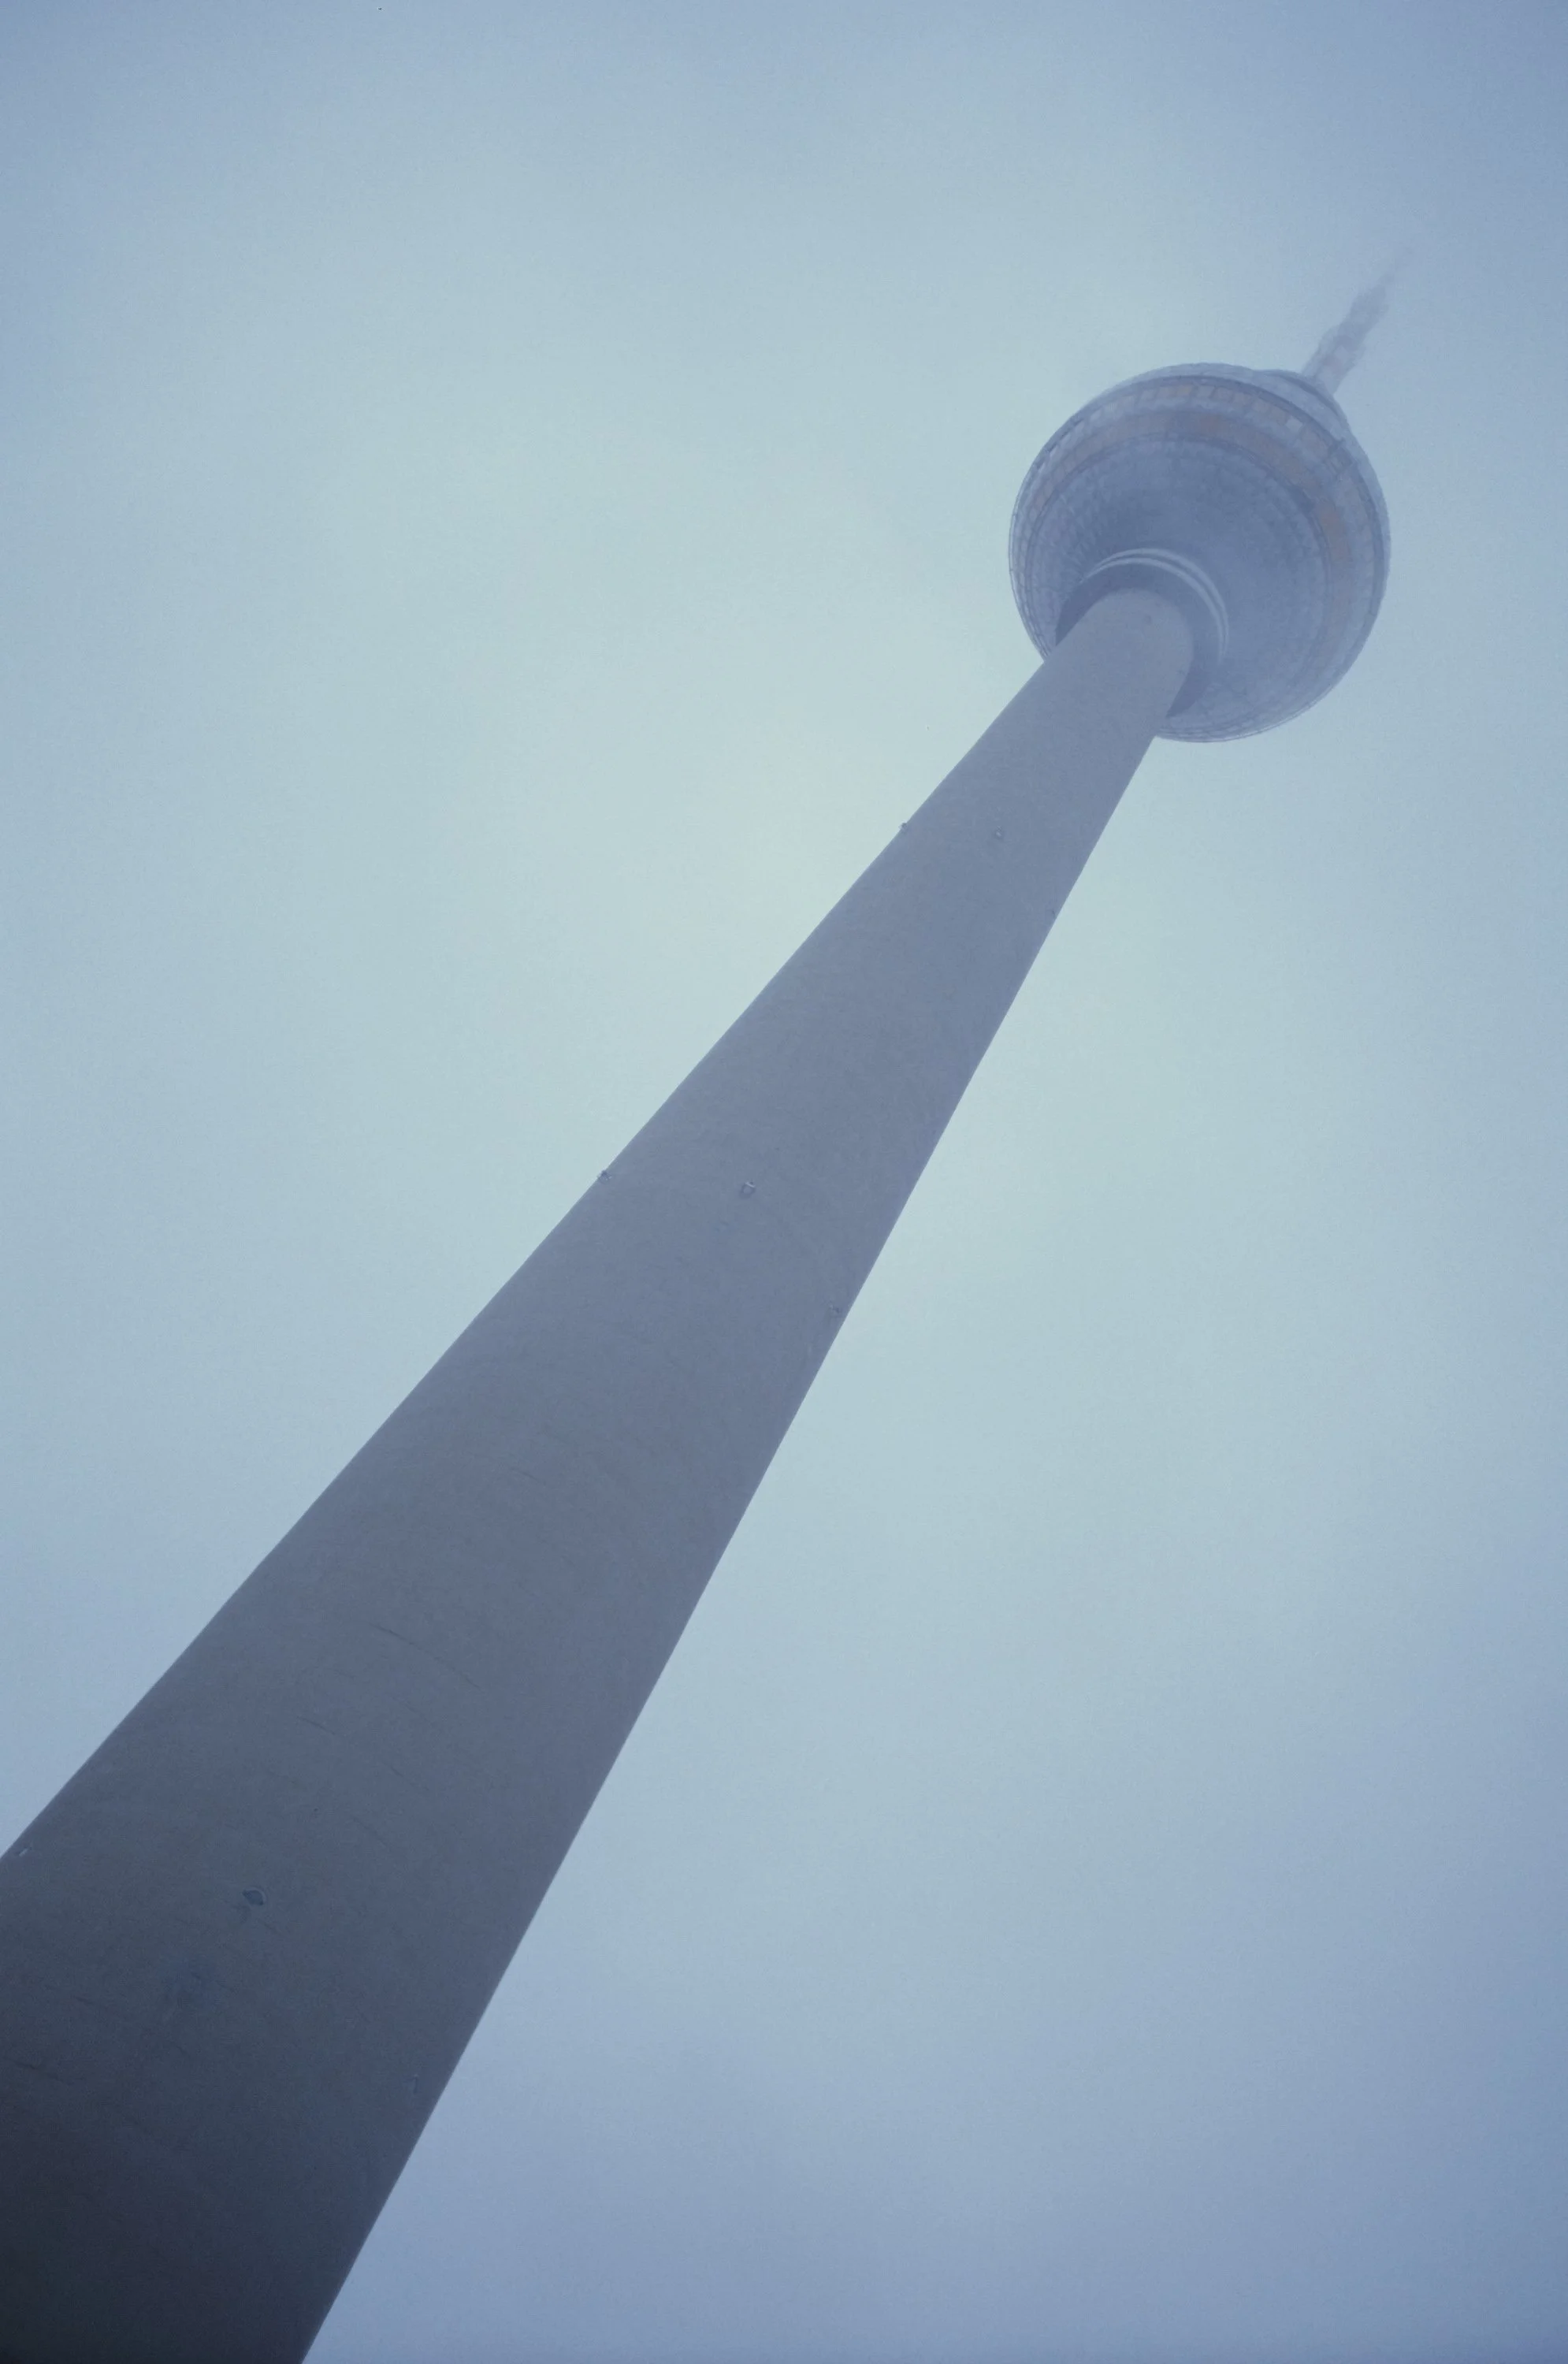
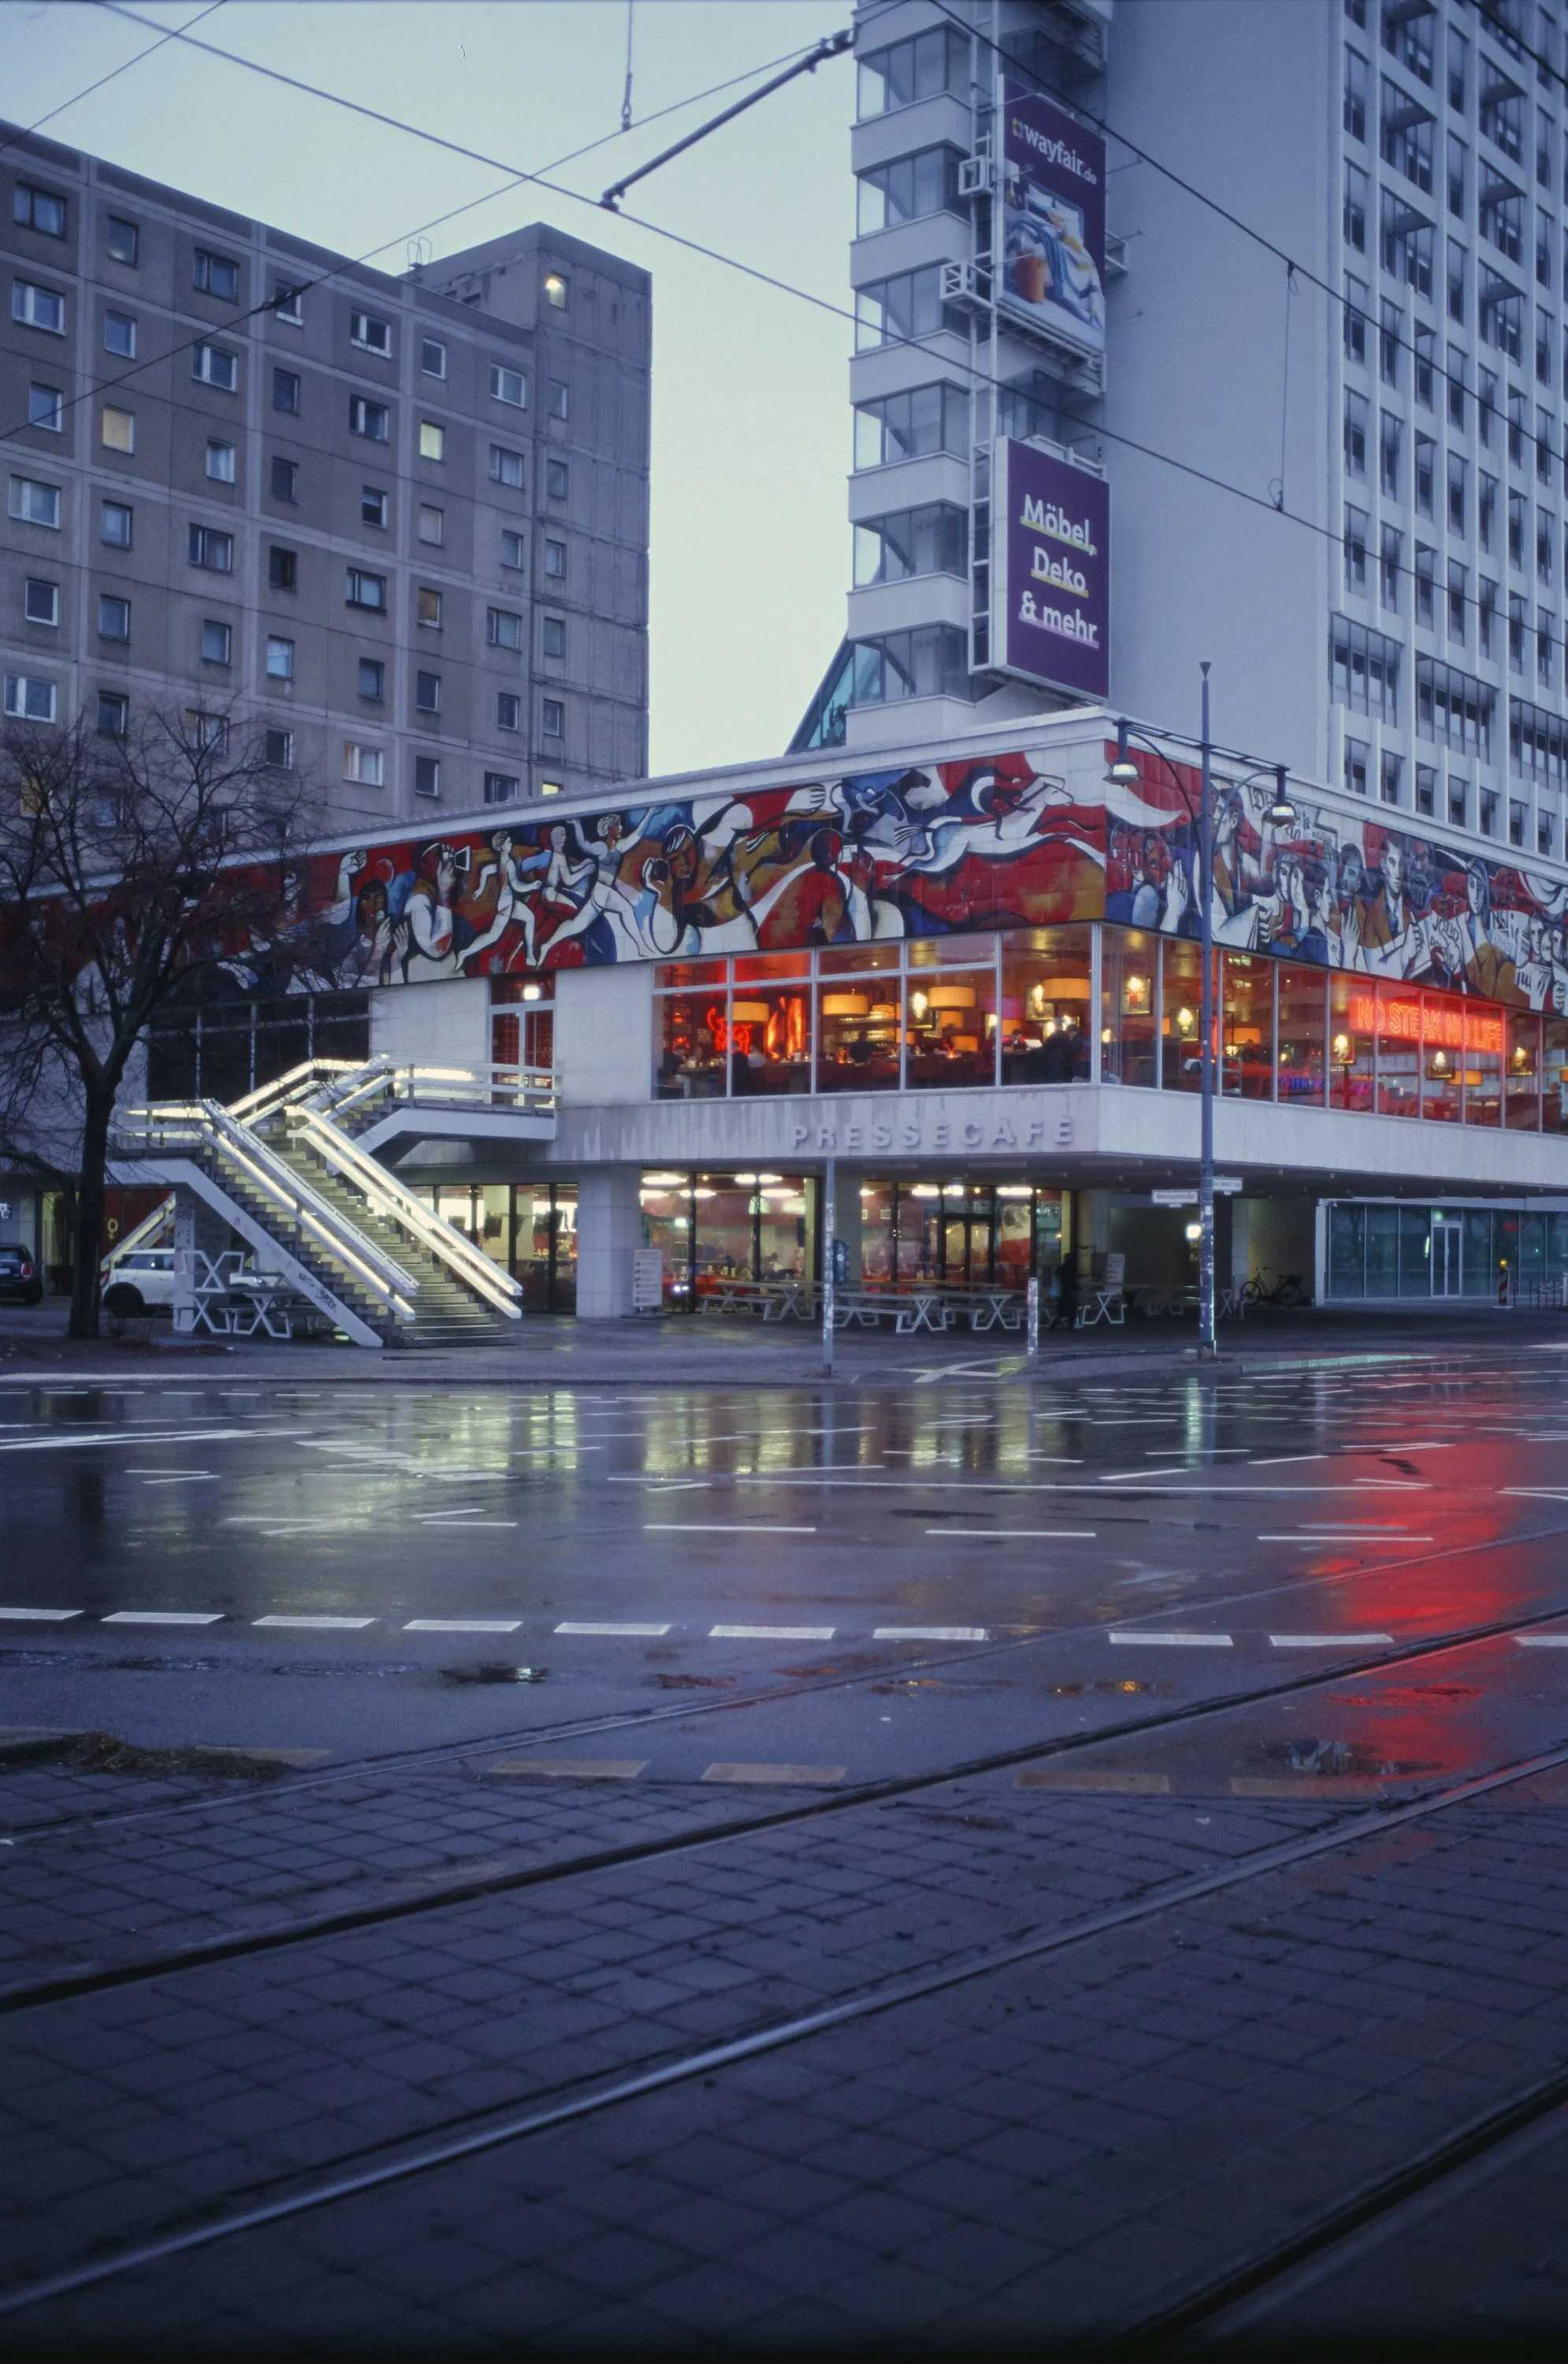
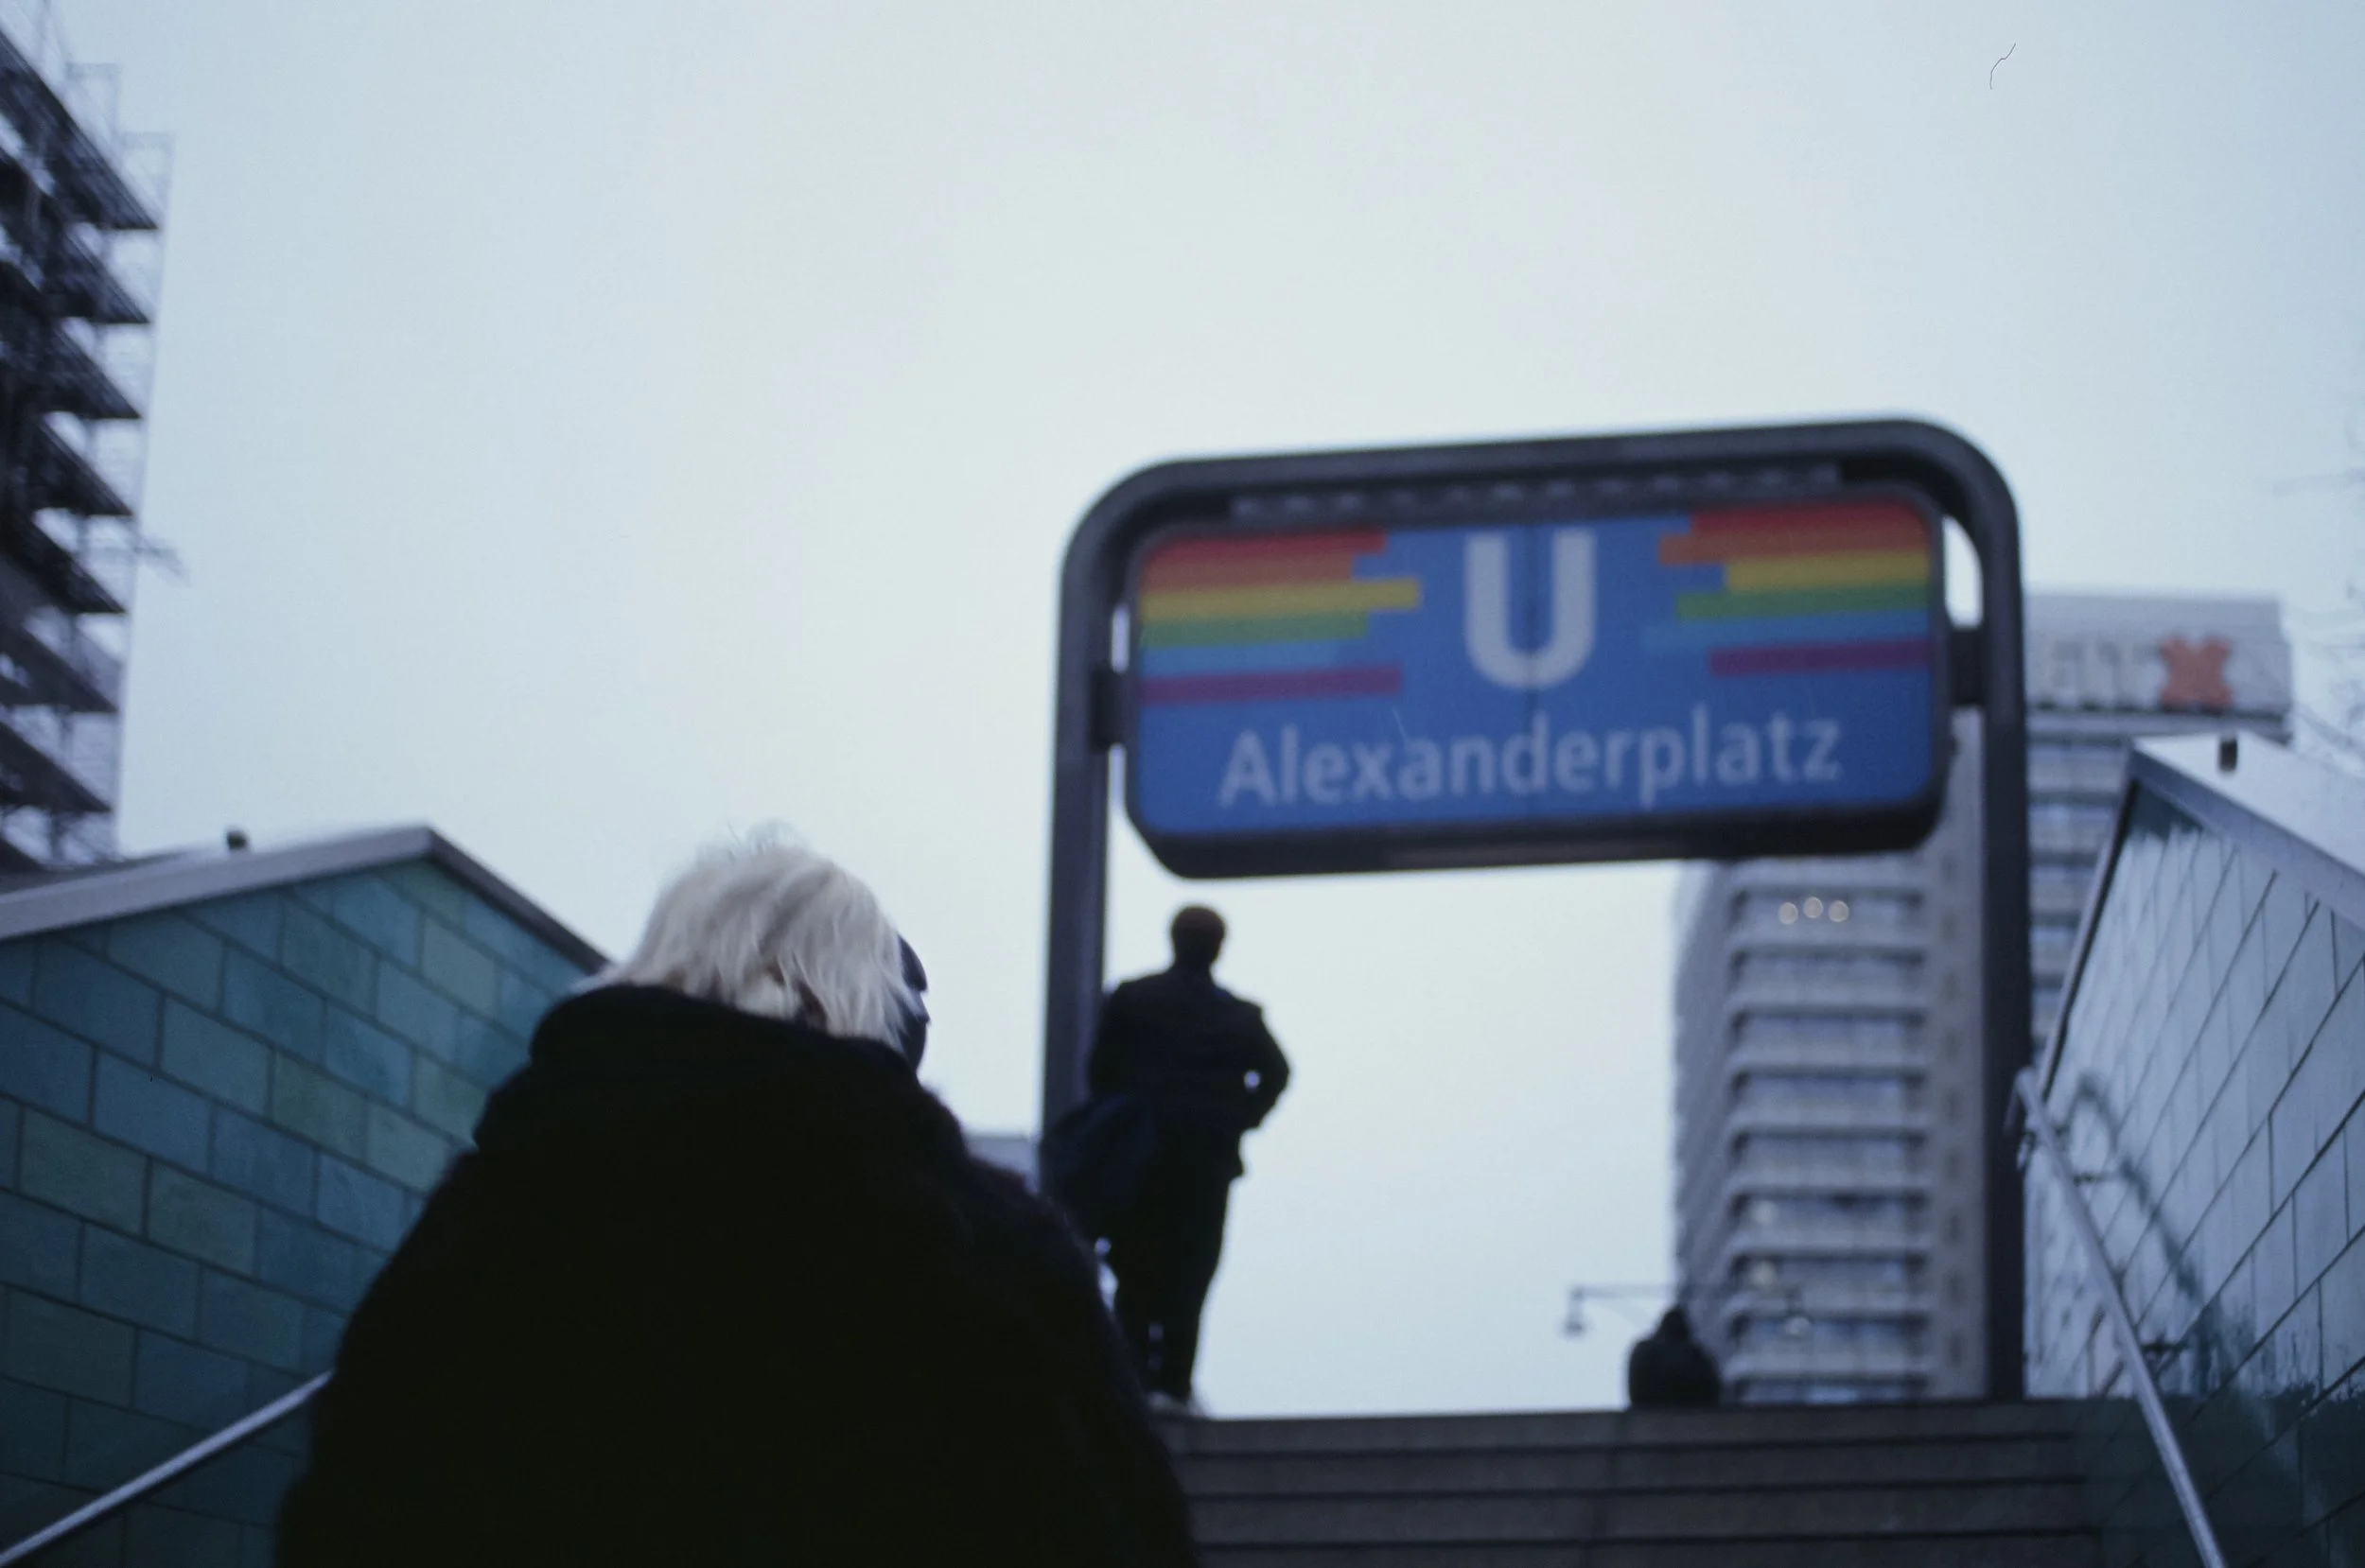
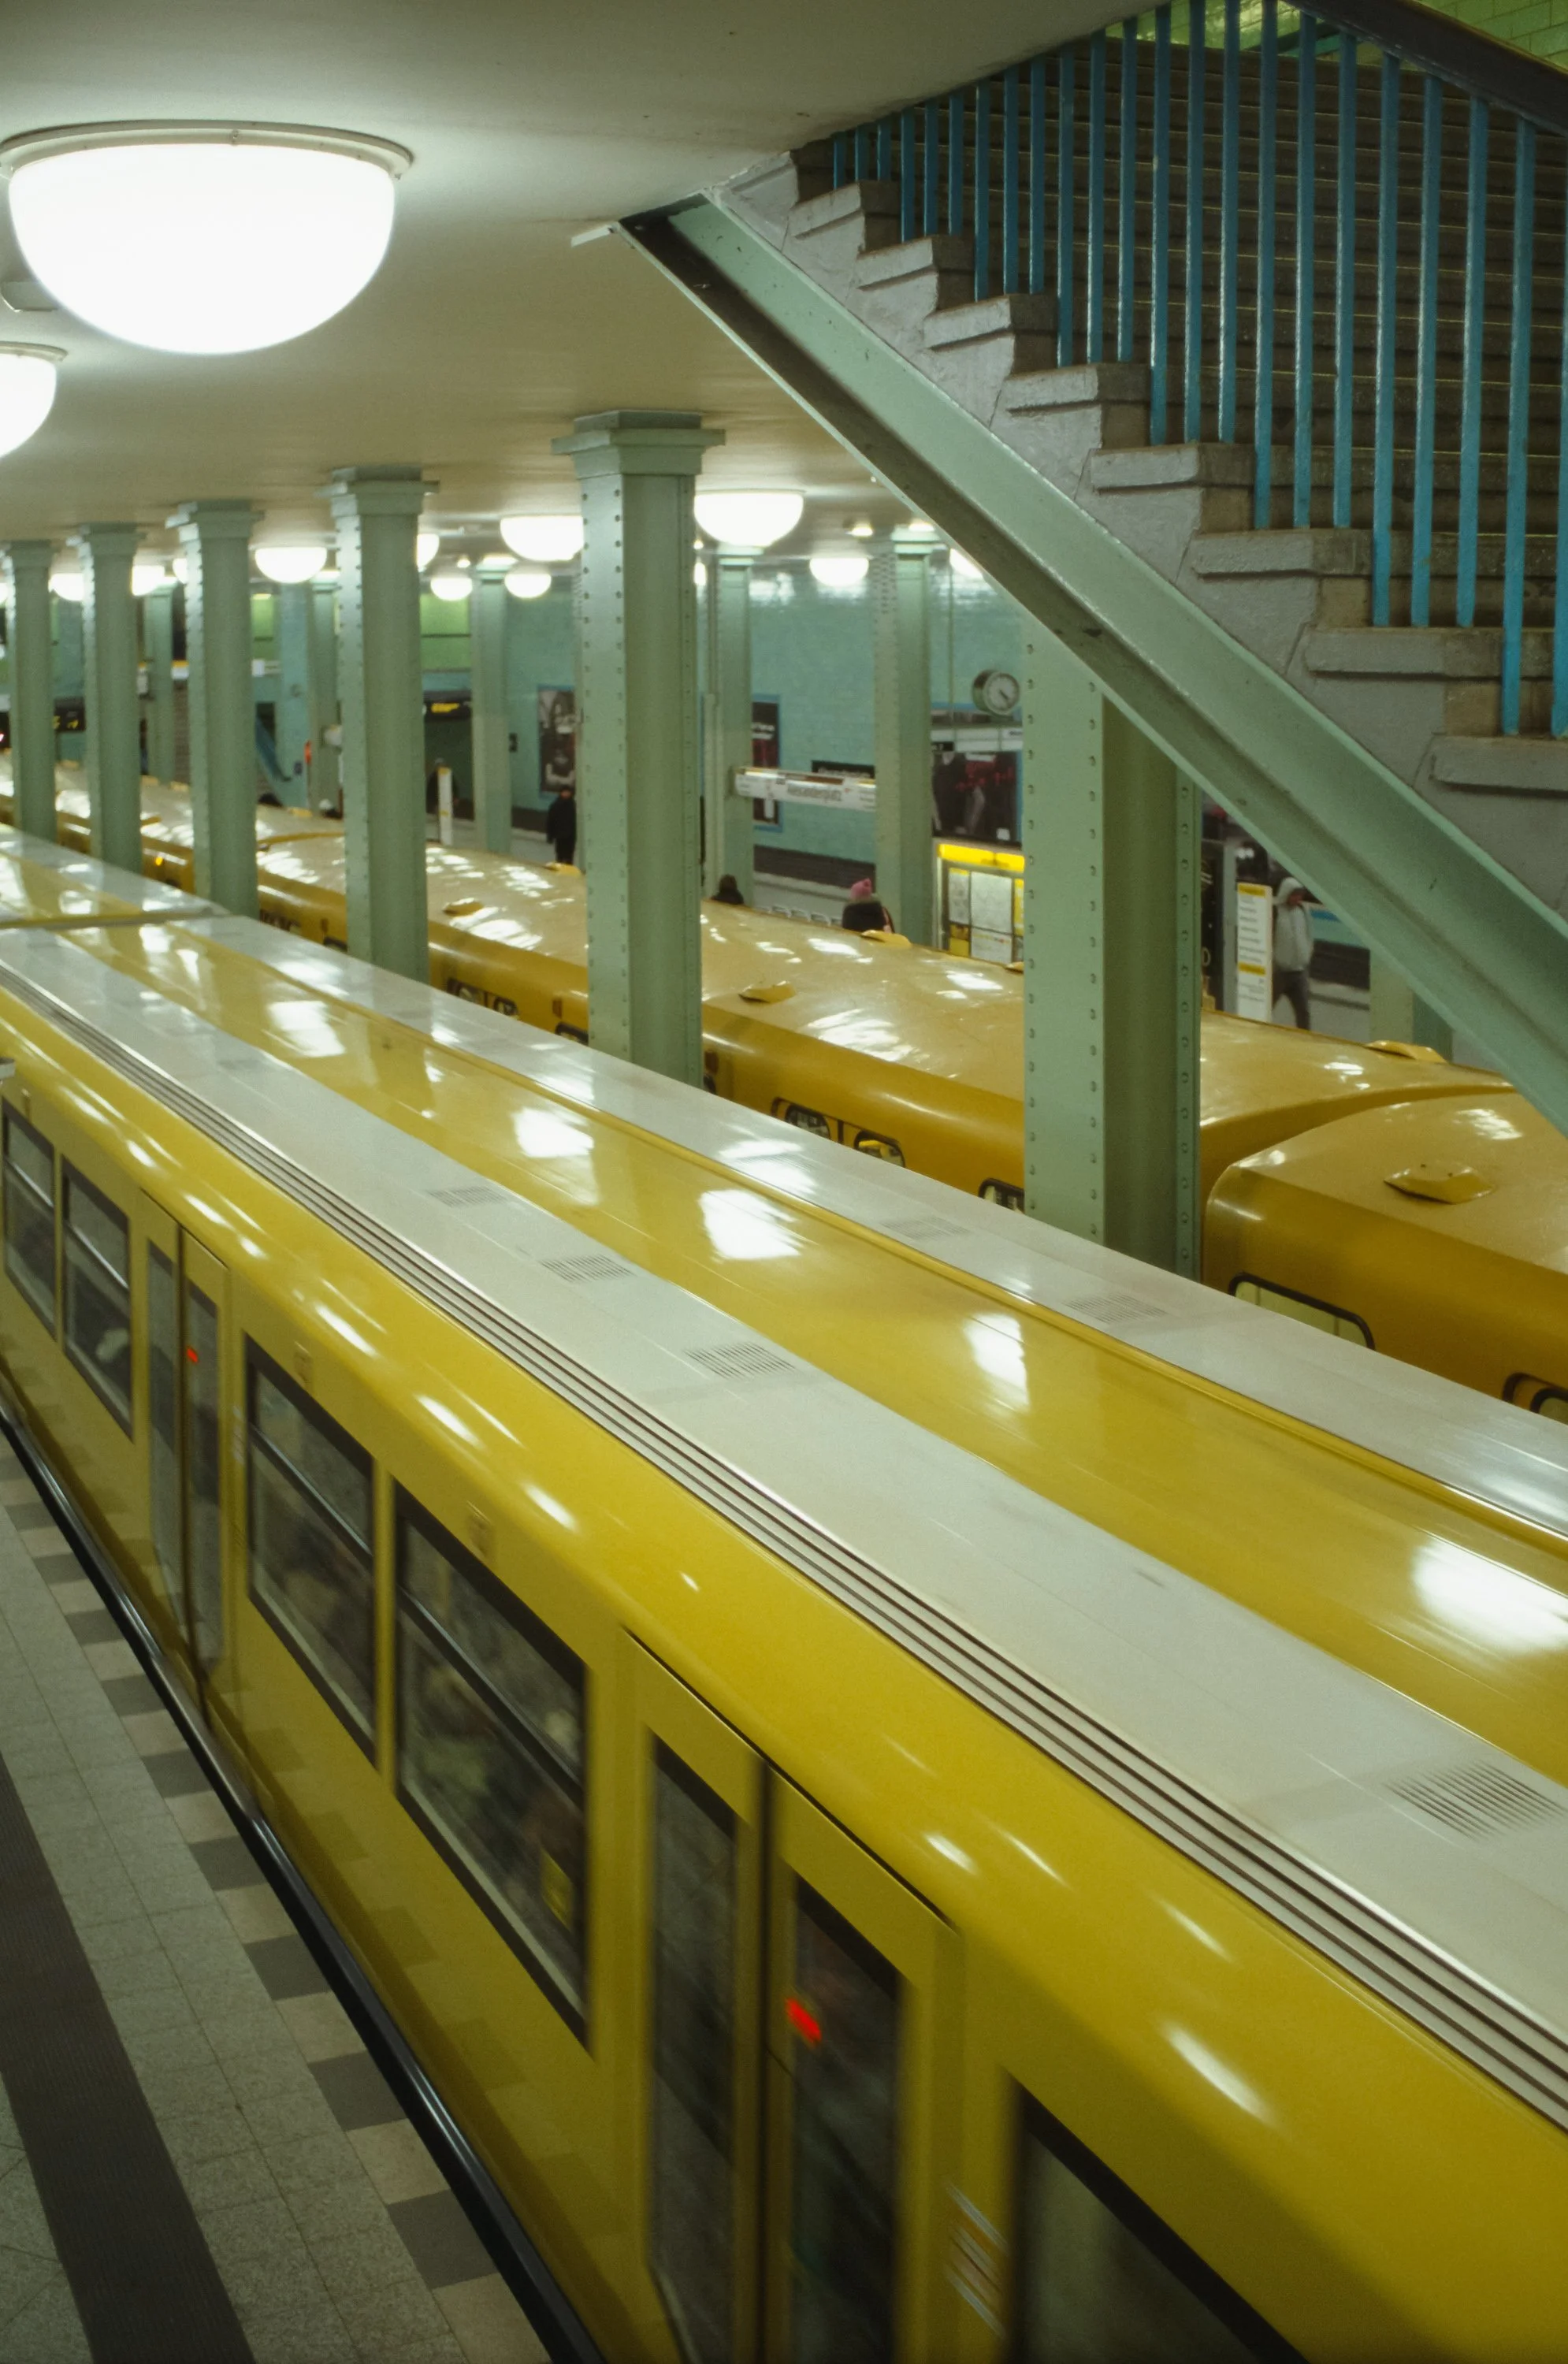
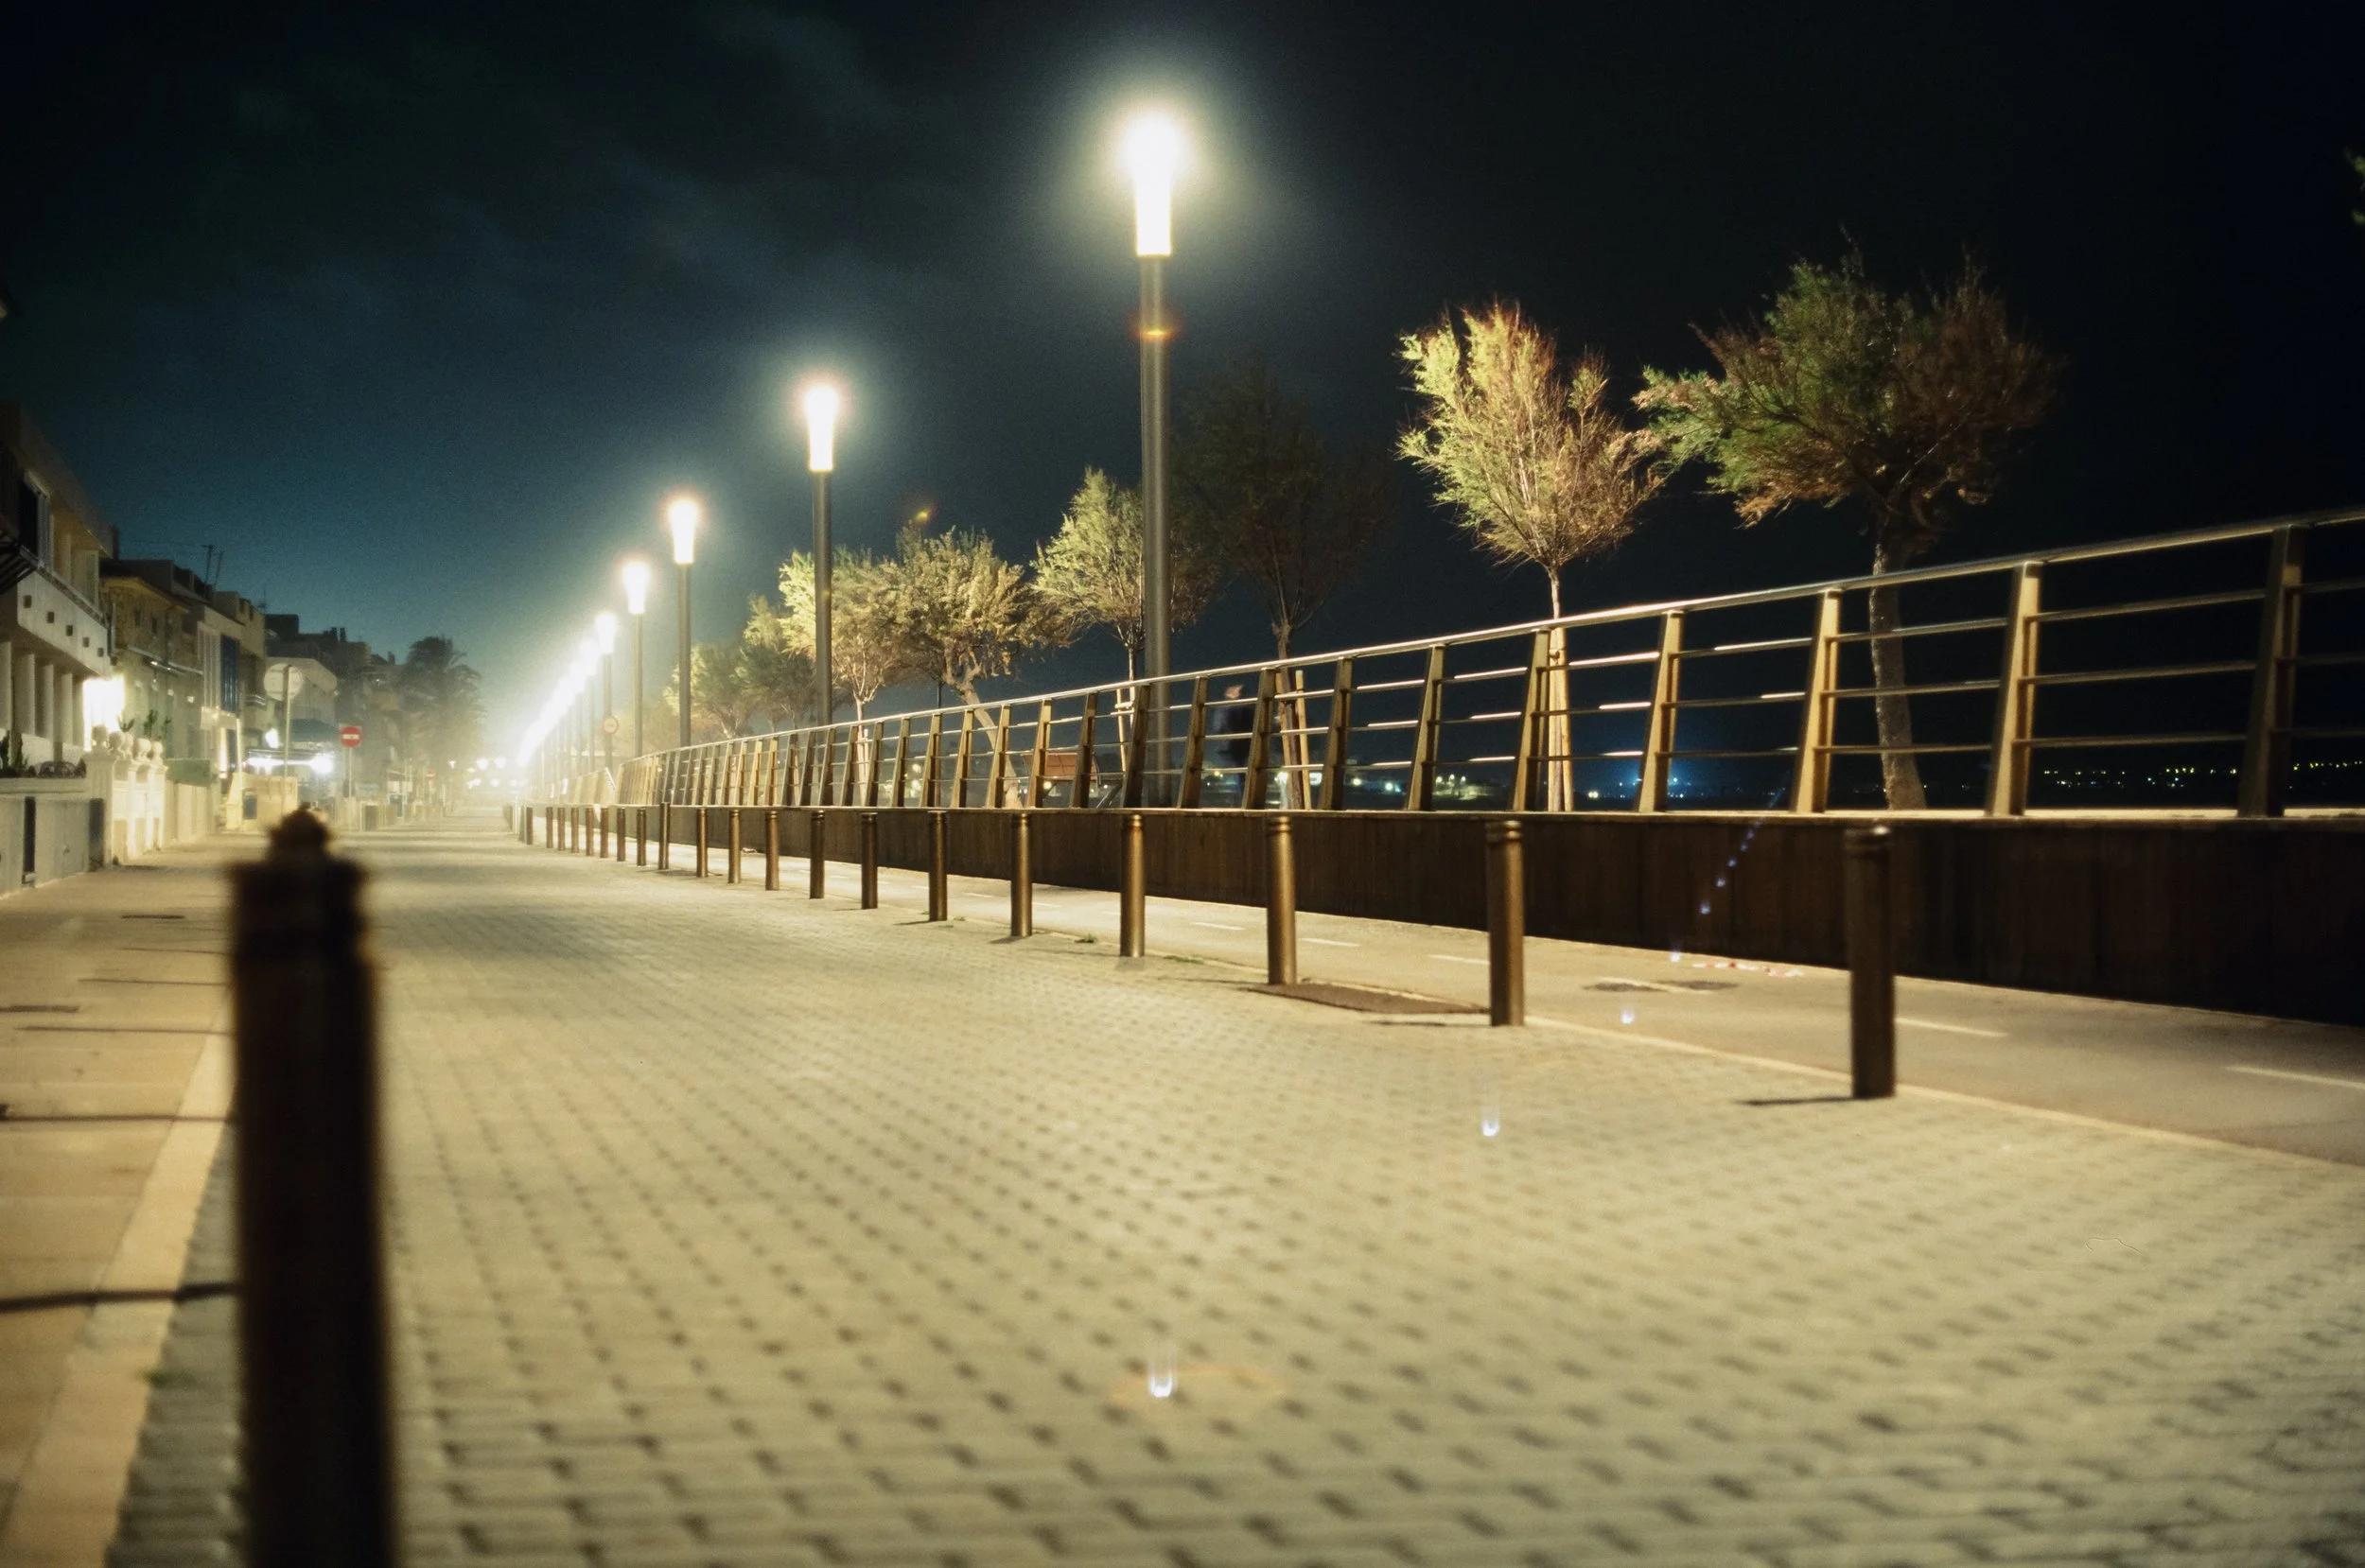
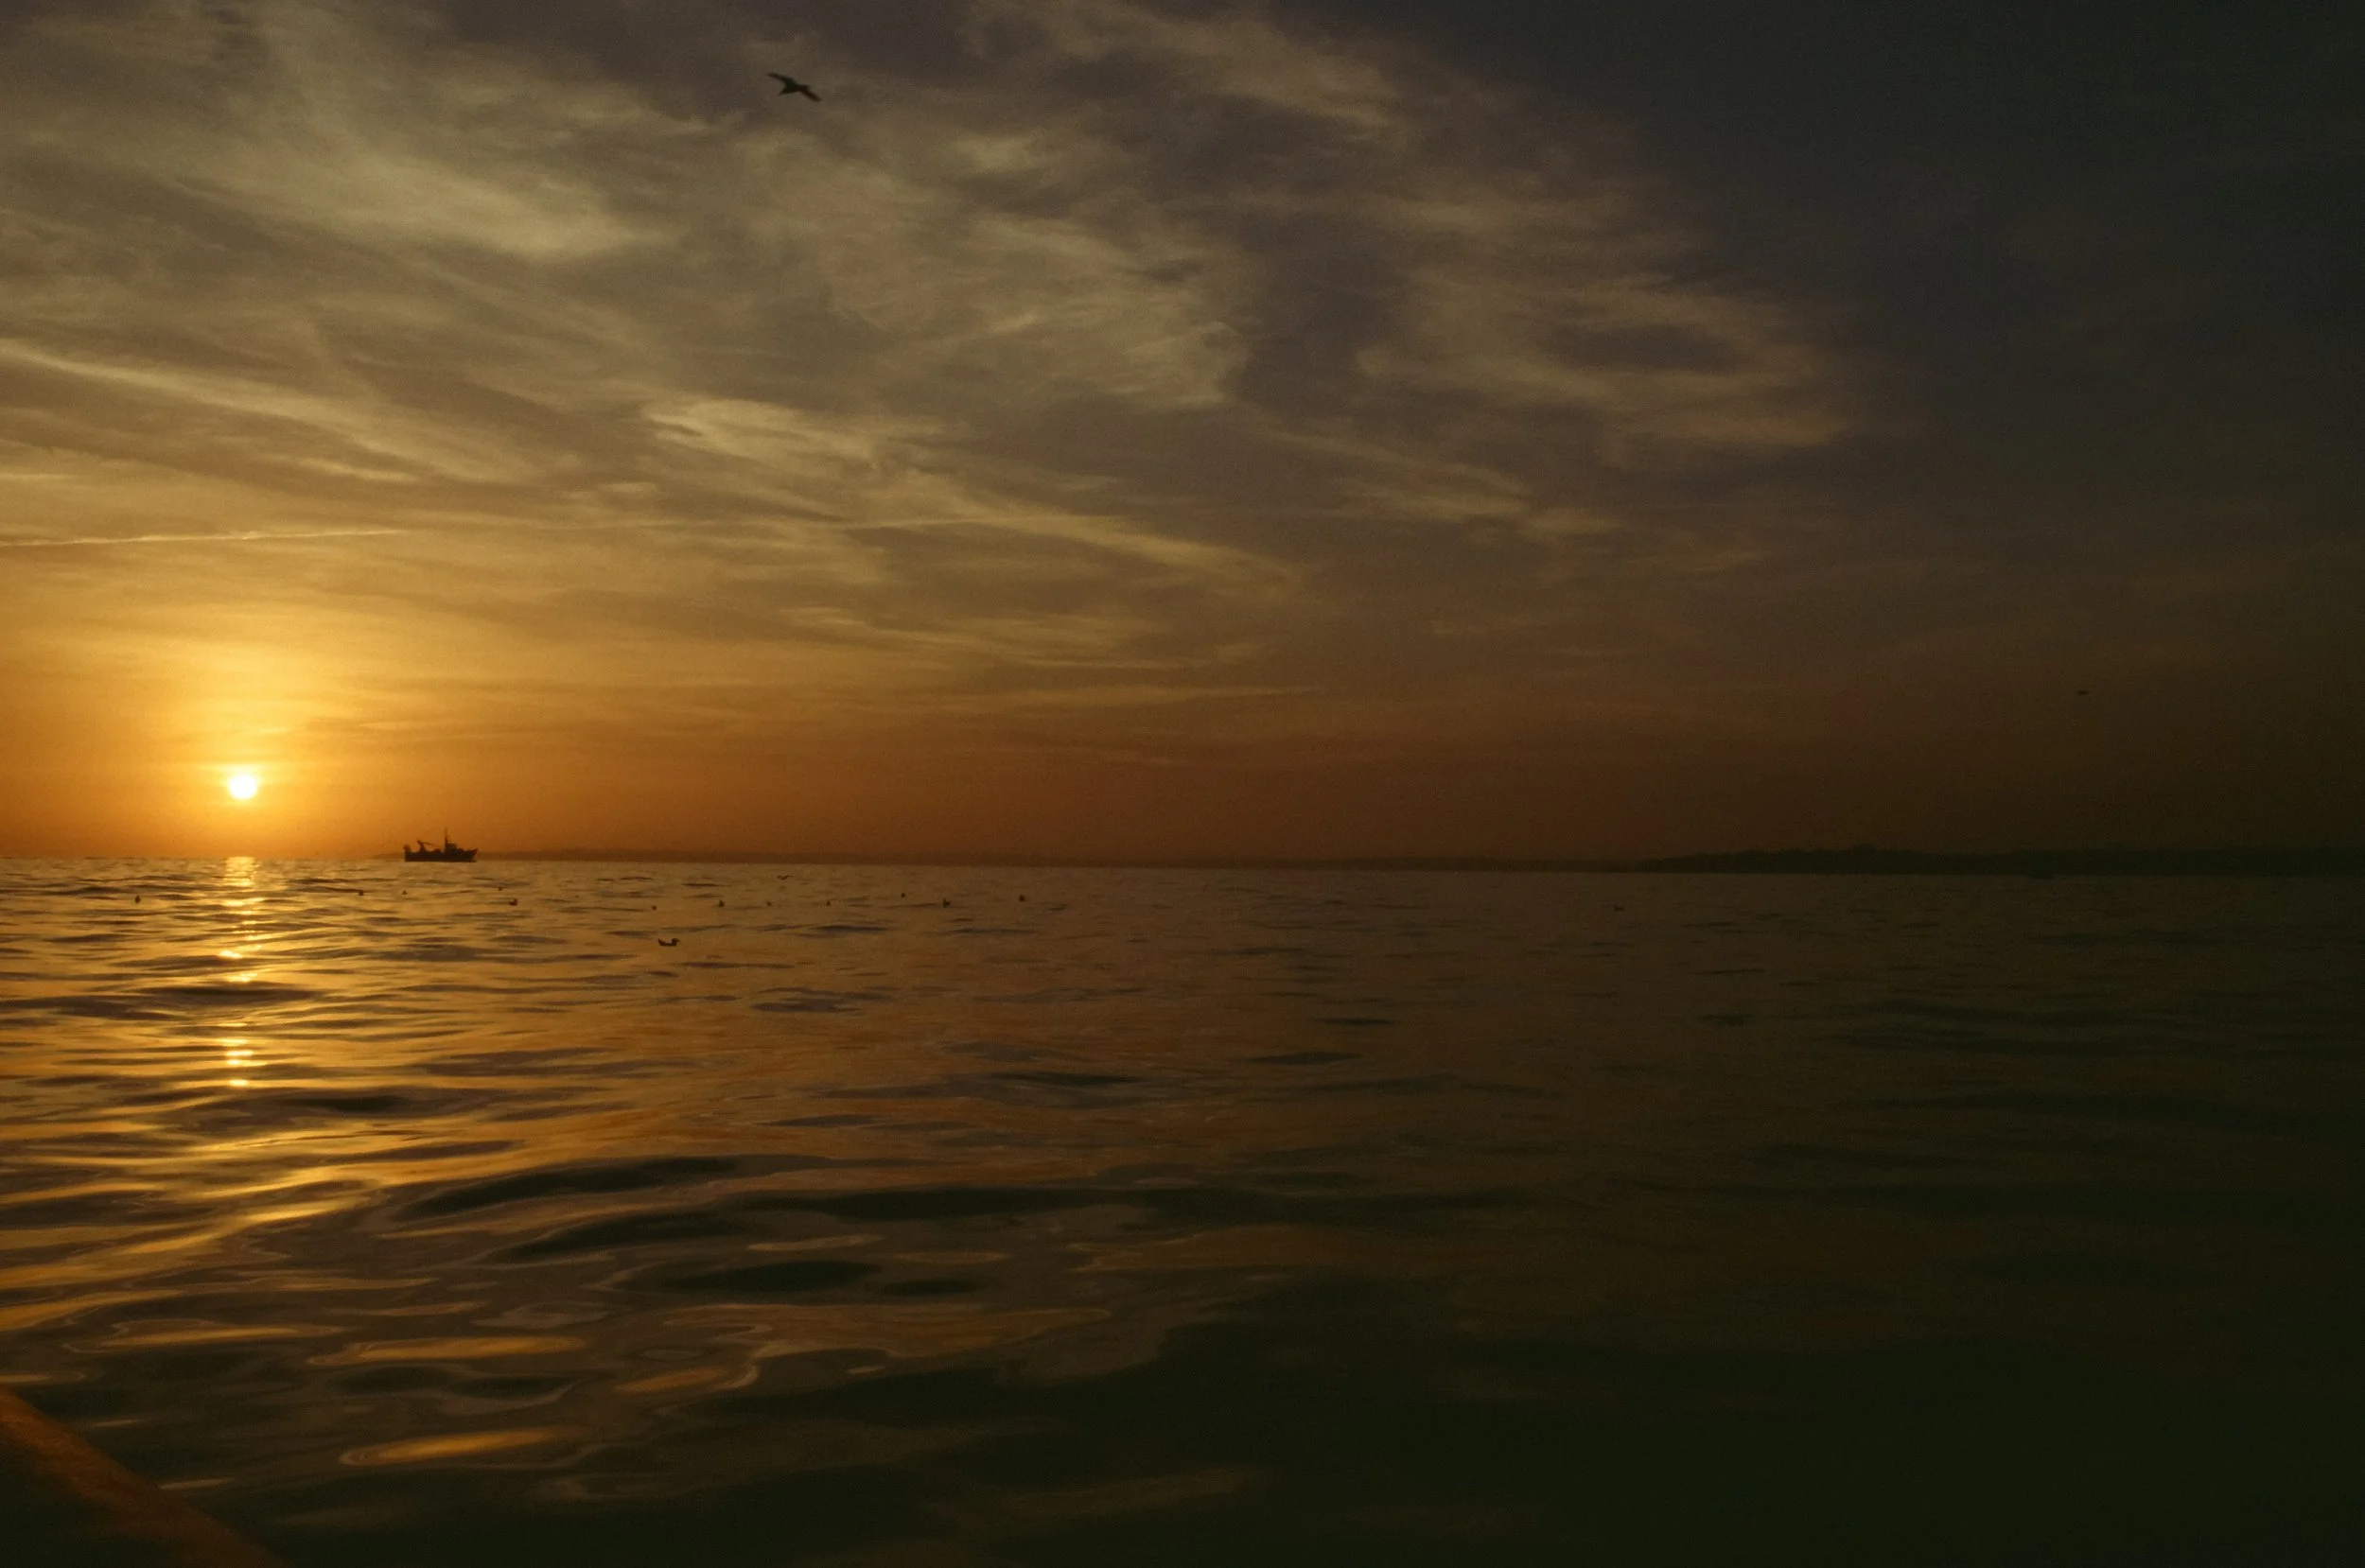
But here’s my take: Maybe the blue isn't the enemy. Here are some pictures of uncorrected lab scans. Ektachrome’s cooler color palette fits the rainy, rough Berlin aesthetic much better than any other film would have. Another thing it excels at is night photography (no resiprocity corrections needed for exposures beyond 10 seconds!), artificial light, and sunsets, as you can see in the following pictures.
Enjoyed this? You might also like:
Further reading and resources on Ektachrome
Analogcafe - Ektachrome Review
Casual Photophile - Six Months with Kodaks new Ektachrome
Dacaf Journal - Kodak Ektachrome 100 Review