Flash Photography with Film Cameras: Manual Flash, Auto Flash & Guide Numbers
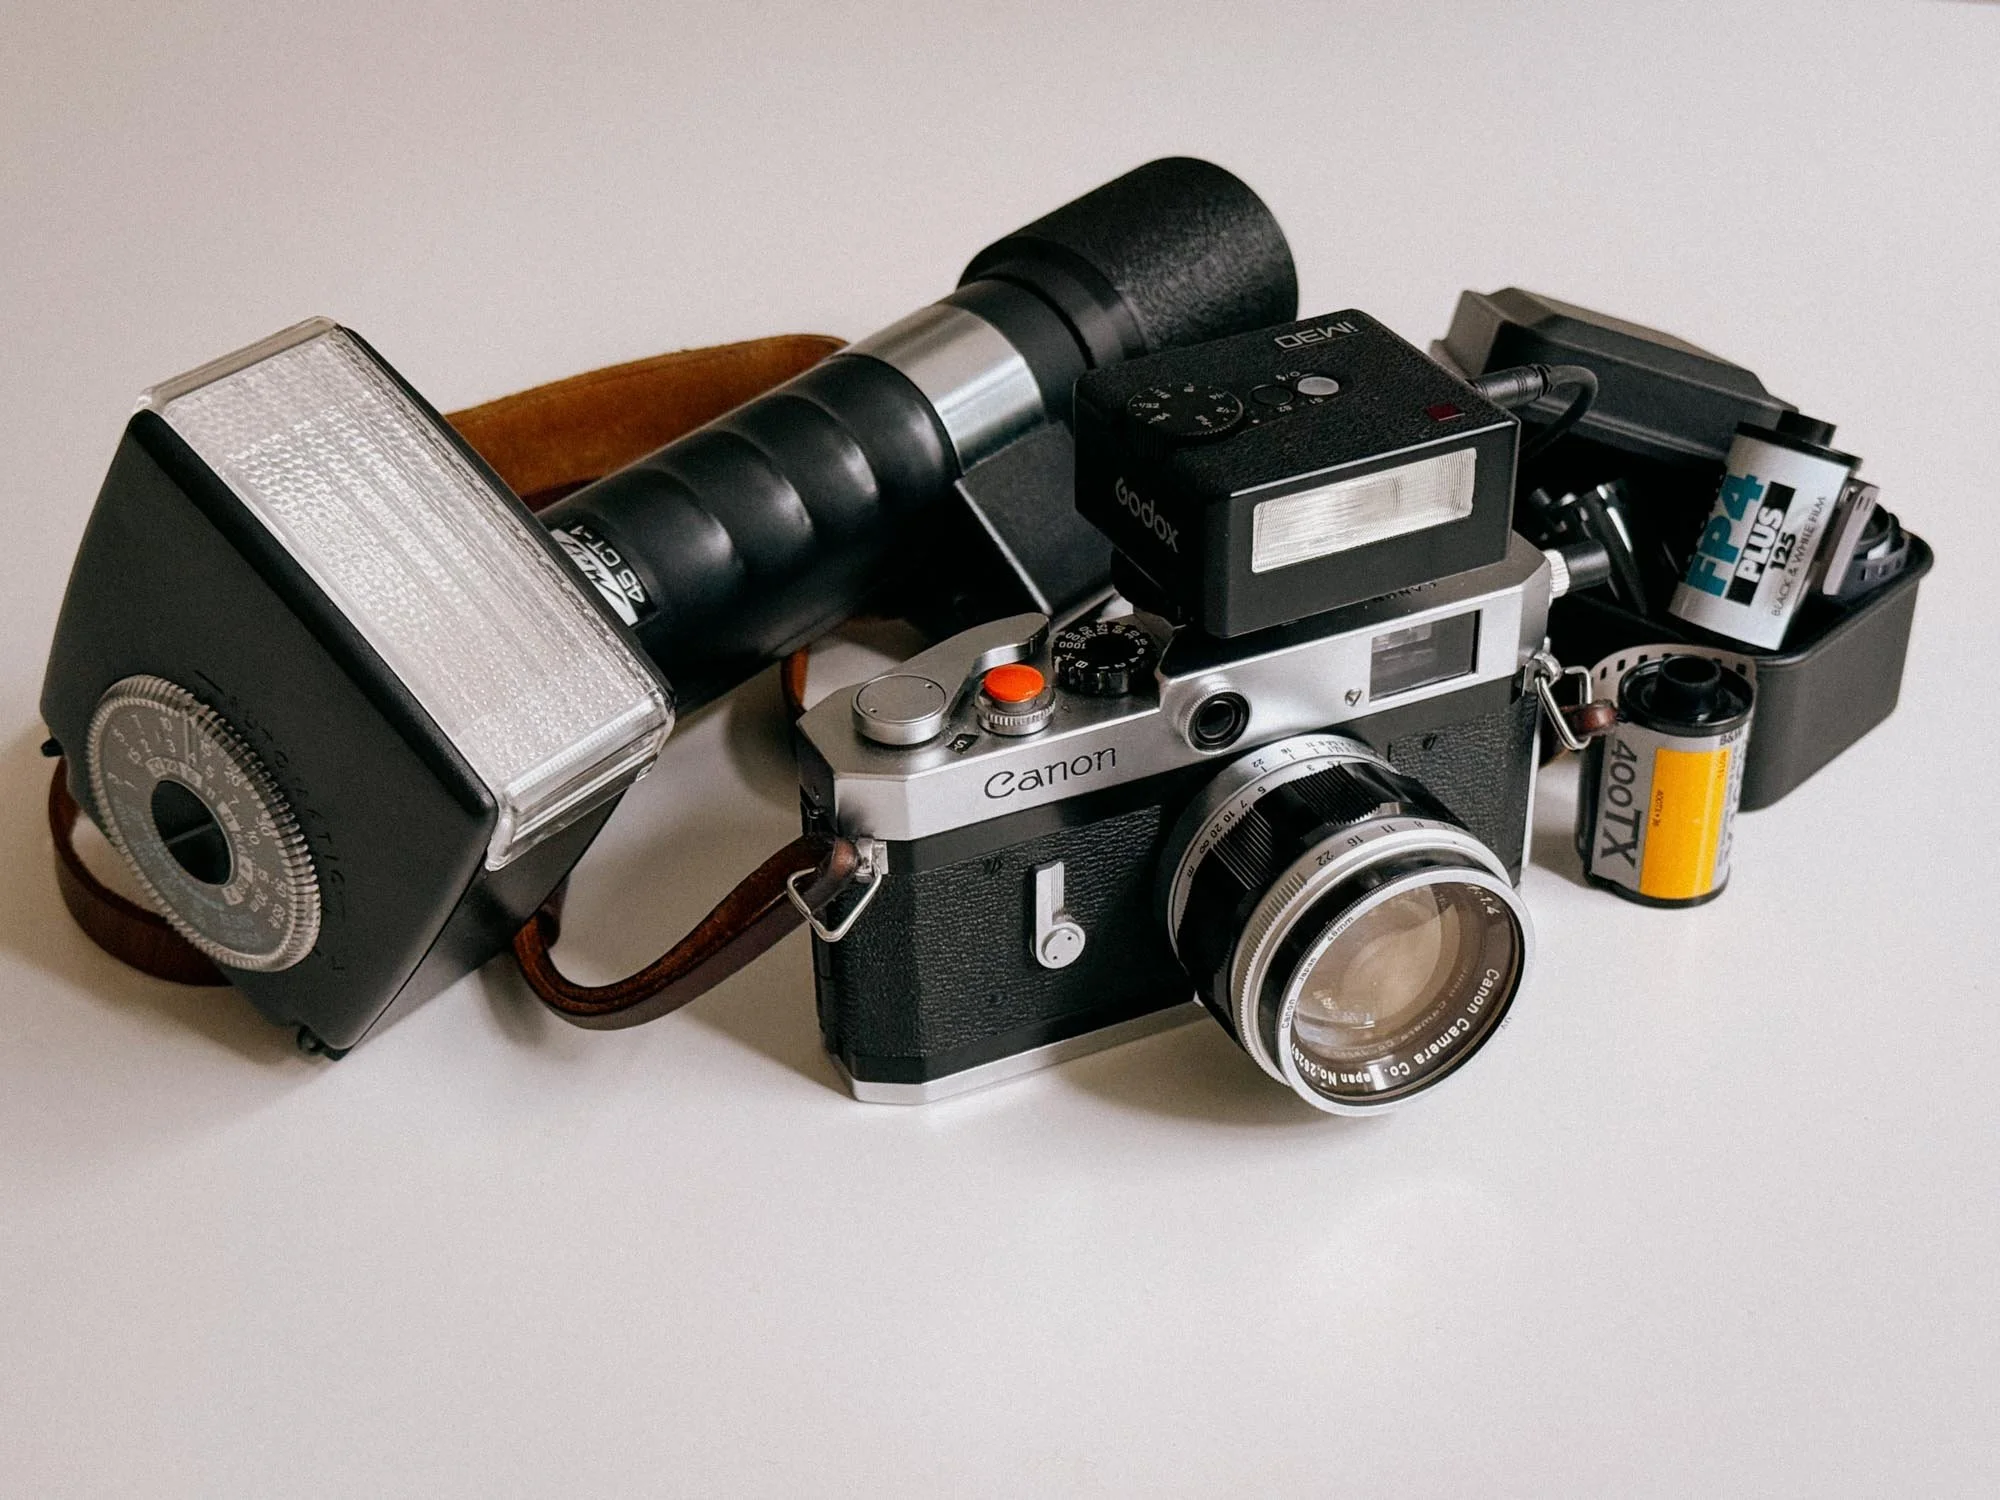
Flash on film just looks epic. There’s no denying that! From legends like Bruce Gilden and Martin Parr to younger photographers like Nat Segebre, there is just something about that direct, hard light. But why do most people struggle with it? Is it because we are just dumber? No. It’s because most vintage analog cameras lack modern safety nets like TTL metering. But that’s not really a problem. Once you understand how manual and auto flashes work, shooting flash on film is actually pretty easy.
Manual vs. Auto Flashes: What Works Best On Vintage Cameras?
Cold Shoe, Hot Shoe and PC Sync: How Flash Connects to Film Cameras
Understanding Guide Numbers (GN)
How To Calculate Manual Flash Exposure
My Canon P + Godox iM30 Manual Flash Setup
Using Modern Flashes on Vintage Cameras
Metz 45 CT-1: Auto Flash on Film the Old-School Way
Why Shoot Flash On Film

Cause it’s awesome.
Once you fall down the film photography rabbit hole, you will inevitably tumble into a section that is particularly bright and shiny: the flash photography section.
But why is it there?
Film simply does not give you the same ISO flexibility as modern digital cameras. ISO 3200 is where it ends with Kodak's T-Max and Ilford's Delta 3200. You can push film, of course, but sooner or later you run into more grain and less shadow detail.
Flash gives you another option. Instead of making the film faster, you simply bring your own light.
And that is where flash on film gets interesting. You can shoot slow film in very low light and still freeze your subject.
On top of that, depending on your lens, 1/60th of a second is typically the slowest shutter speed recommended for shooting handheld without getting blurry images. Simply exposing for longer won’t do the trick either.
If there is not enough light, your picture will not come out great. This is exactly where a strobe comes in handy. It lets you shoot ISO 50 film in pitch-black conditions while literally freezing the action.
Manual vs. Auto Flashes: What Works Best On Vintage Cameras?
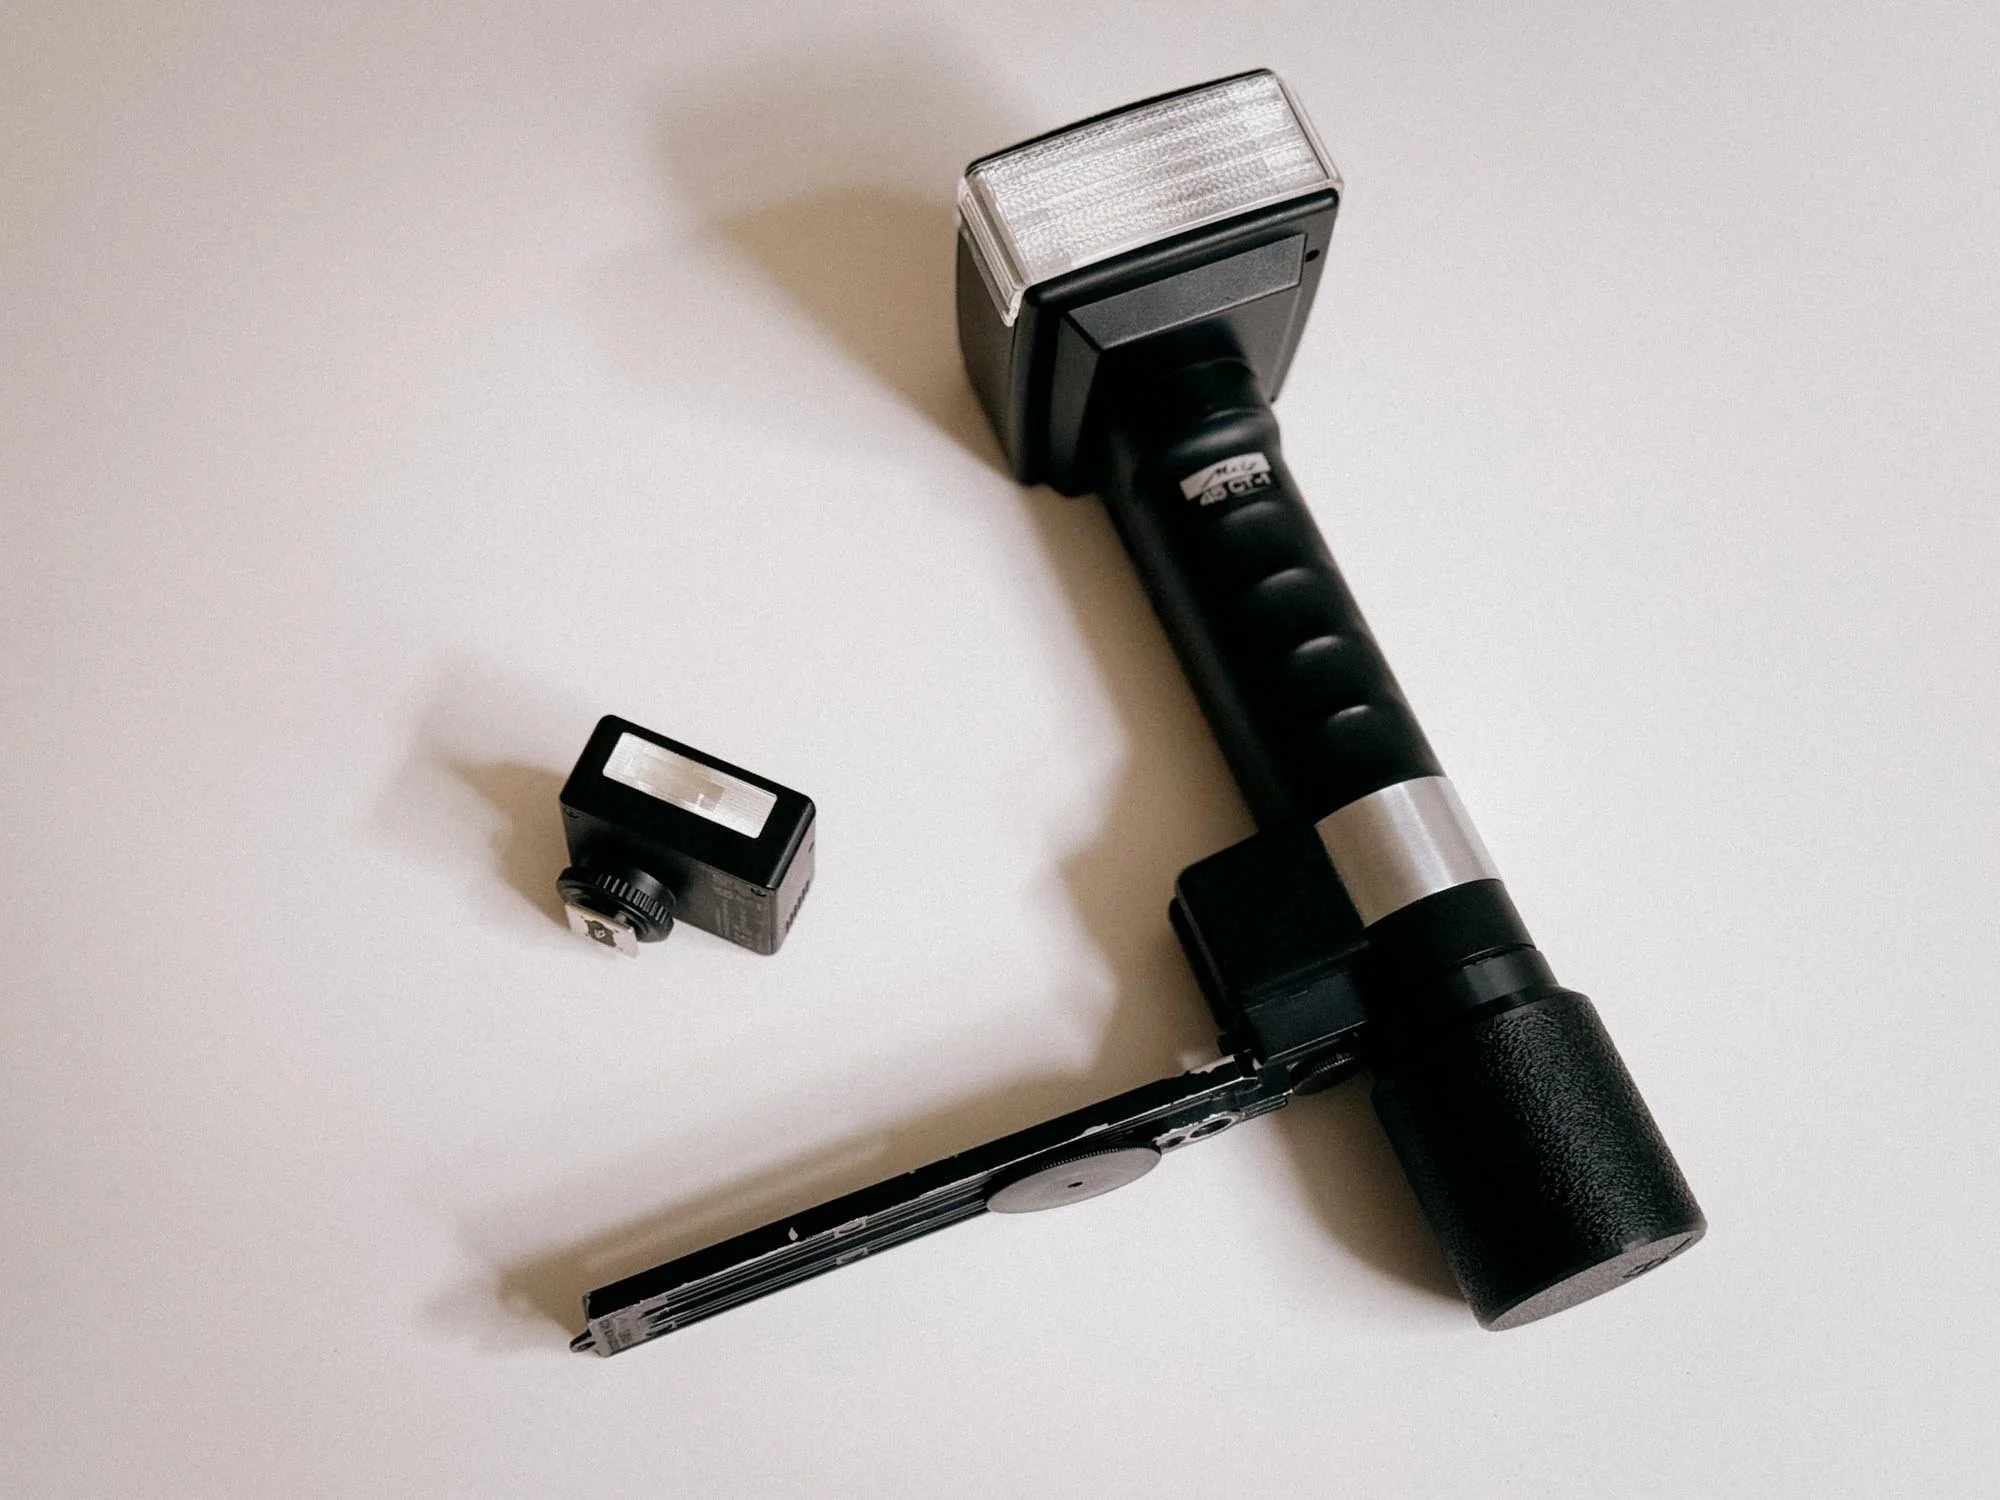
Godox IM30 Next To Metz 45 CT-1
There are basically three ways a flash can handle exposure: manual, Auto-Thyristor and TTL. You can think of it like this; Your analog camera is dumb, it does not know how much light your flash is creating. So what to do? Either you know and calculate the settings of the flash and the camera - which you already have guessed would be the manual version - or you have a flash that tells you how to set your camera and controls the output independently. Which would be an automatic Thyristor flash. OR you have a TTL capable flash that communicates with the camera.
But which one should you get? Well that depends on the camera you would want to use.
Cold Shoe, Hot Shoe and PC Sync: How Flash Connects to Film Cameras
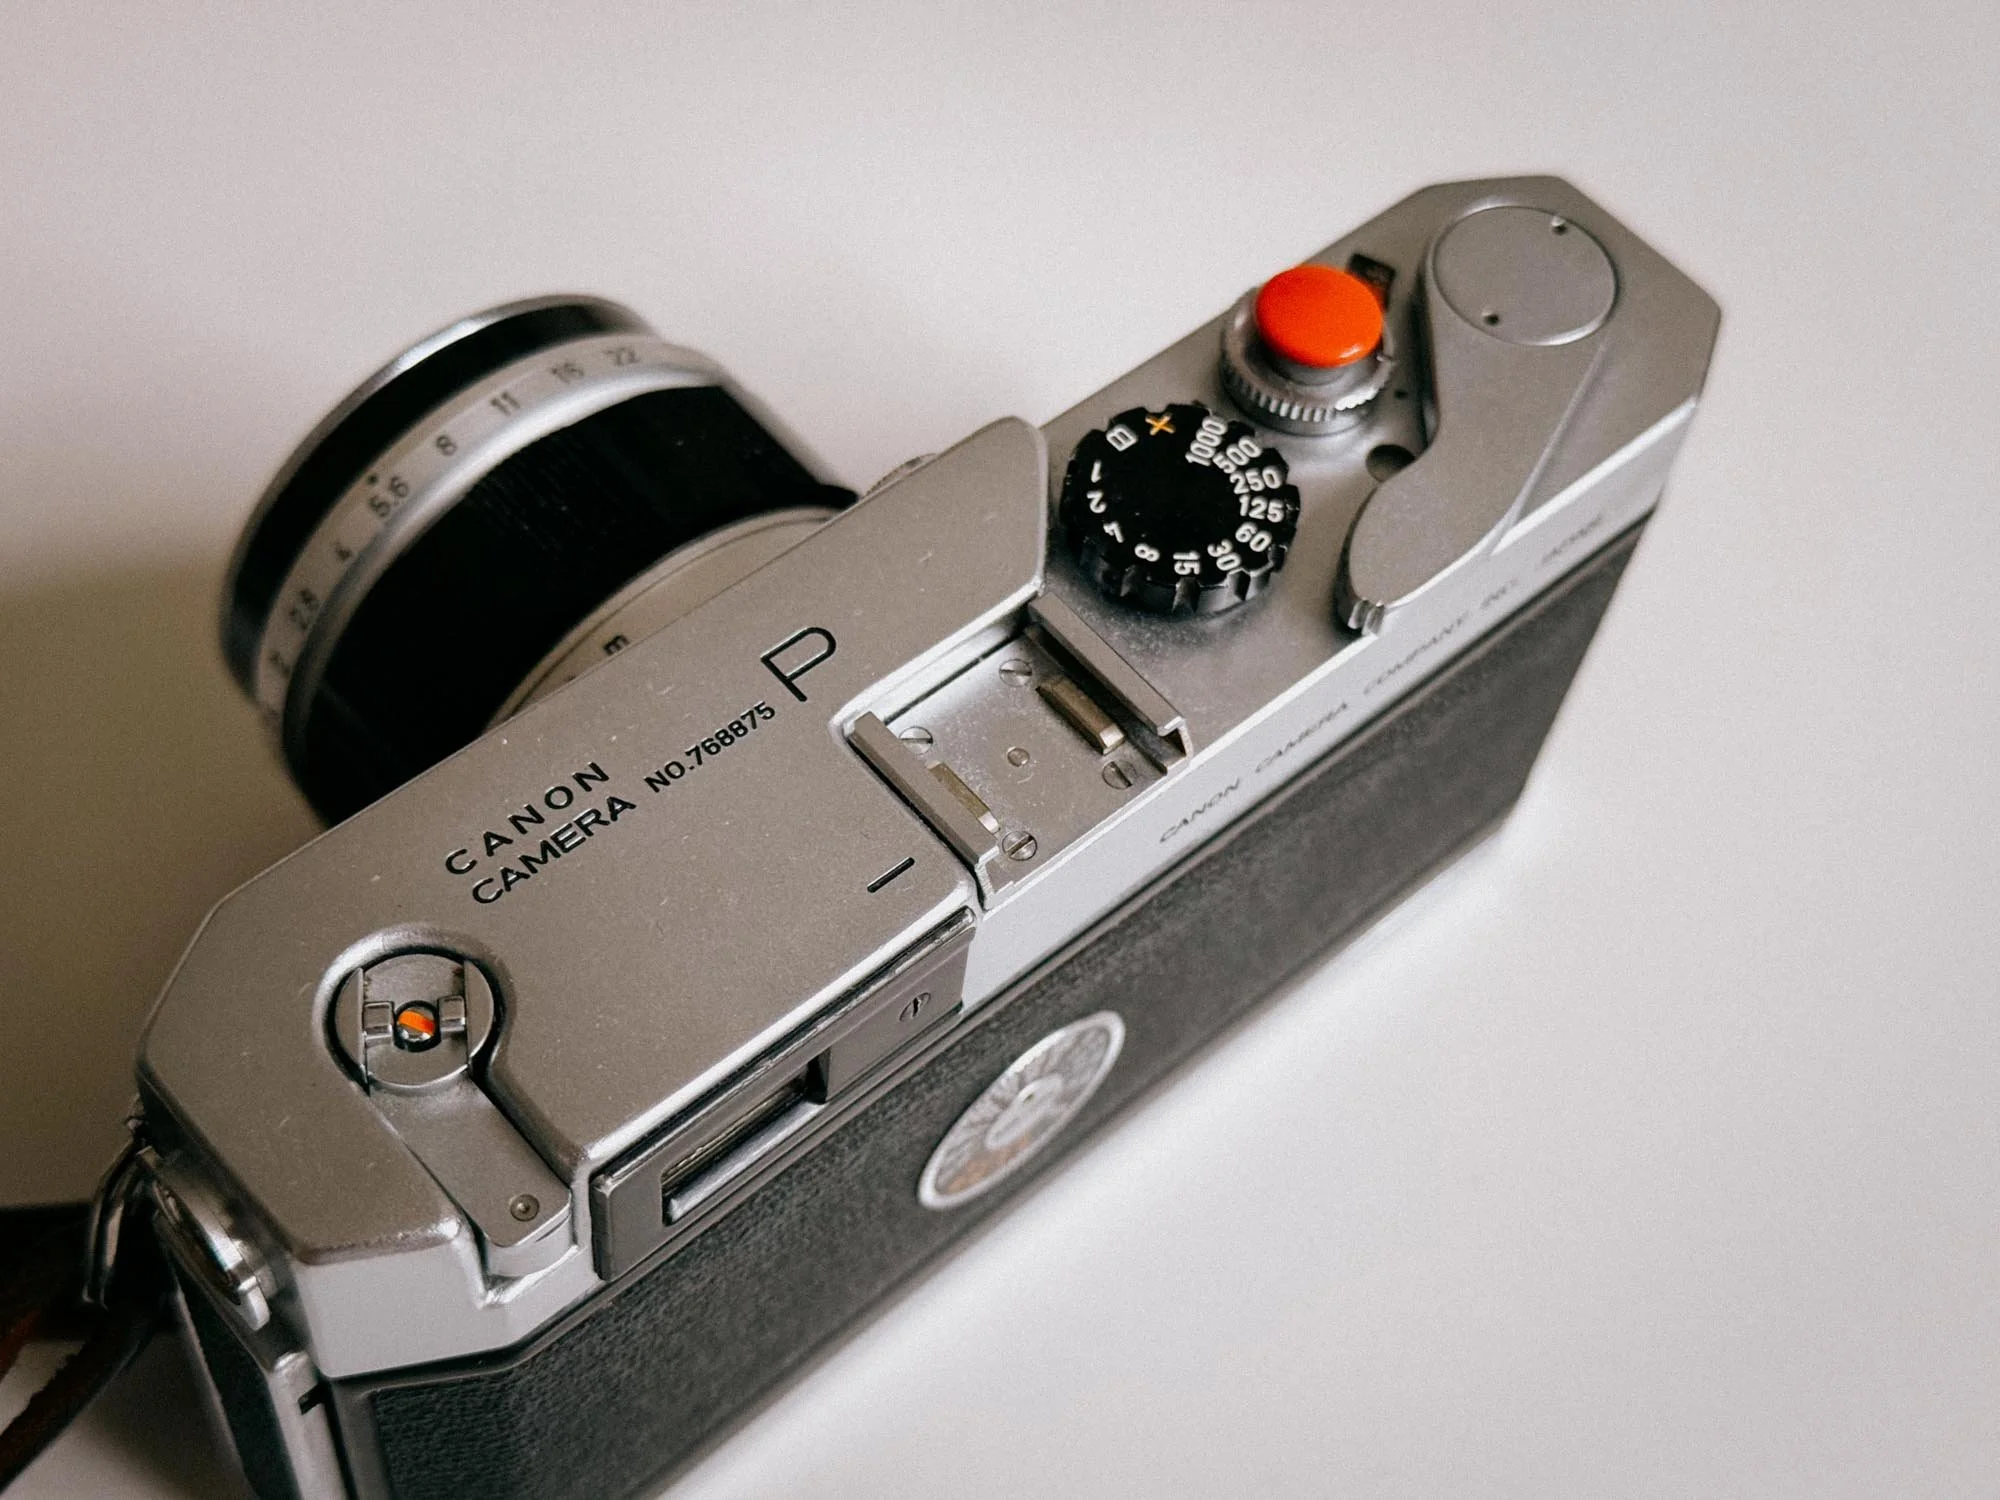
Canon P Cold Shoe
Before you invest in a flash, you need to understand how it actually connects to your camera and how it calculates the light.
How it Connects: Cold Shoe vs. Hot Shoe
Cold Shoe & PC Sync Cable: If you shoot with a very old camera, like a Canon P, the bracket on top is likely a "cold shoe." It’s just a piece of metal designed to hold the flash, but there is no electronic connection. To trigger the strobe, you have to connect a PC sync cable from the flash directly to the flash socket on your camera body.
Hot Shoe: Most cameras from the late 1970s onwards feature a "hot shoe." You can easily spot it by the little metal contact points in the center. Meaning, when you press the shutter, an electronic signal travels directly through the shoe to fire the flash. No dangling cables are required.
How it Calculates Light: Manual, Auto, and TTL
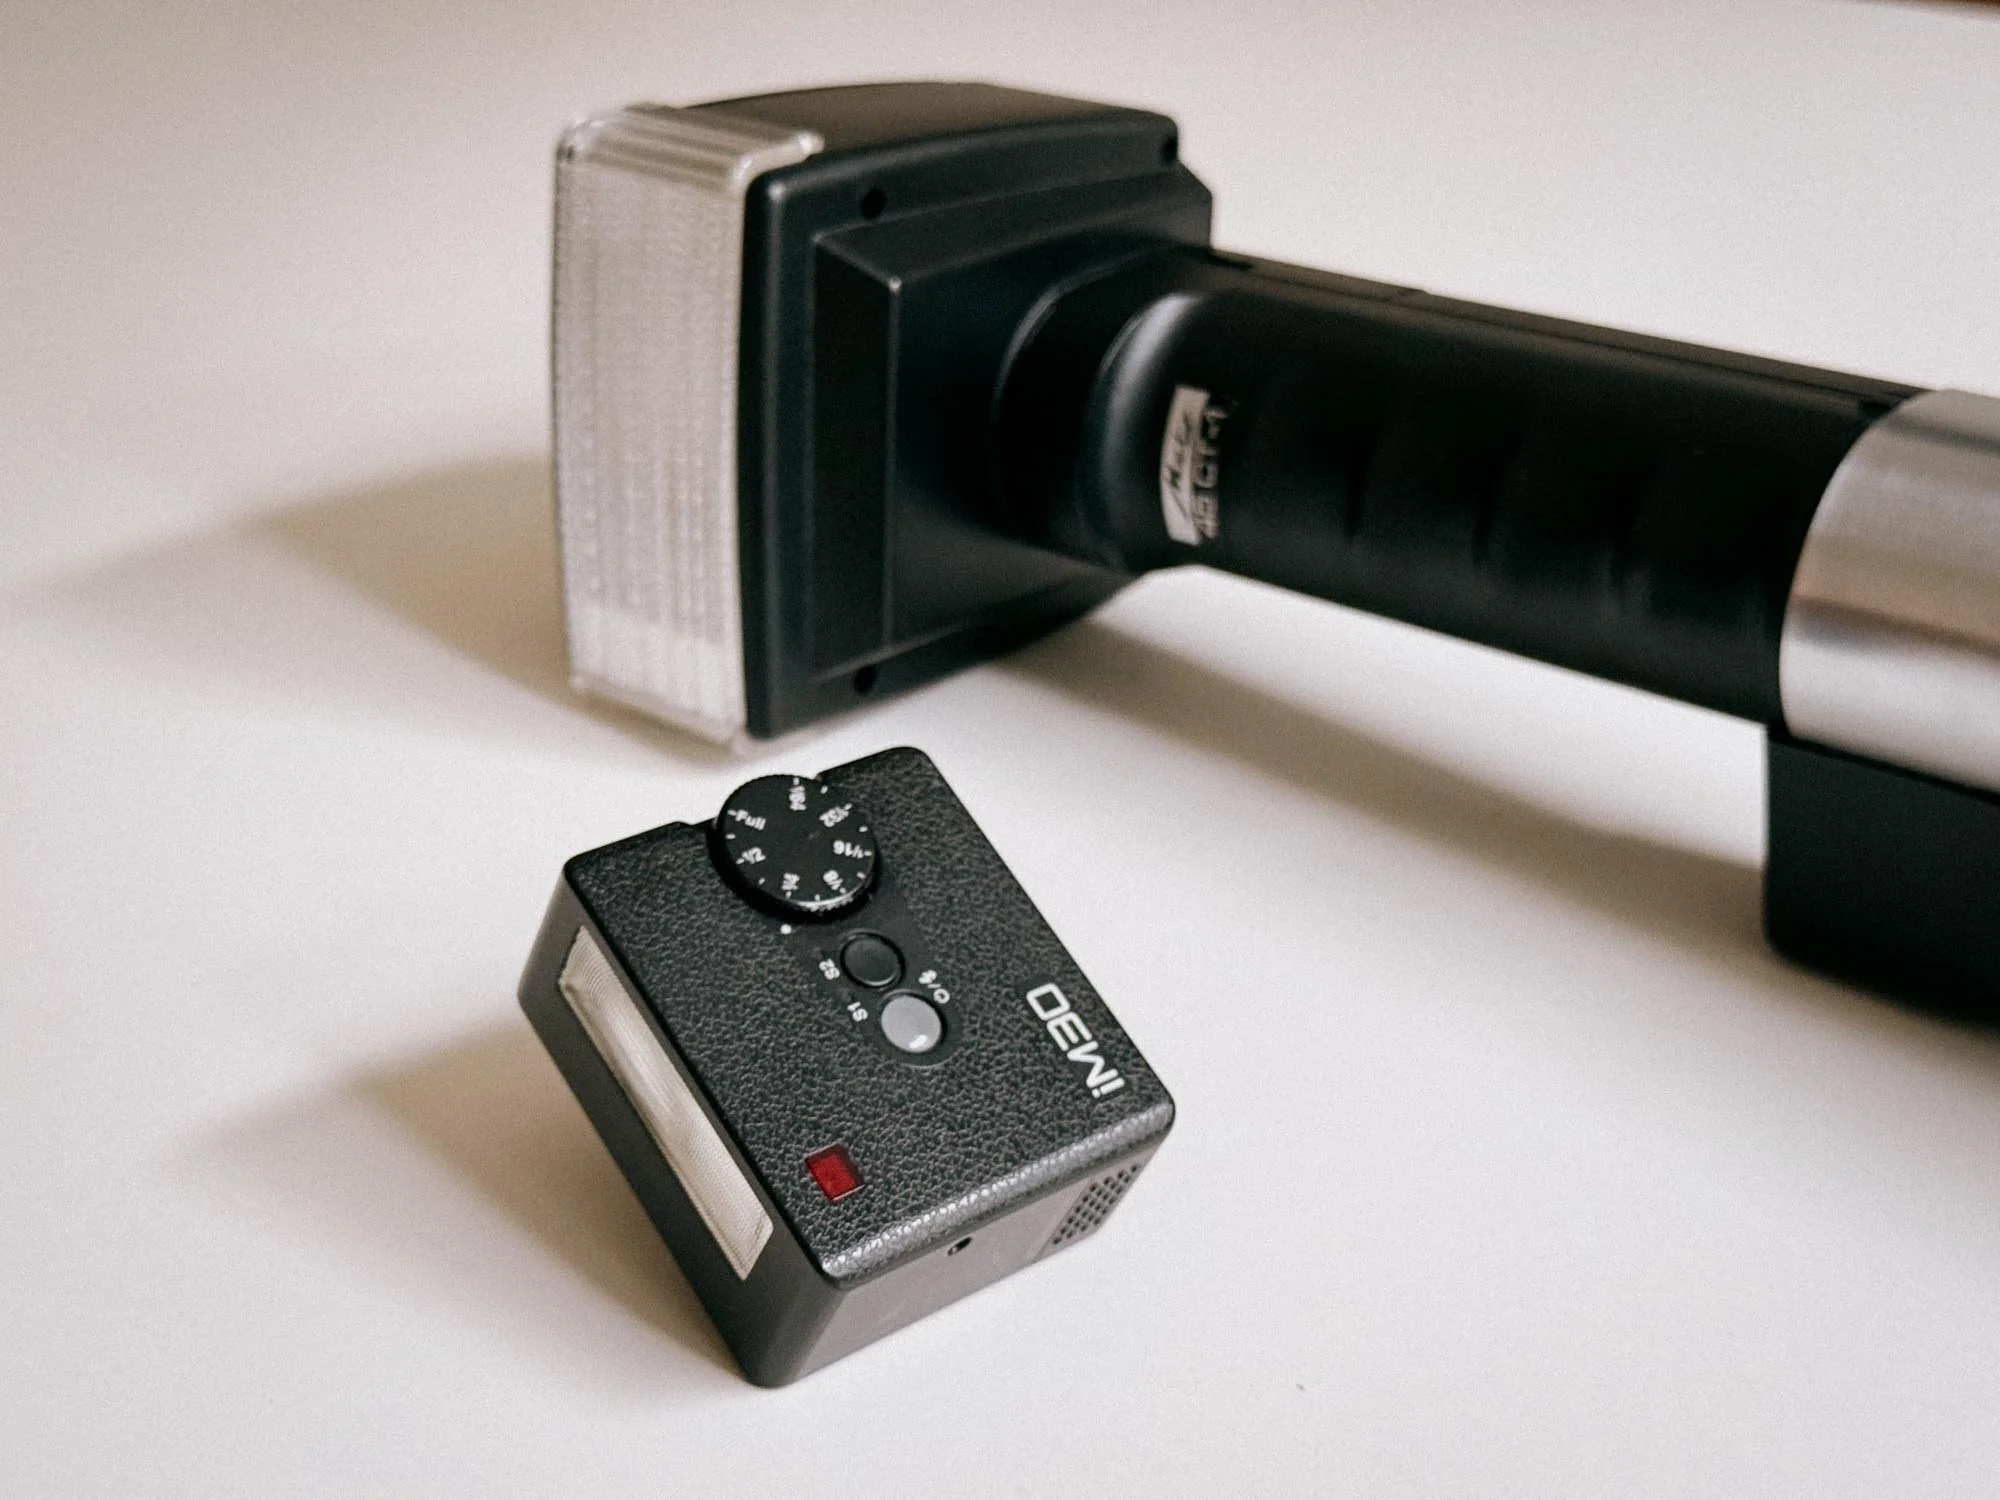
Top View Of The Godox IM30 And Metz 45 CT-1
Once the flash is connected, how does it know how much light to spit out? There are three main systems:
Manual Flashes: A manual flash fires at whatever power you set it to (Full, 1/2, 1/4 power, etc.). You have to do the math to ensure proper exposure. But don't panic, I will show you exactly how to calculate it in just a minute.
Auto Flashes: A Thyristor flash has a light sensor built into the front of the flash itself. You dial in your film's ISO and set your lens aperture, and the flash takes care of the rest. When it fires, the sensor measures the light bouncing back from your subject and instantly cuts the power when the exposure is perfect. Strobes like the Metz 45 (which we will check out in a bit) give you automatic flash exposure on cameras like older Nikon Fs that have absolutely zero electronics inside!
TTL (Through The Lens) Flashes: The camera measures the flash exposure through the lens and tells the strobe when to shut off. The thing is that your camera needs to have a built-in TTL computer (like a 1990s Nikon F100 or Canon EOS), and the flash must speak that exact brand's language. If you put a modern TTL flash on a fully mechanical 1970s SLR, it won't magically give you TTL metering.
Understanding Guide Numbers (GN)
How do you know how much power a flash actually has under its hood? Most flashes are rated with a specific value called a Guide Number (GN). This number defines the flash's maximum output in correlation with your film's ISO and the distance to the subject being photographed. Therefore, it allows you to easily calculate the exact aperture needed to get a proper exposure.
Guide Number (GN) = Aperture (f-stop) x Distance
Conditions for Guide Number Ratings
Manufacturers state the Guide Number under specific baseline conditions. When comparing flashes, always check for these two factors:
ISO 100: The standard rating is almost always calculated based on an ISO 100 film stock.
Meters vs. Feet: In Europe, distance is measured in meters (e.g., GN 32 in meters). In the US, it is measured in feet, which results in a much higher number for the exact same physical light output (e.g., GN 105 in feet).
You can now easily calculate the aperture or distance!
How To Calculate Manual Flash Exposure
Let’s say you are using a flash at full power with a Guide Number of 32 (measured in meters, using an ISO 100 film stock).
Scenario A: Your subject is 4 meters away.
32 GN / 4m = f/8
Simply set your lens aperture to f/8.
Scenario B: You specifically want to shoot at f/4.
32 GN / f/4 = 8m
Your subject must be 8 meters away for a perfect exposure.
I know this sounds horribly technical, but hang in there, we will go through it again in a very practical way.
What about Shutter Speed?
You might have noticed one major setting missing from our Guide Number calculation: shutter speed. Why isn't it part of the math?
At normal sync speeds, shutter speed does not change the amount of flash light reaching your subject. It mainly changes how much ambient light is recorded.
This brings us to another rule of manual flash photography:
Aperture controls your flash exposure (how bright your subject is).
Shutter speed controls ambient light (how bright your background looks).
You want a moody photo with a stark, dark background? Set your shutter speed to your camera’s maximum sync speed. Want to pull up the ambient light so the background isn't just black? Set your shutter to 1/30s or 1/15s.
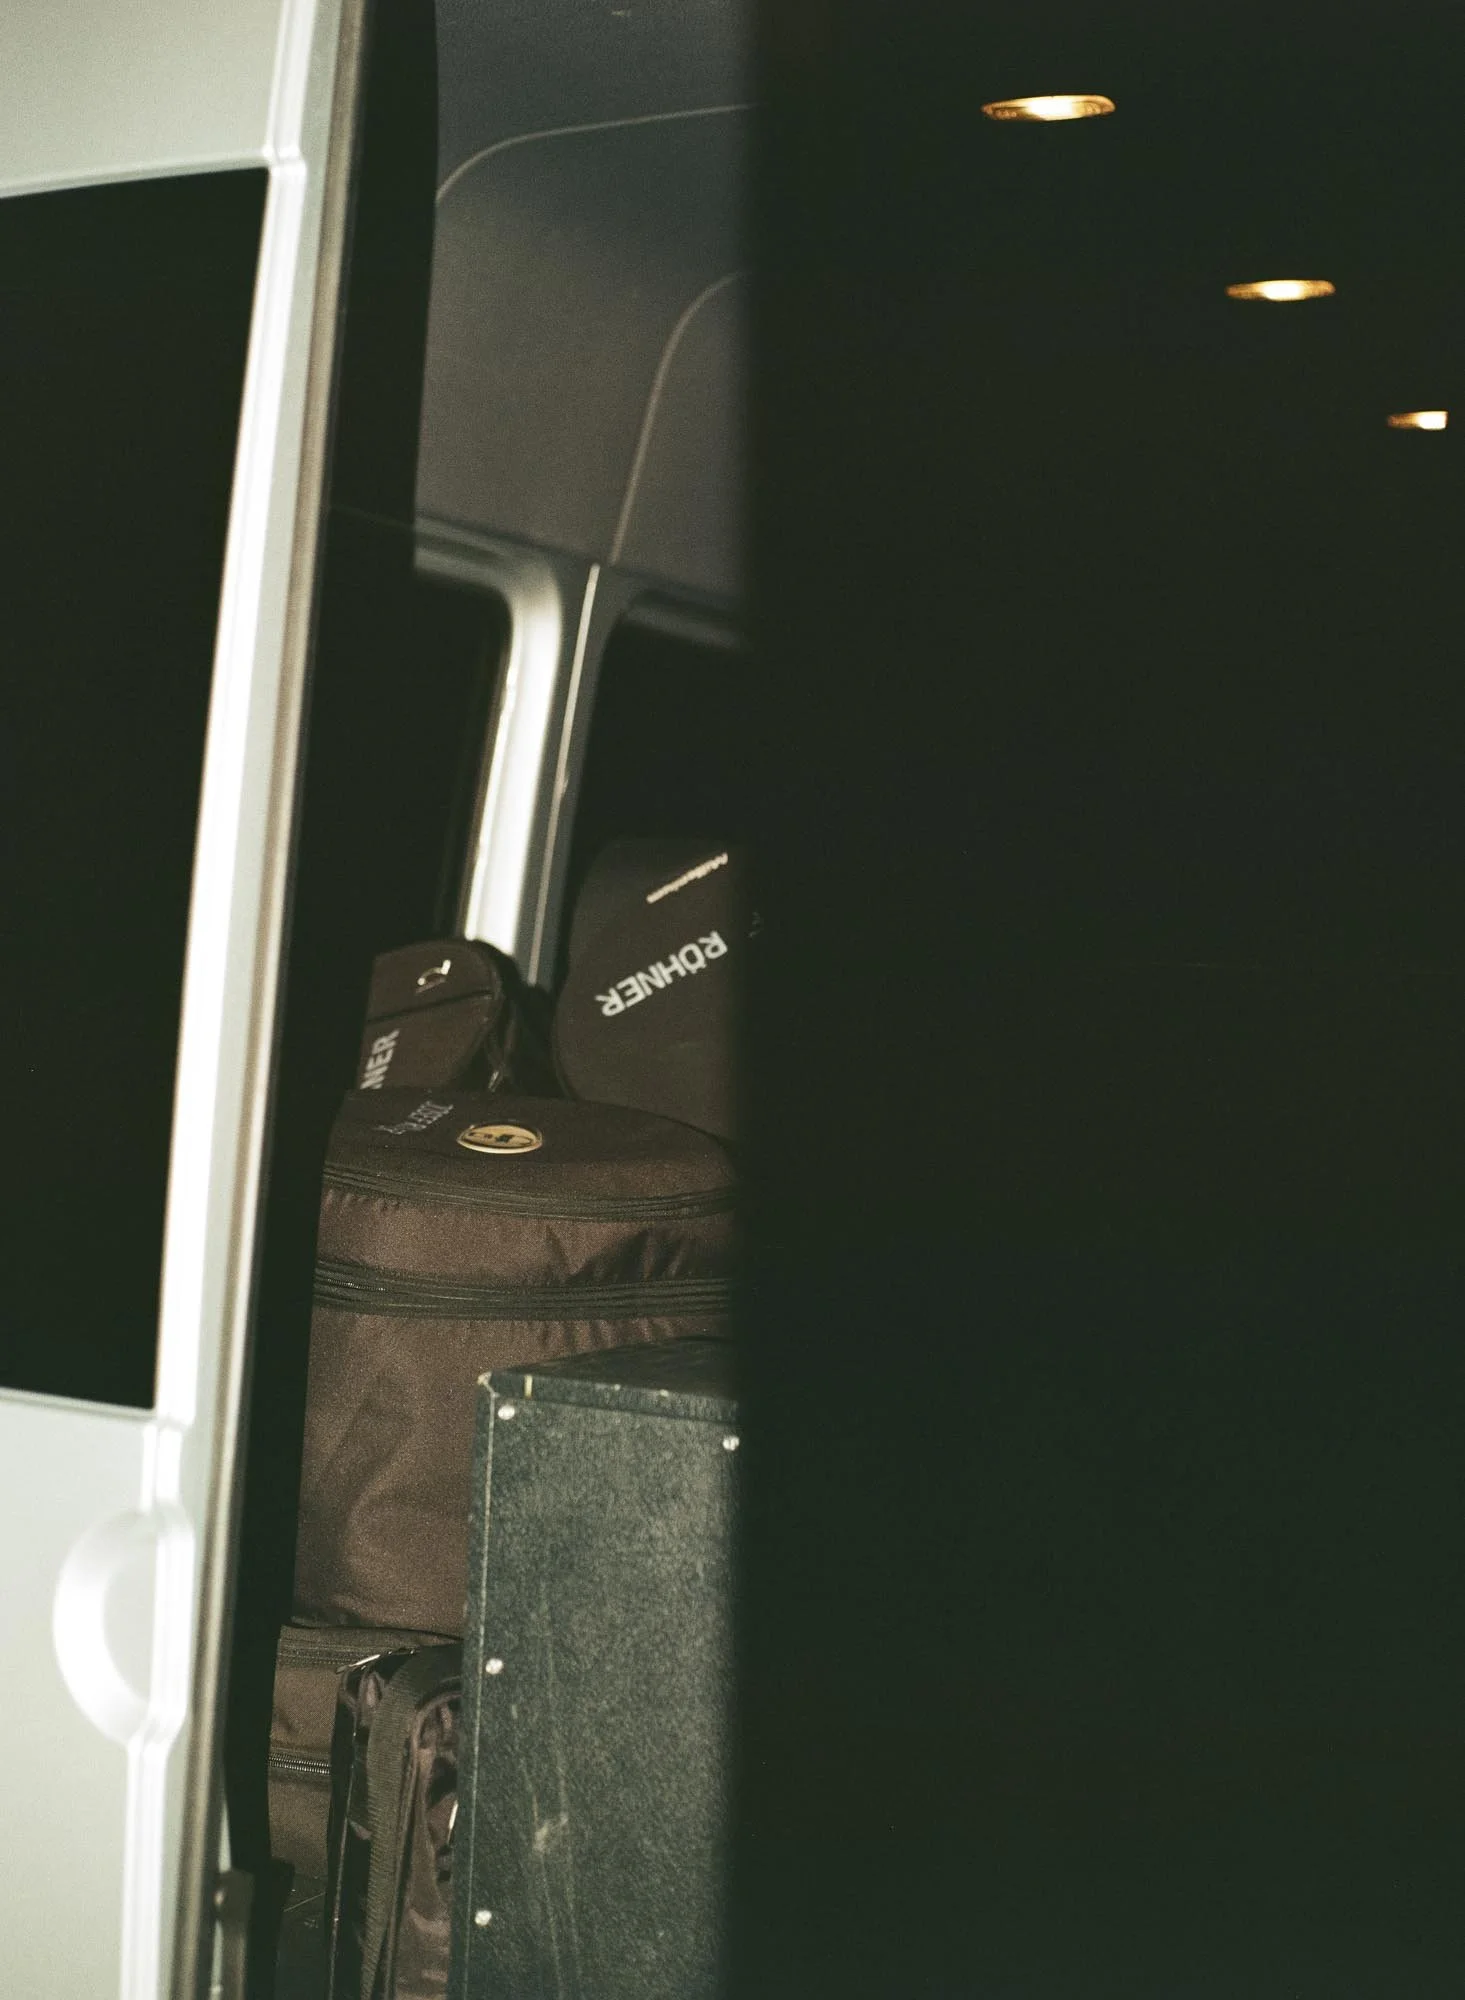
Shutter Capping
Just remember to stay at or below your camera's max flash sync speed, typically 1/60s. Otherwise you will loose half of your image.
My Canon P + Godox iM30 Manual Flash Setup
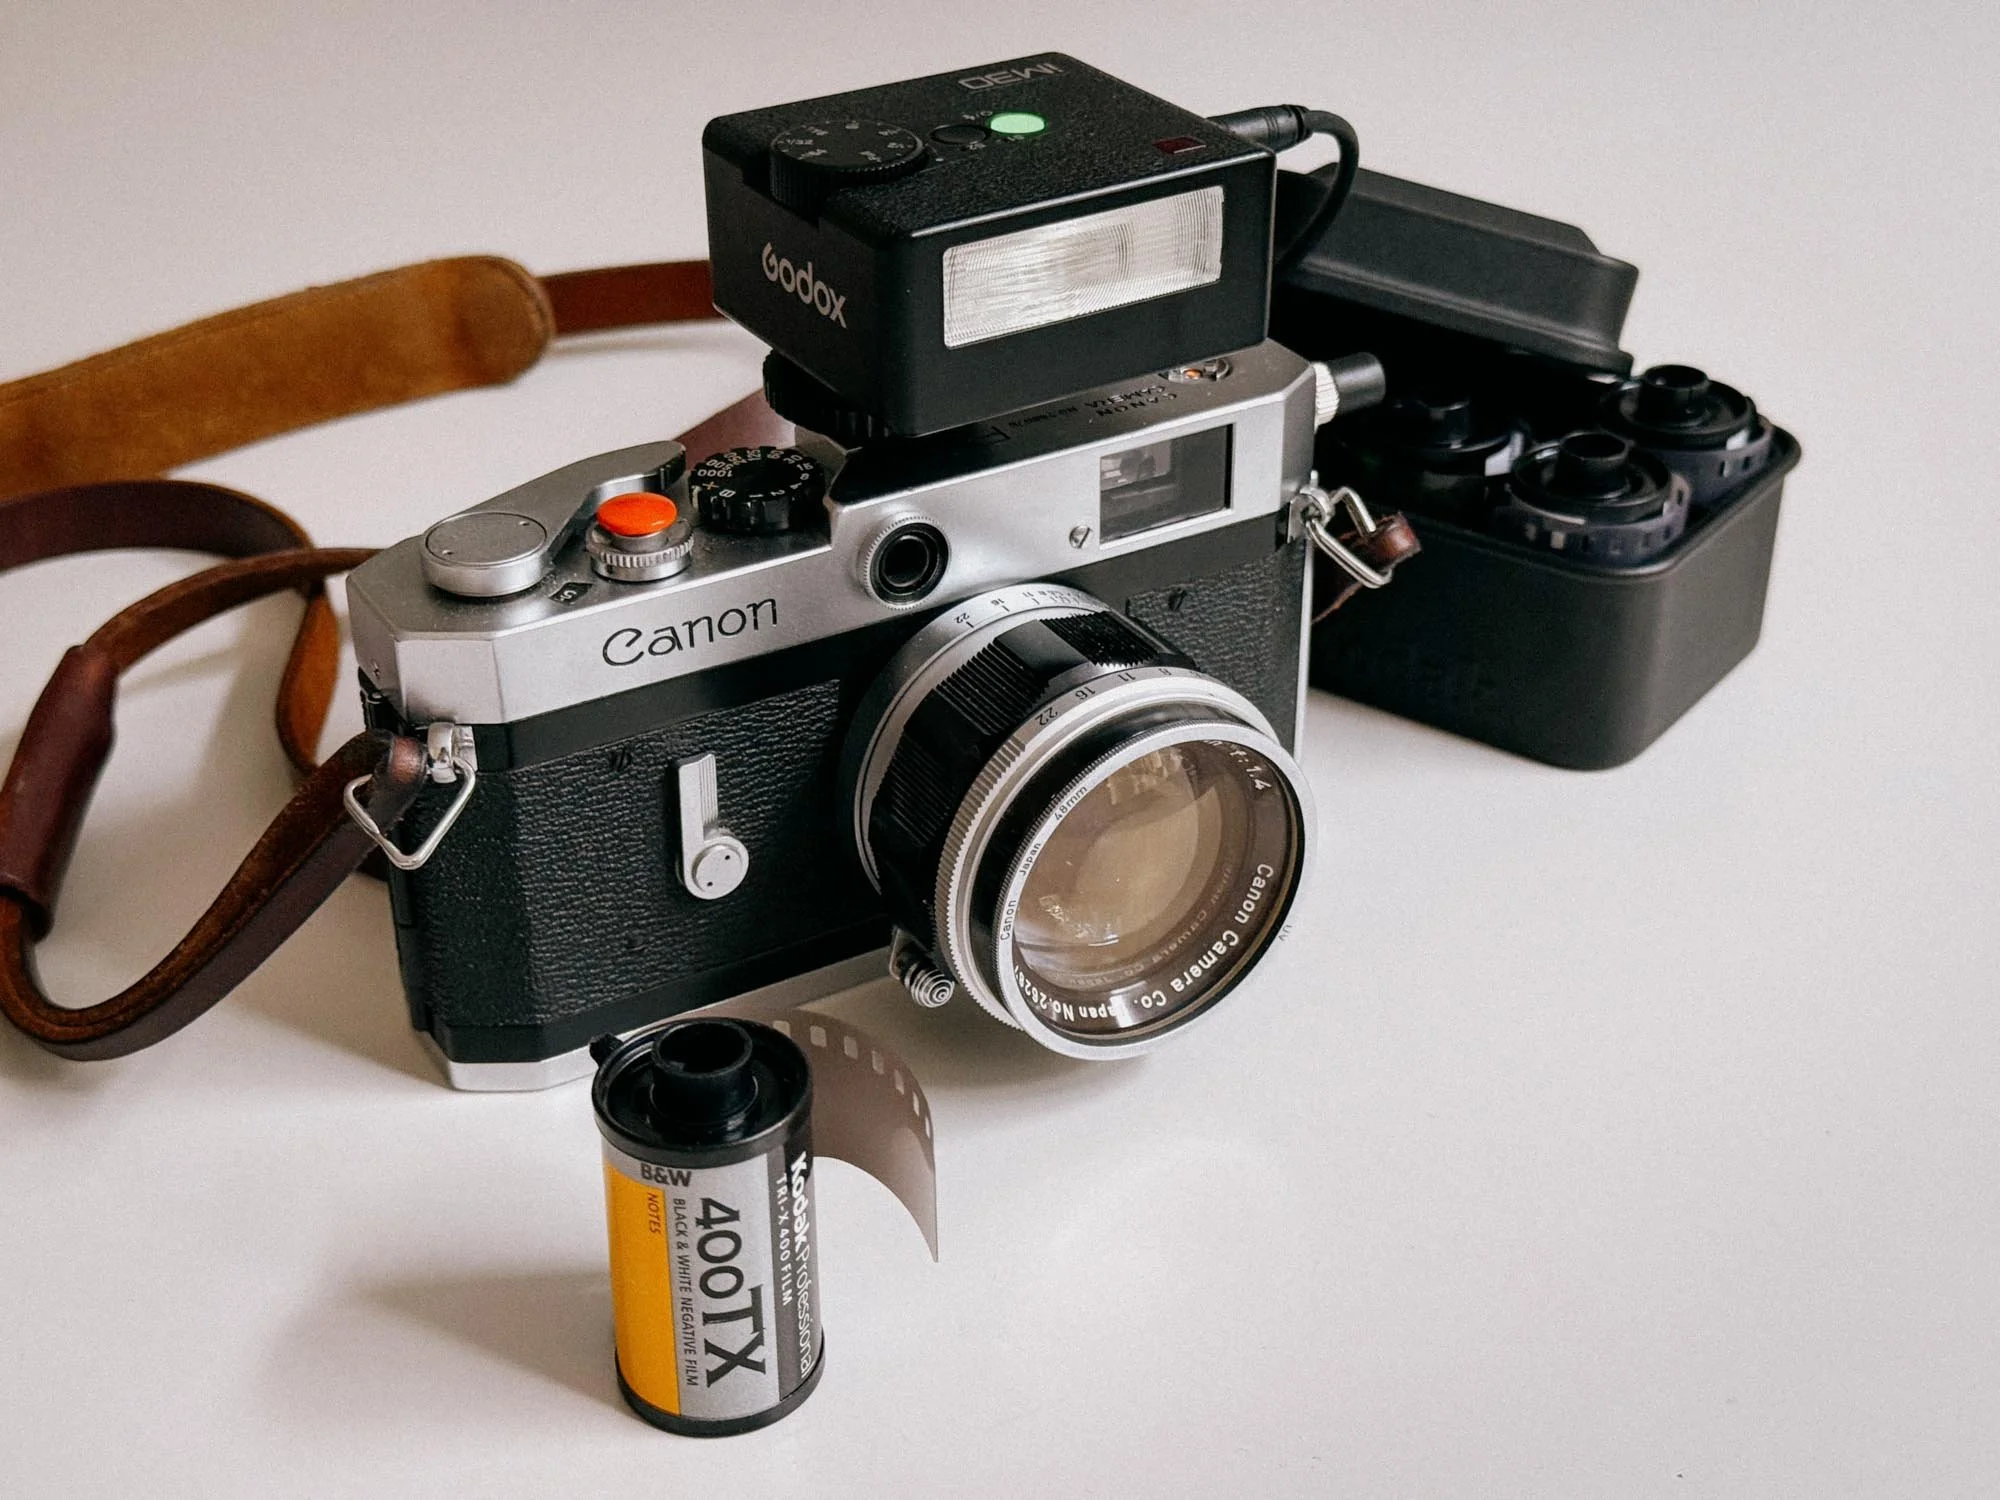
Canon P With Godox IM30 And PC Sync Cable
Now that we’ve got the theory out of the way and our flash mounted, let’s dive into a real-world setup, featuring the Canon P (which comes with a cold shoe) and the Godox IM30!
Camera Settings
First, set your shutter speed to your camera’s dedicated flash sync speed. On my Canon P (full review here) rangefinder, that is 1/55th (indicated by the 'X' or red marking on the shutter dial).
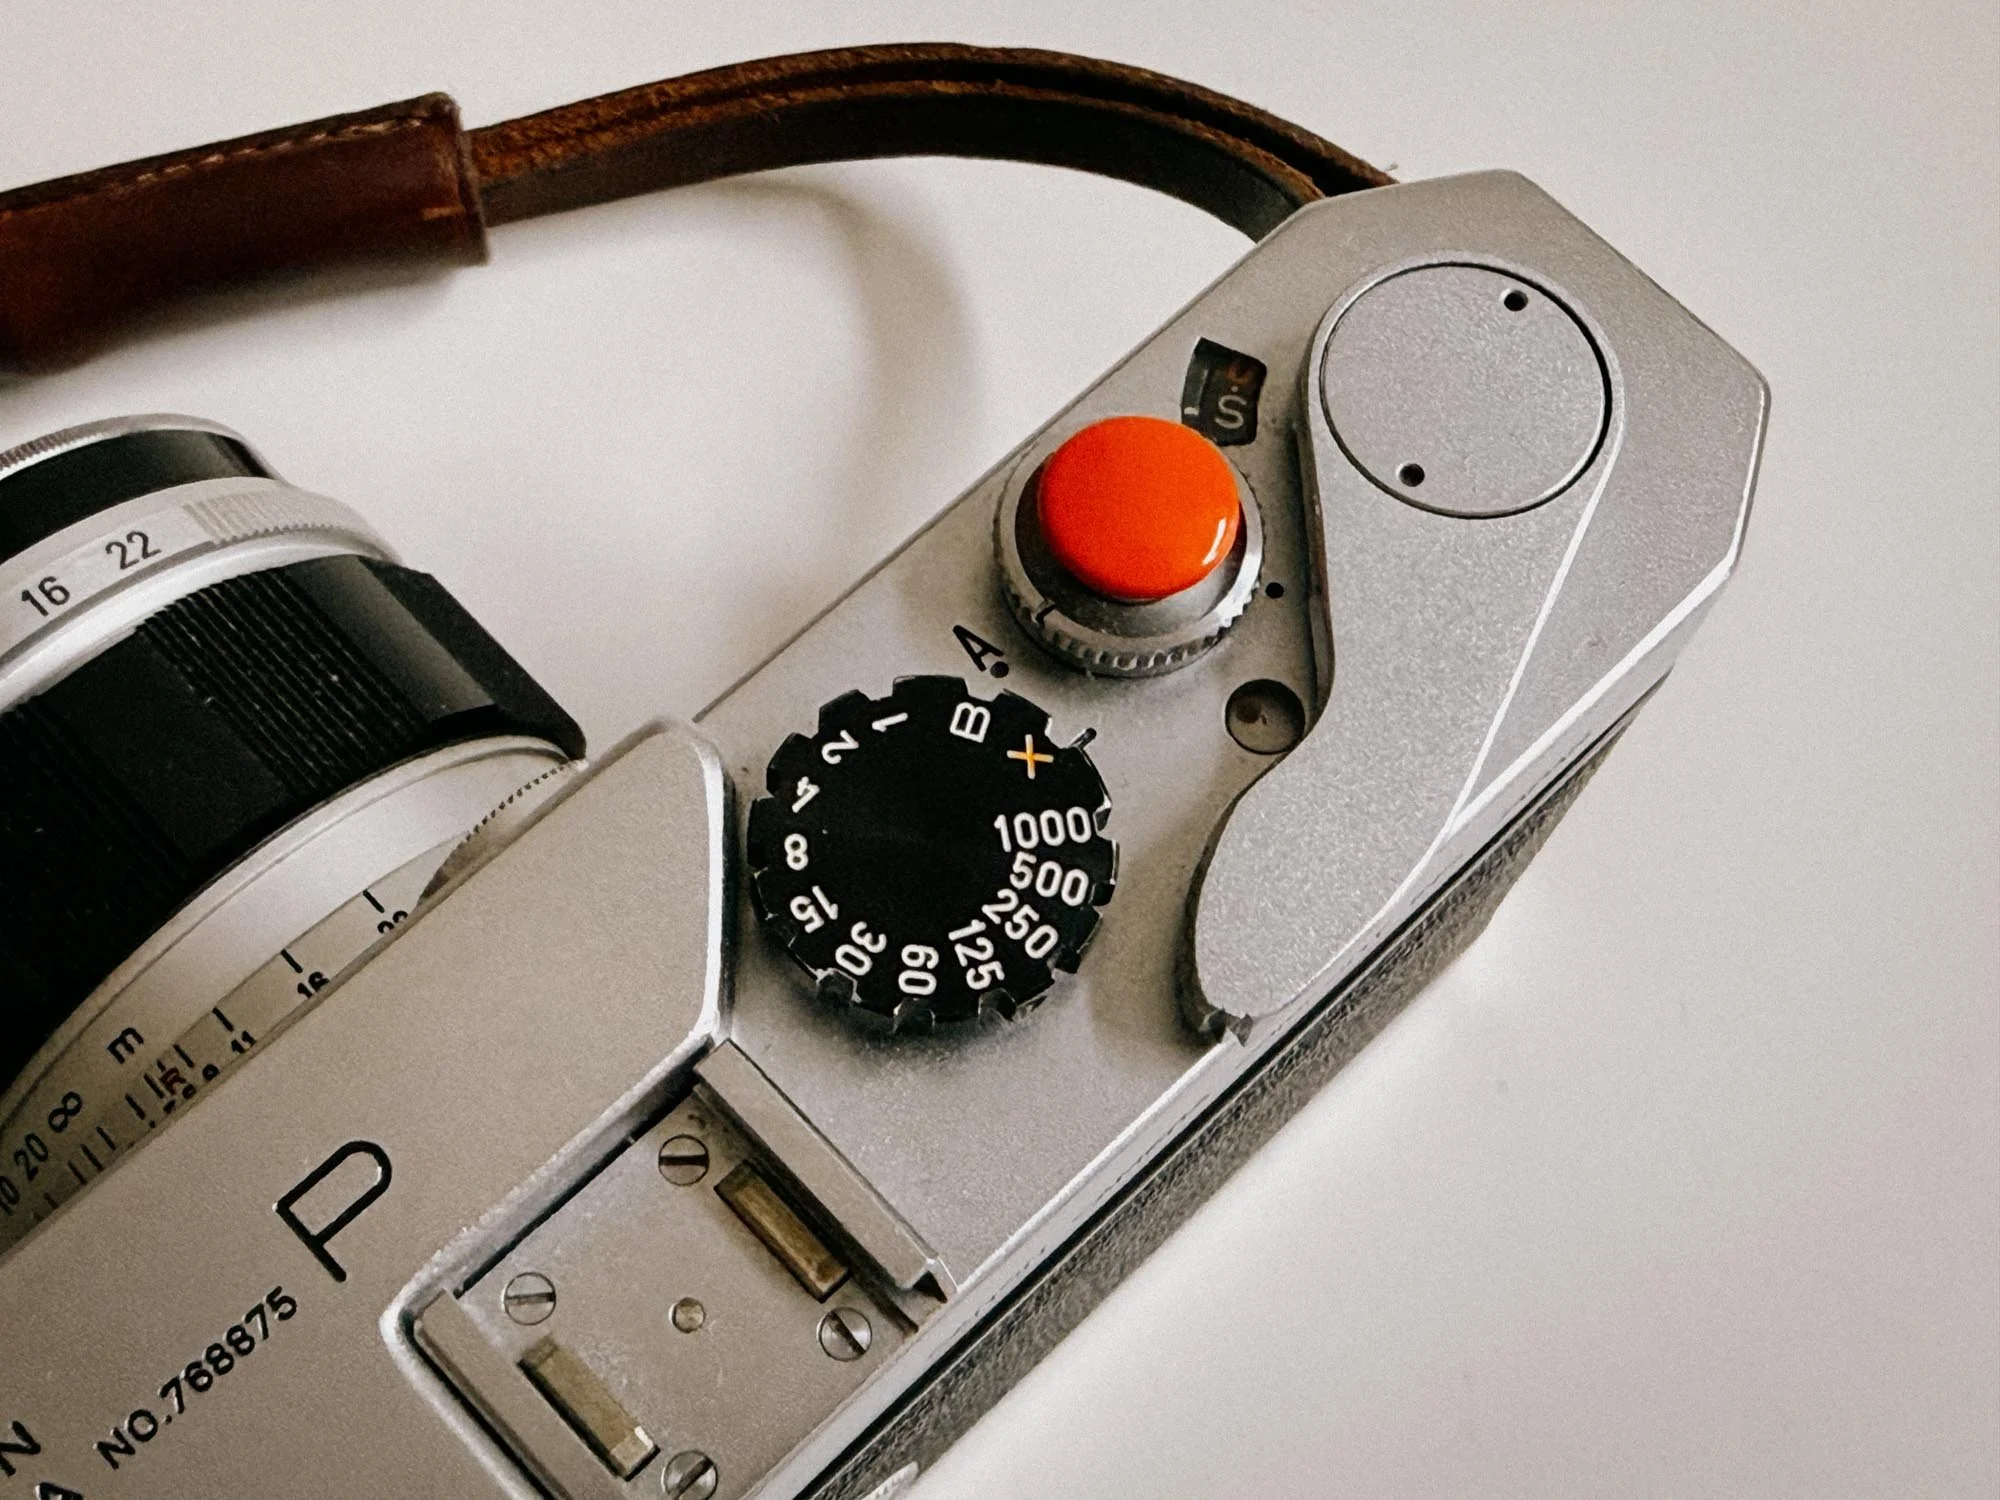
Canon P Flash Sync Speed
Because the Canon P features a cold shoe, it cannot fire the flash through the shoe contact alone. You need a simple 2.5mm to PC sync cable. Plug the 2.5mm jack into the Godox iM30’s sync port, and connect the PC jack directly to the camera body's flash socket.
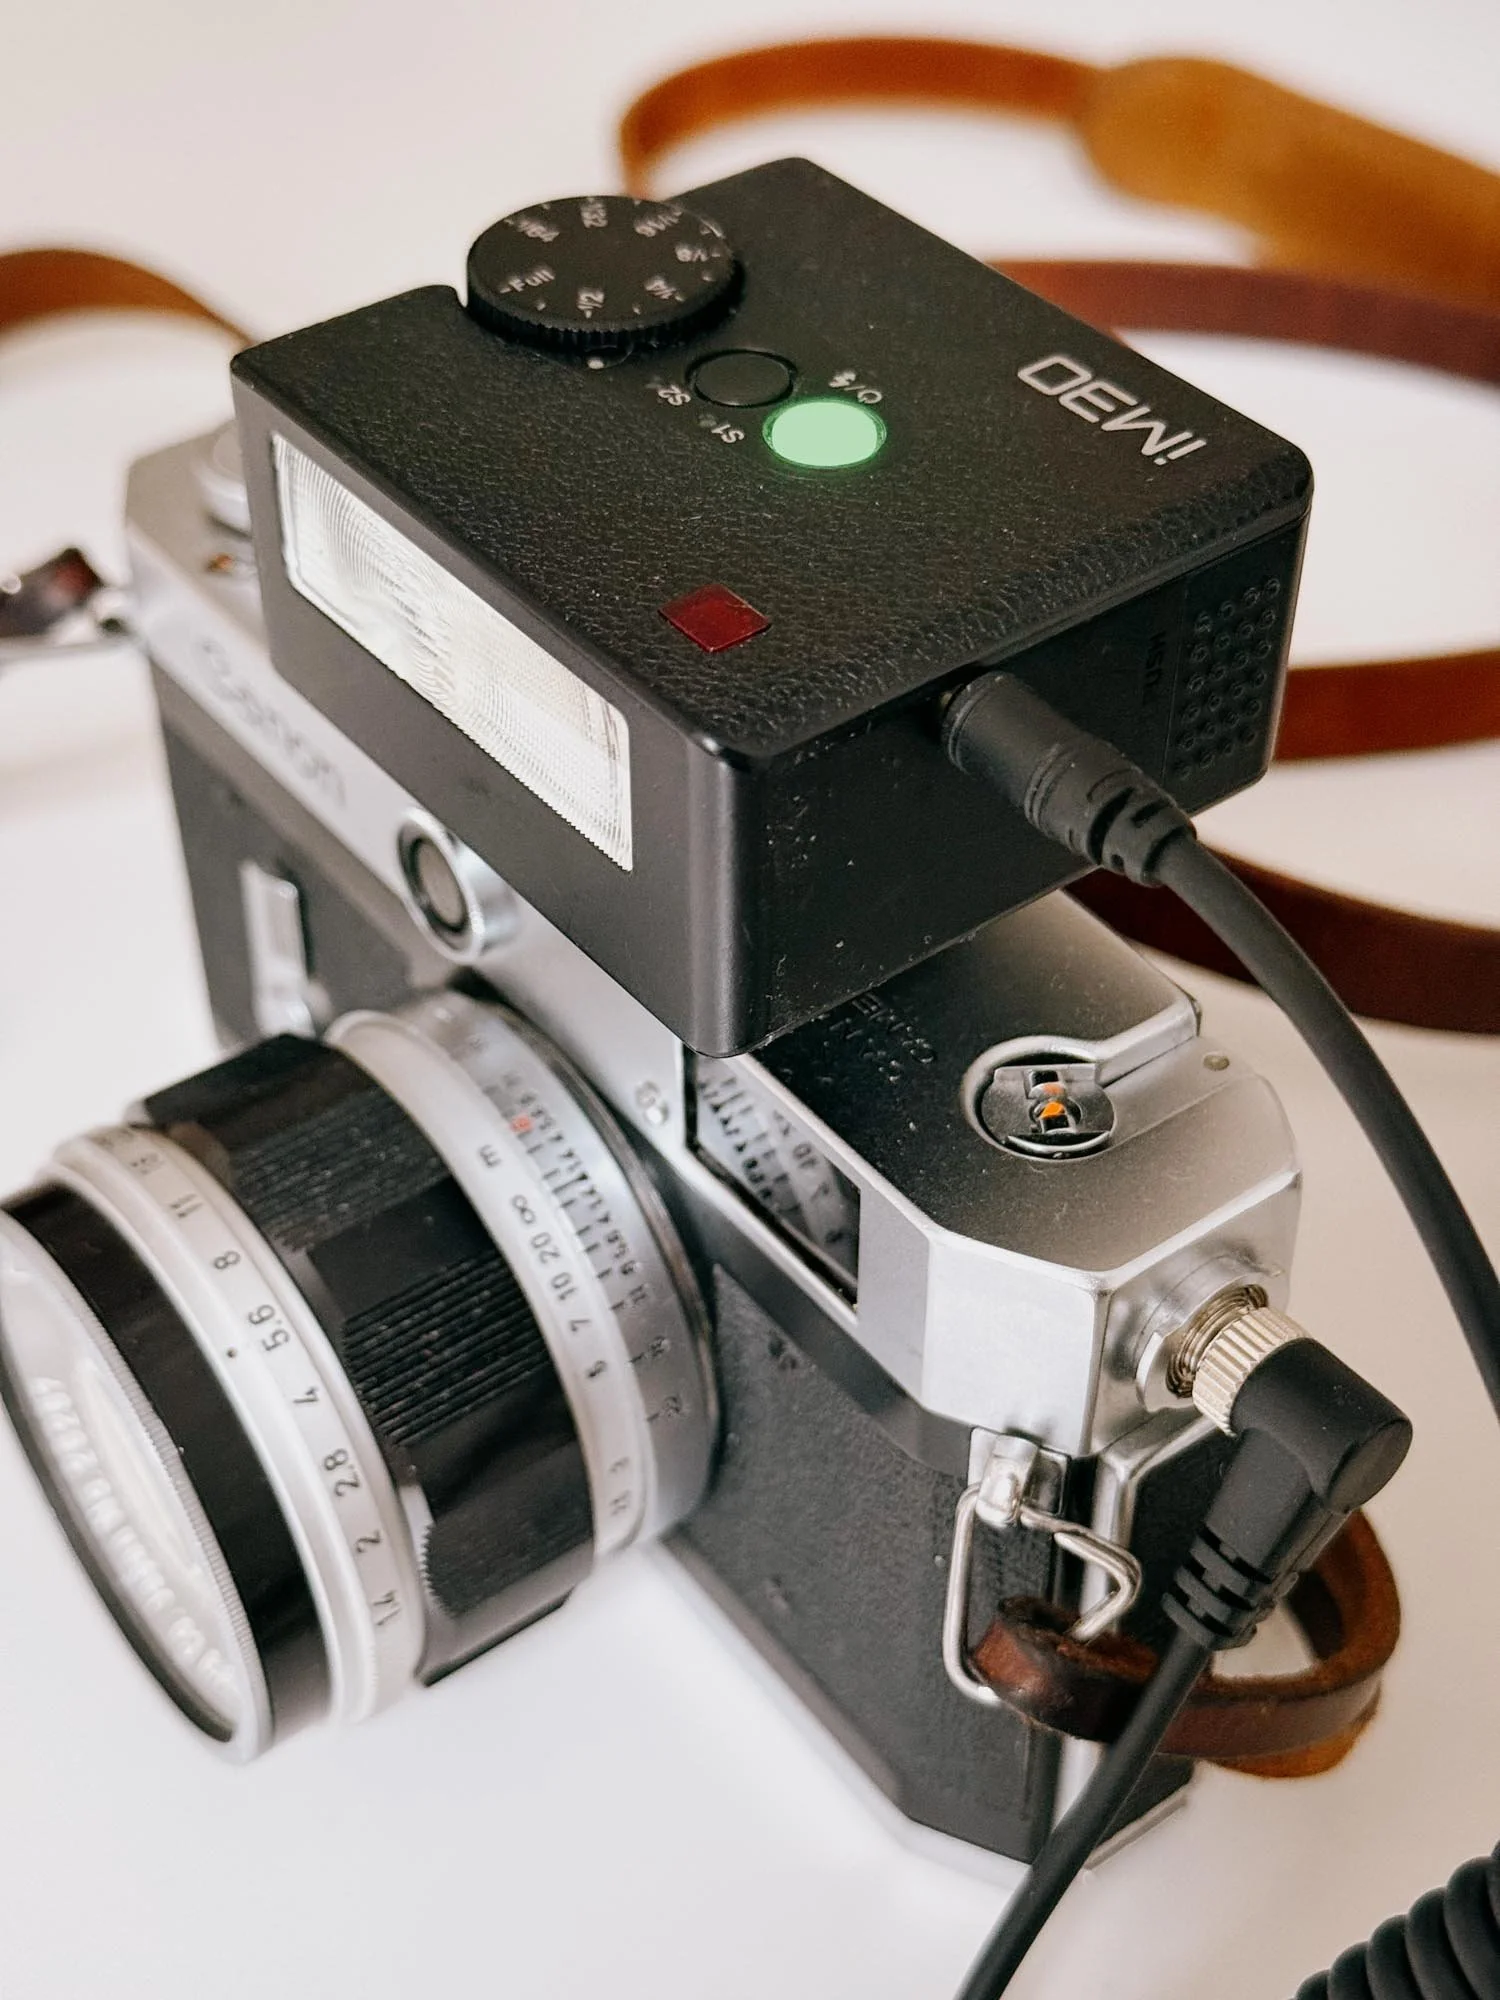
All Hooked Up!
Film Choice & Exposure Latitude
When starting with manual flash photography, I always recommend using film stocks with high exposure latitude, meaning films that handle a bit of accidental over, or underexposure (which will happen, trust me!).
Color: Kodak Portra 400
Black & White: Kodak Tri-X 400 or Ilford HP5 Plus
Simplifying the Math
The compact Godox iM30 has a native Guide Number of 15 (ISO 100 in meters). To make mental math easier, we simply round it up to 16. As negative film can handle overexposure better than underexposure, we are also rating the film at ISO 200, giving us a bit more safety against underexposure.
The Distance & Aperture Sheet
All you have to do now is estimate your distance, focus your lens, (you can double check the distance here, by reading it off your lens) and set your aperture according to this simple breakdown:
| 1.0 m (~3 ft) | f/16 |
| 1.5 m (~5 ft) | f/11 |
| 2.0 m (~6.5 ft) | f/8 |
| 3.0 m (~10 ft) | f/5.6 |
| 4.0 m (~13 ft) | f/4 |
| 5.0 m (~16 ft) | f/2.8 |
Not that hard, right? I also like to write it out on a sticker that goes on the back of the camera.
Using lower power settings for faster recycling times
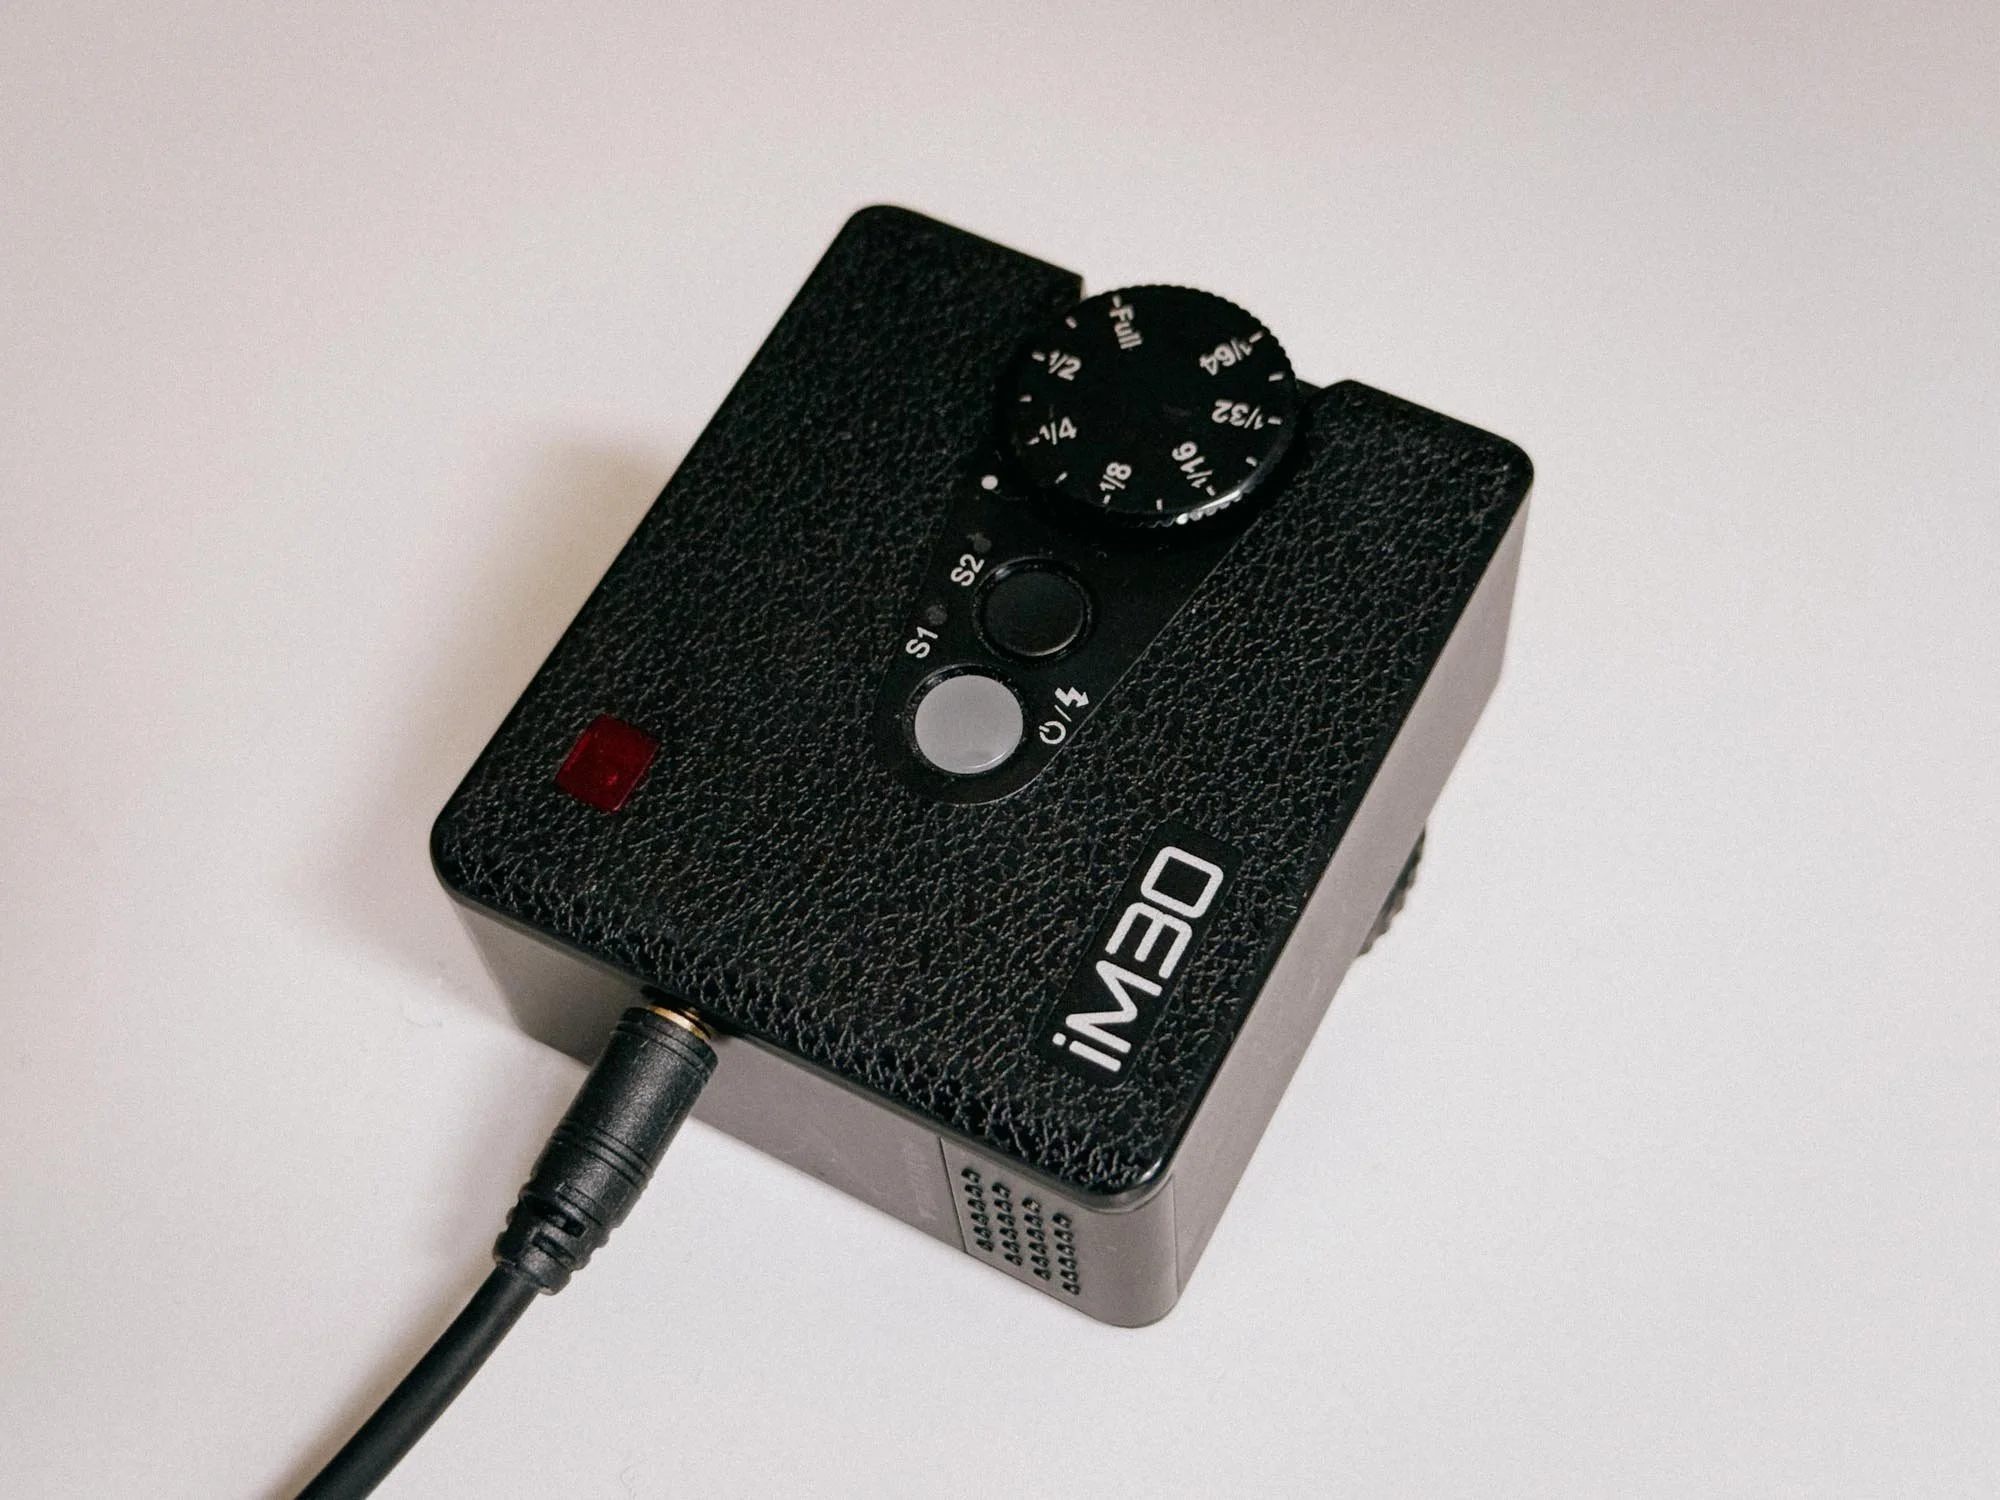
Dialed Down to 1/4th
If you need to shoot faster and can't waste a single second, you can always reduce the flash's power and open up your aperture to compensate. How would the sheet look at 1/4 power?
| 1.0 m (~3 ft) | f/11 |
| 1.5 m (~5 ft) | f/8 |
| 2.0 m (~6.5 ft) | f/5.6 |
| 3.0 m (~10 ft) | f/4 |
| 4.0 m (~13 ft) | f/2.8 |
| 5.0 m (~16 ft) | f/2 |
Using Modern Flashes on Vintage Cameras
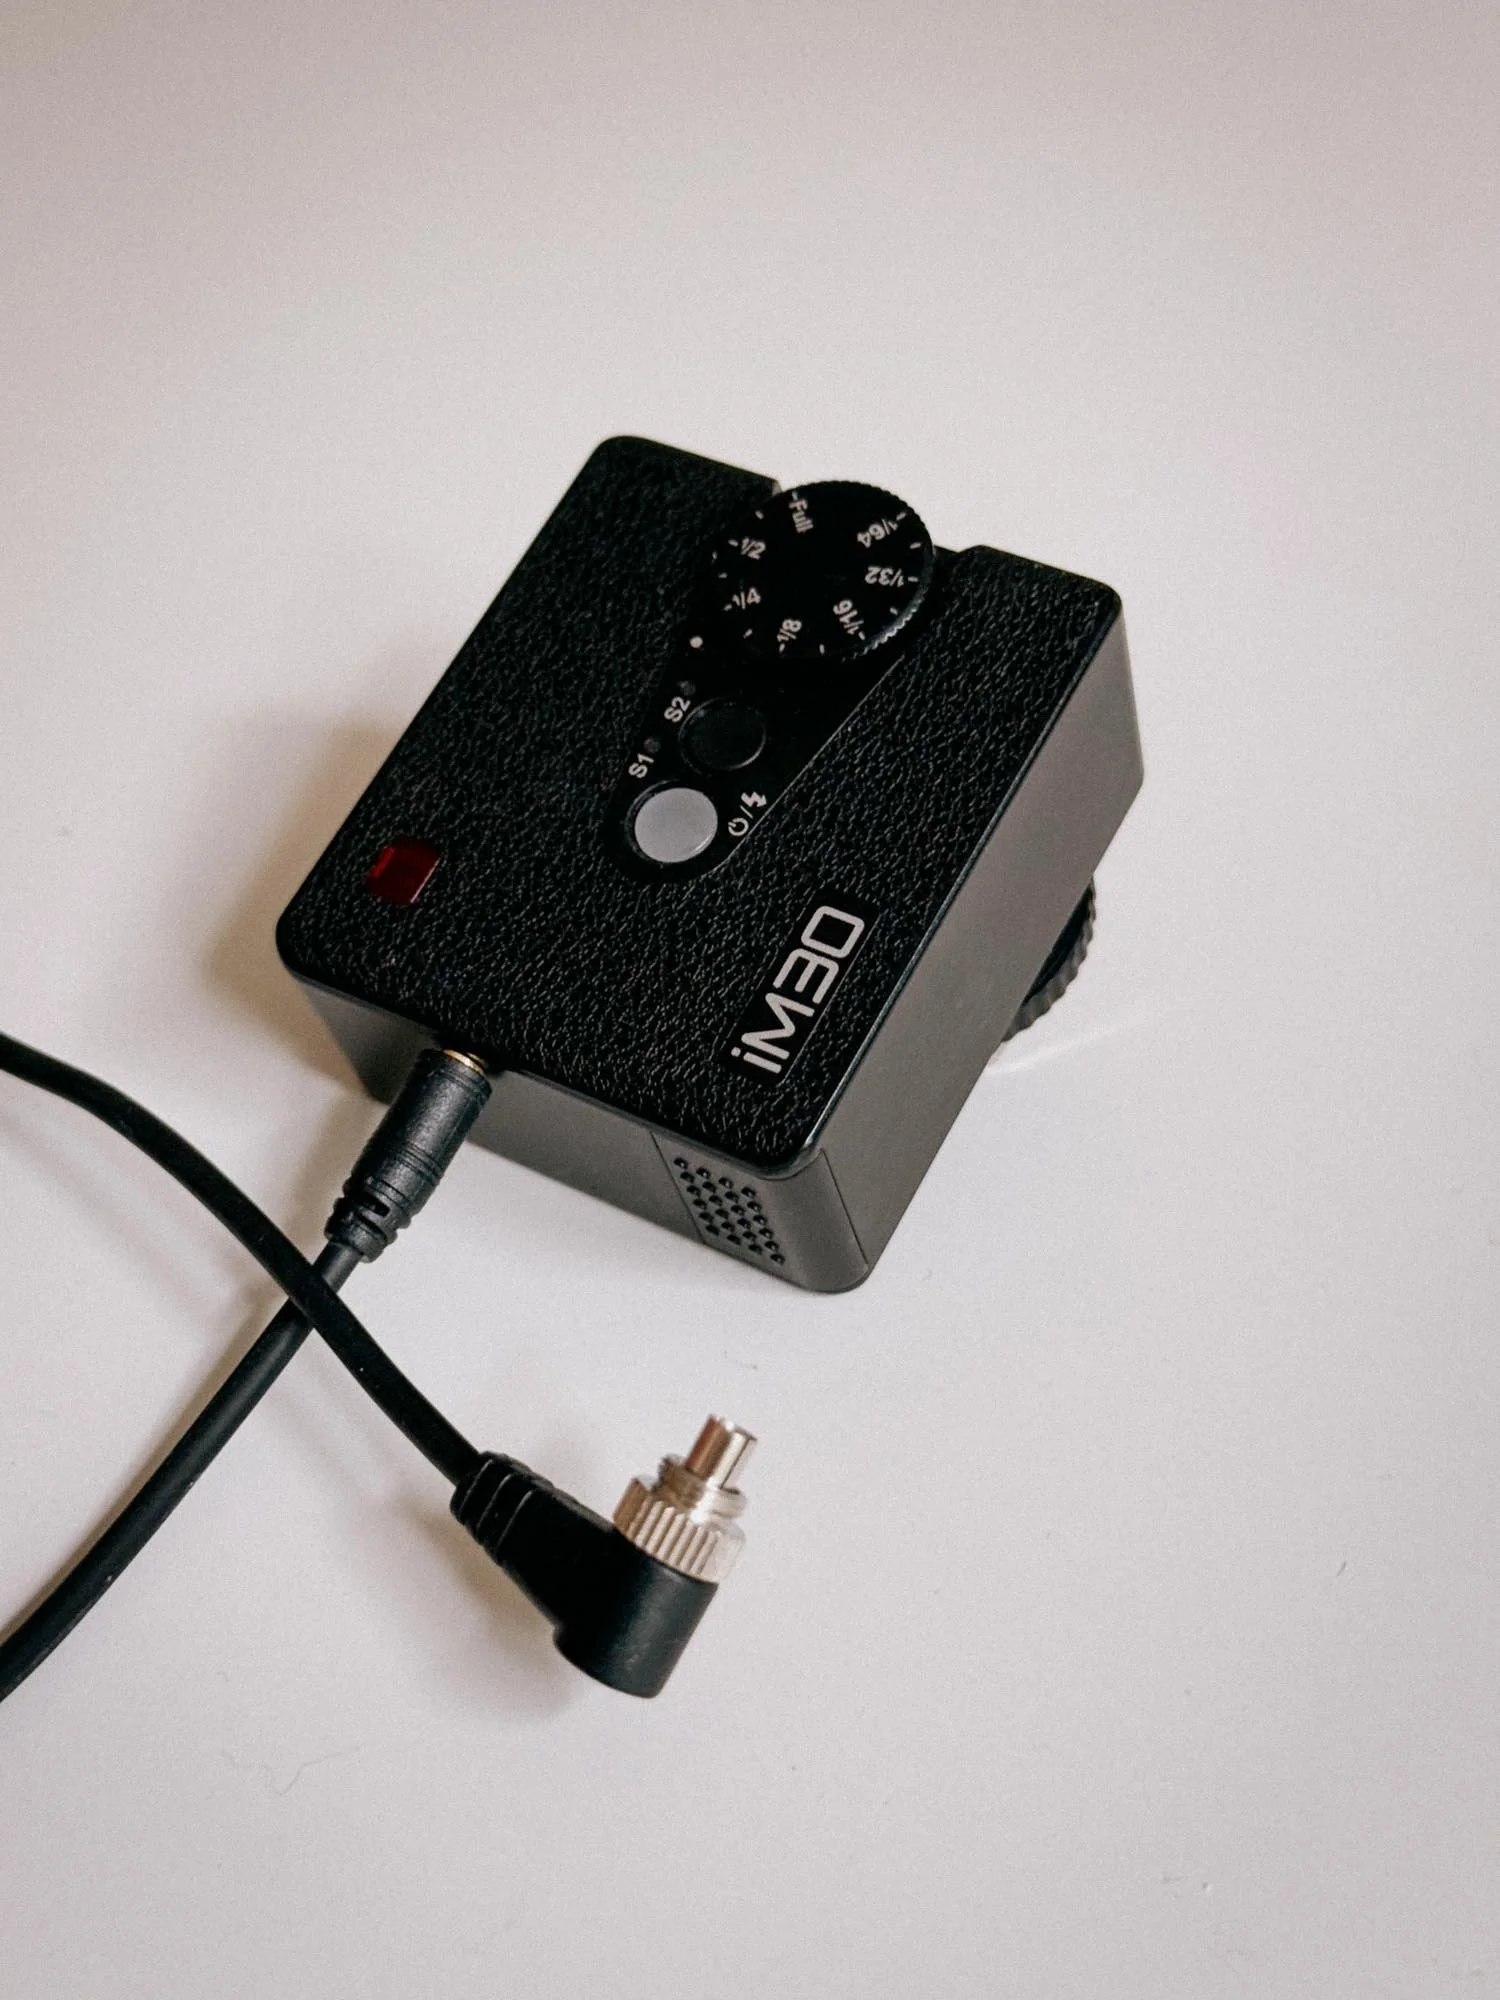
My Favorite Tiny Strobe
There are plenty of other great flashes out there, but compact strobes bring a lot to the table. The Godox iM30 is fantastic because it’s tiny, lightweight, offers PC sync ports and runs on standard AAA batteries.
Setting it to lower power also drastically cuts down recycling times. I mostly shoot it at 1/2 power, and recycle times are practically instantaneous, by the time I advance the film to the next frame, the flash is already charged and ready to fire again. It also features a built-in sync port, which is an absolute lifesaver when shooting on older cameras with a cold shoe.
(Disclaimer: I am not affiliated with Godox in any way, they just happen to make some really neat, affordable gear!)
Vintage Camera Compatibility Checklist
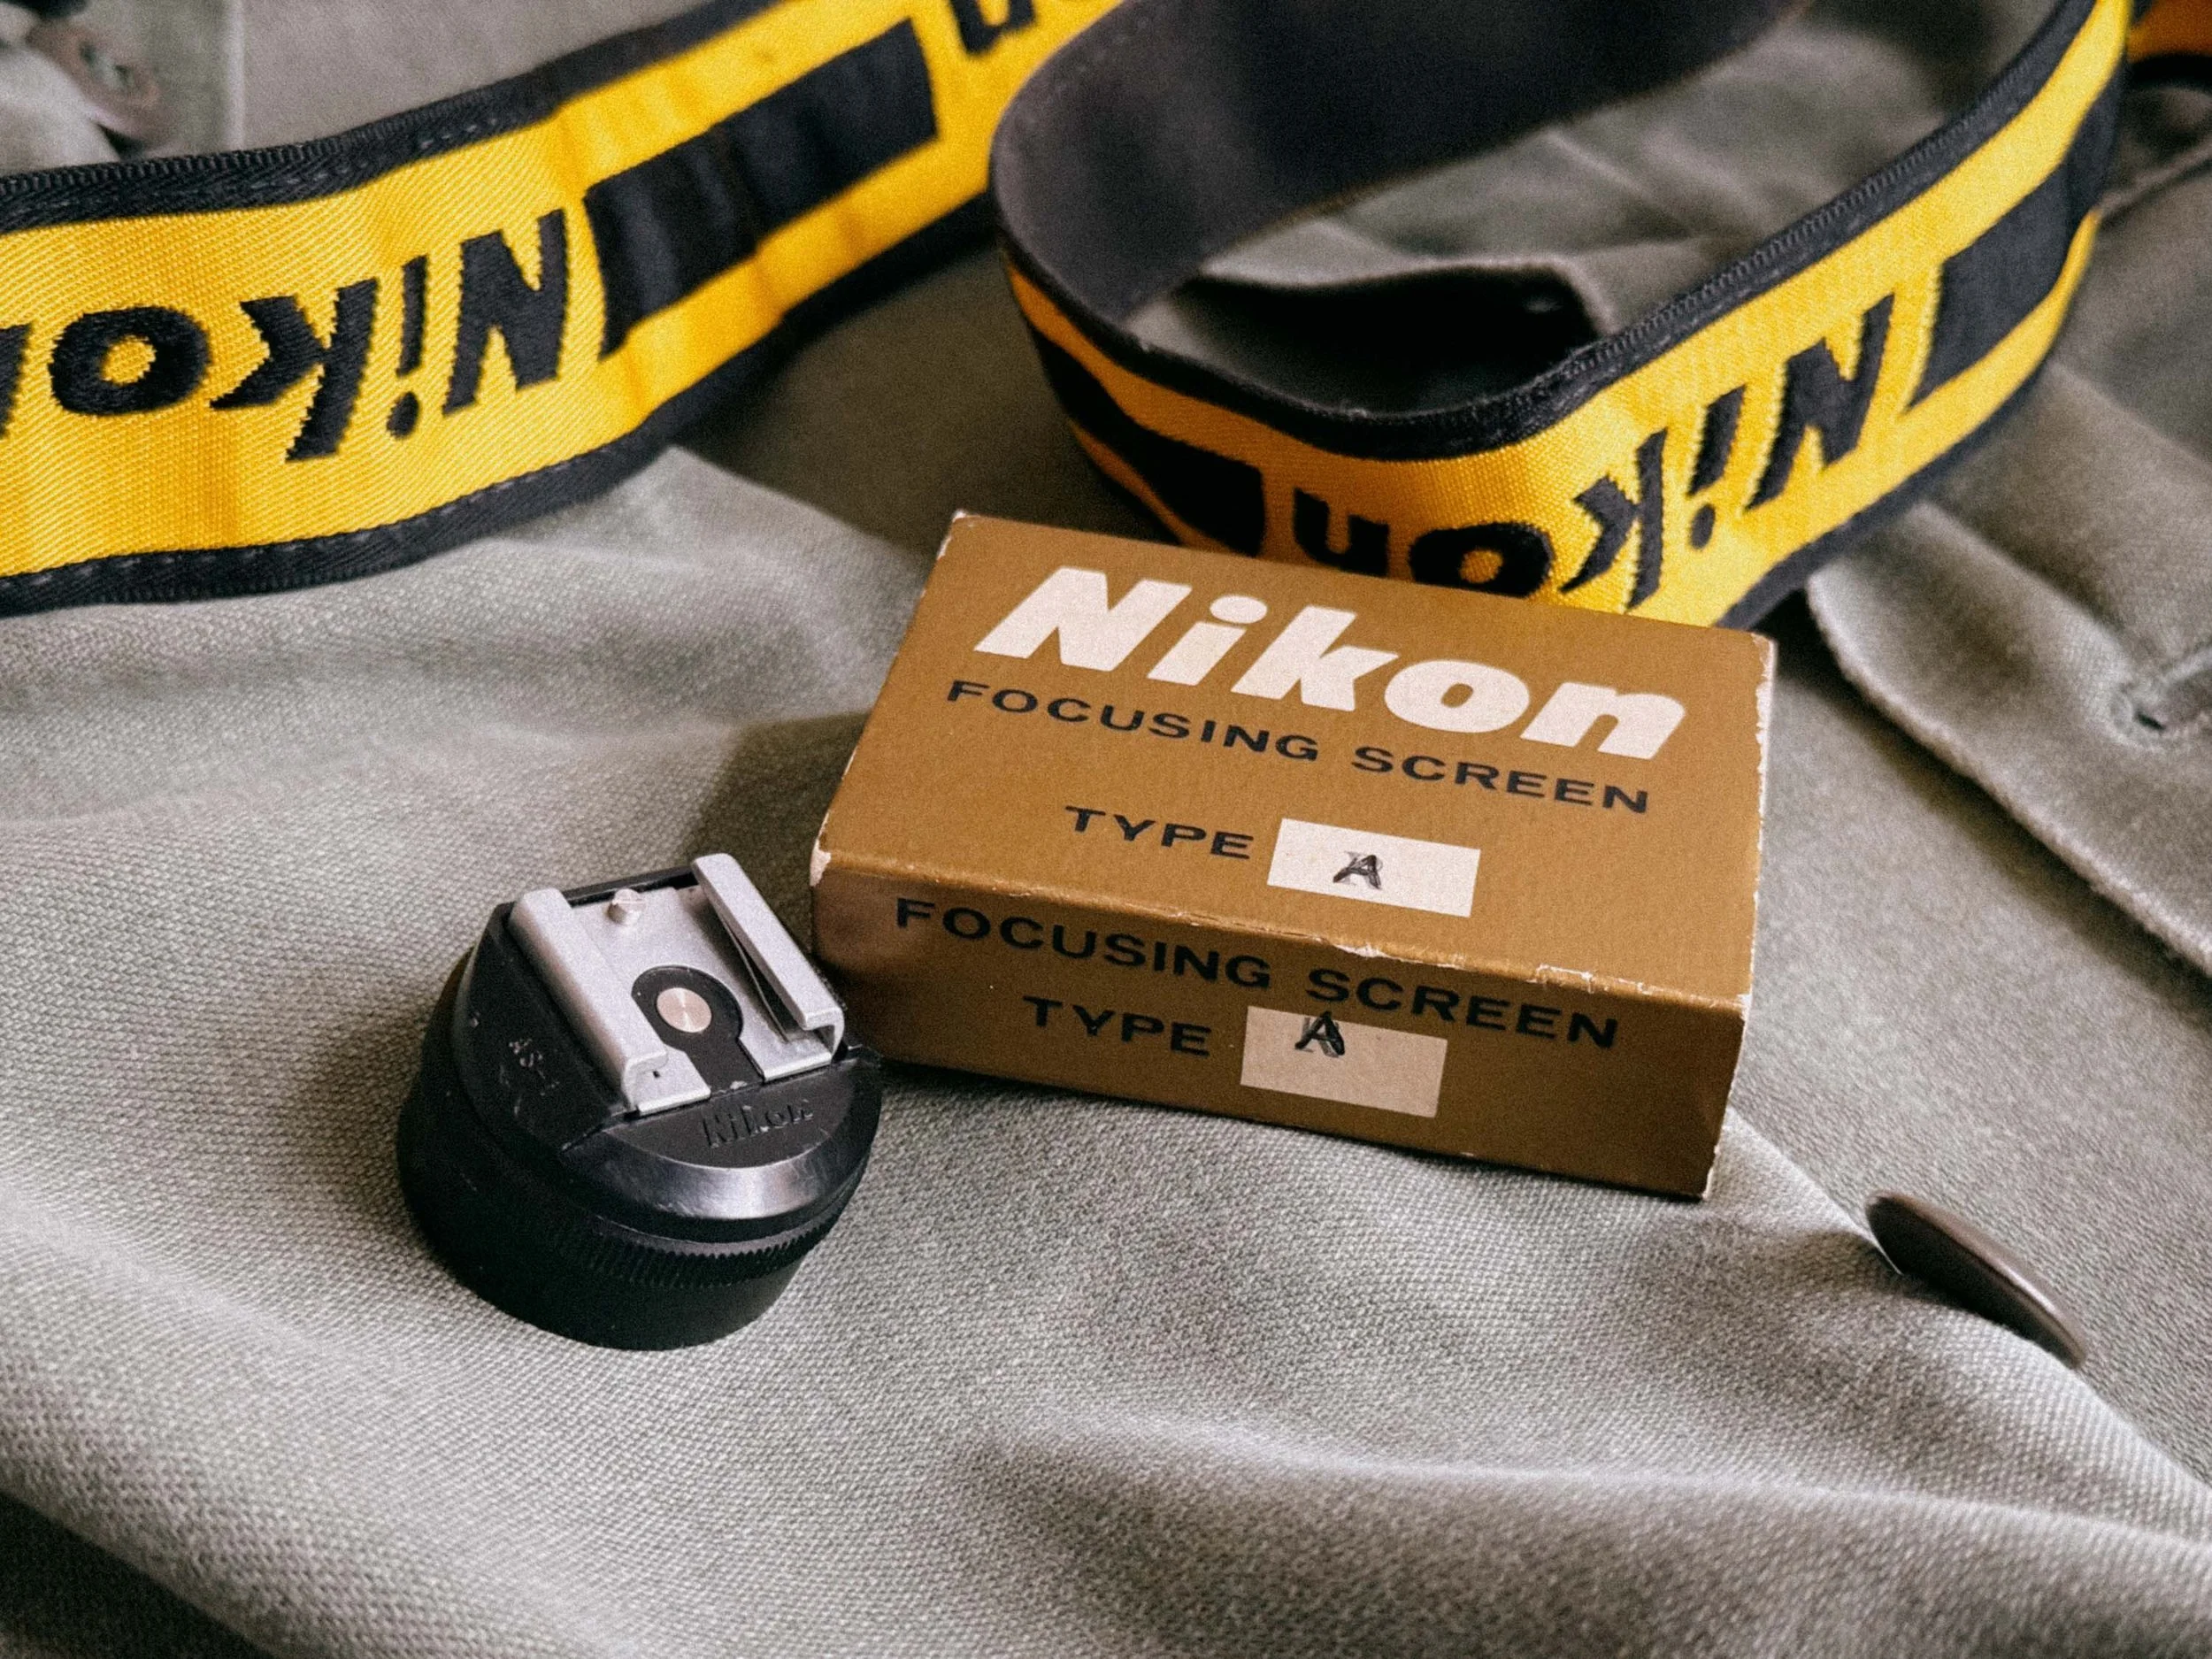
Older Nikon F’s Need An Accessoire Hot Shoe
Before mounting a modern strobe on your classic camera, run through these 4 quick checks:
Hot Shoe vs. Cold Shoe? Check your camera bracket. If it has a central metal contact, it’s a Hot Shoe. If it’s just bare metal, it’s a Cold Shoe, you will need a flash with a sync jack and a PC sync cable.
Set Your Max Sync Speed: Always set your camera’s shutter speed dial to its flash sync speed (usually marked with an 'X' or colored red, typically 1/30s, 1/60s).
Check Control Modes: Ensure your flash has Manual power controls (like 1/1, 1/2, 1/4) or an Auto-Thyristor sensor. Pure modern TTL flashes will not work automatically on mechanical cameras.
Safe Trigger Voltage: Check the trigger voltage before connecting any modern or vintage flash to an older camera. Modern compact flashes often use low trigger voltages, but you should always verify the specific flash and camera combination first.
But besides all these modern flashes, I wanted to try something completely different. I stumbled across an old Metz Thyristor flash. It wasn't working when it arrived, but luckily it turned out to be an easy fix.
Metz 45 CT-1: Auto Flash on Film the Old-School Way
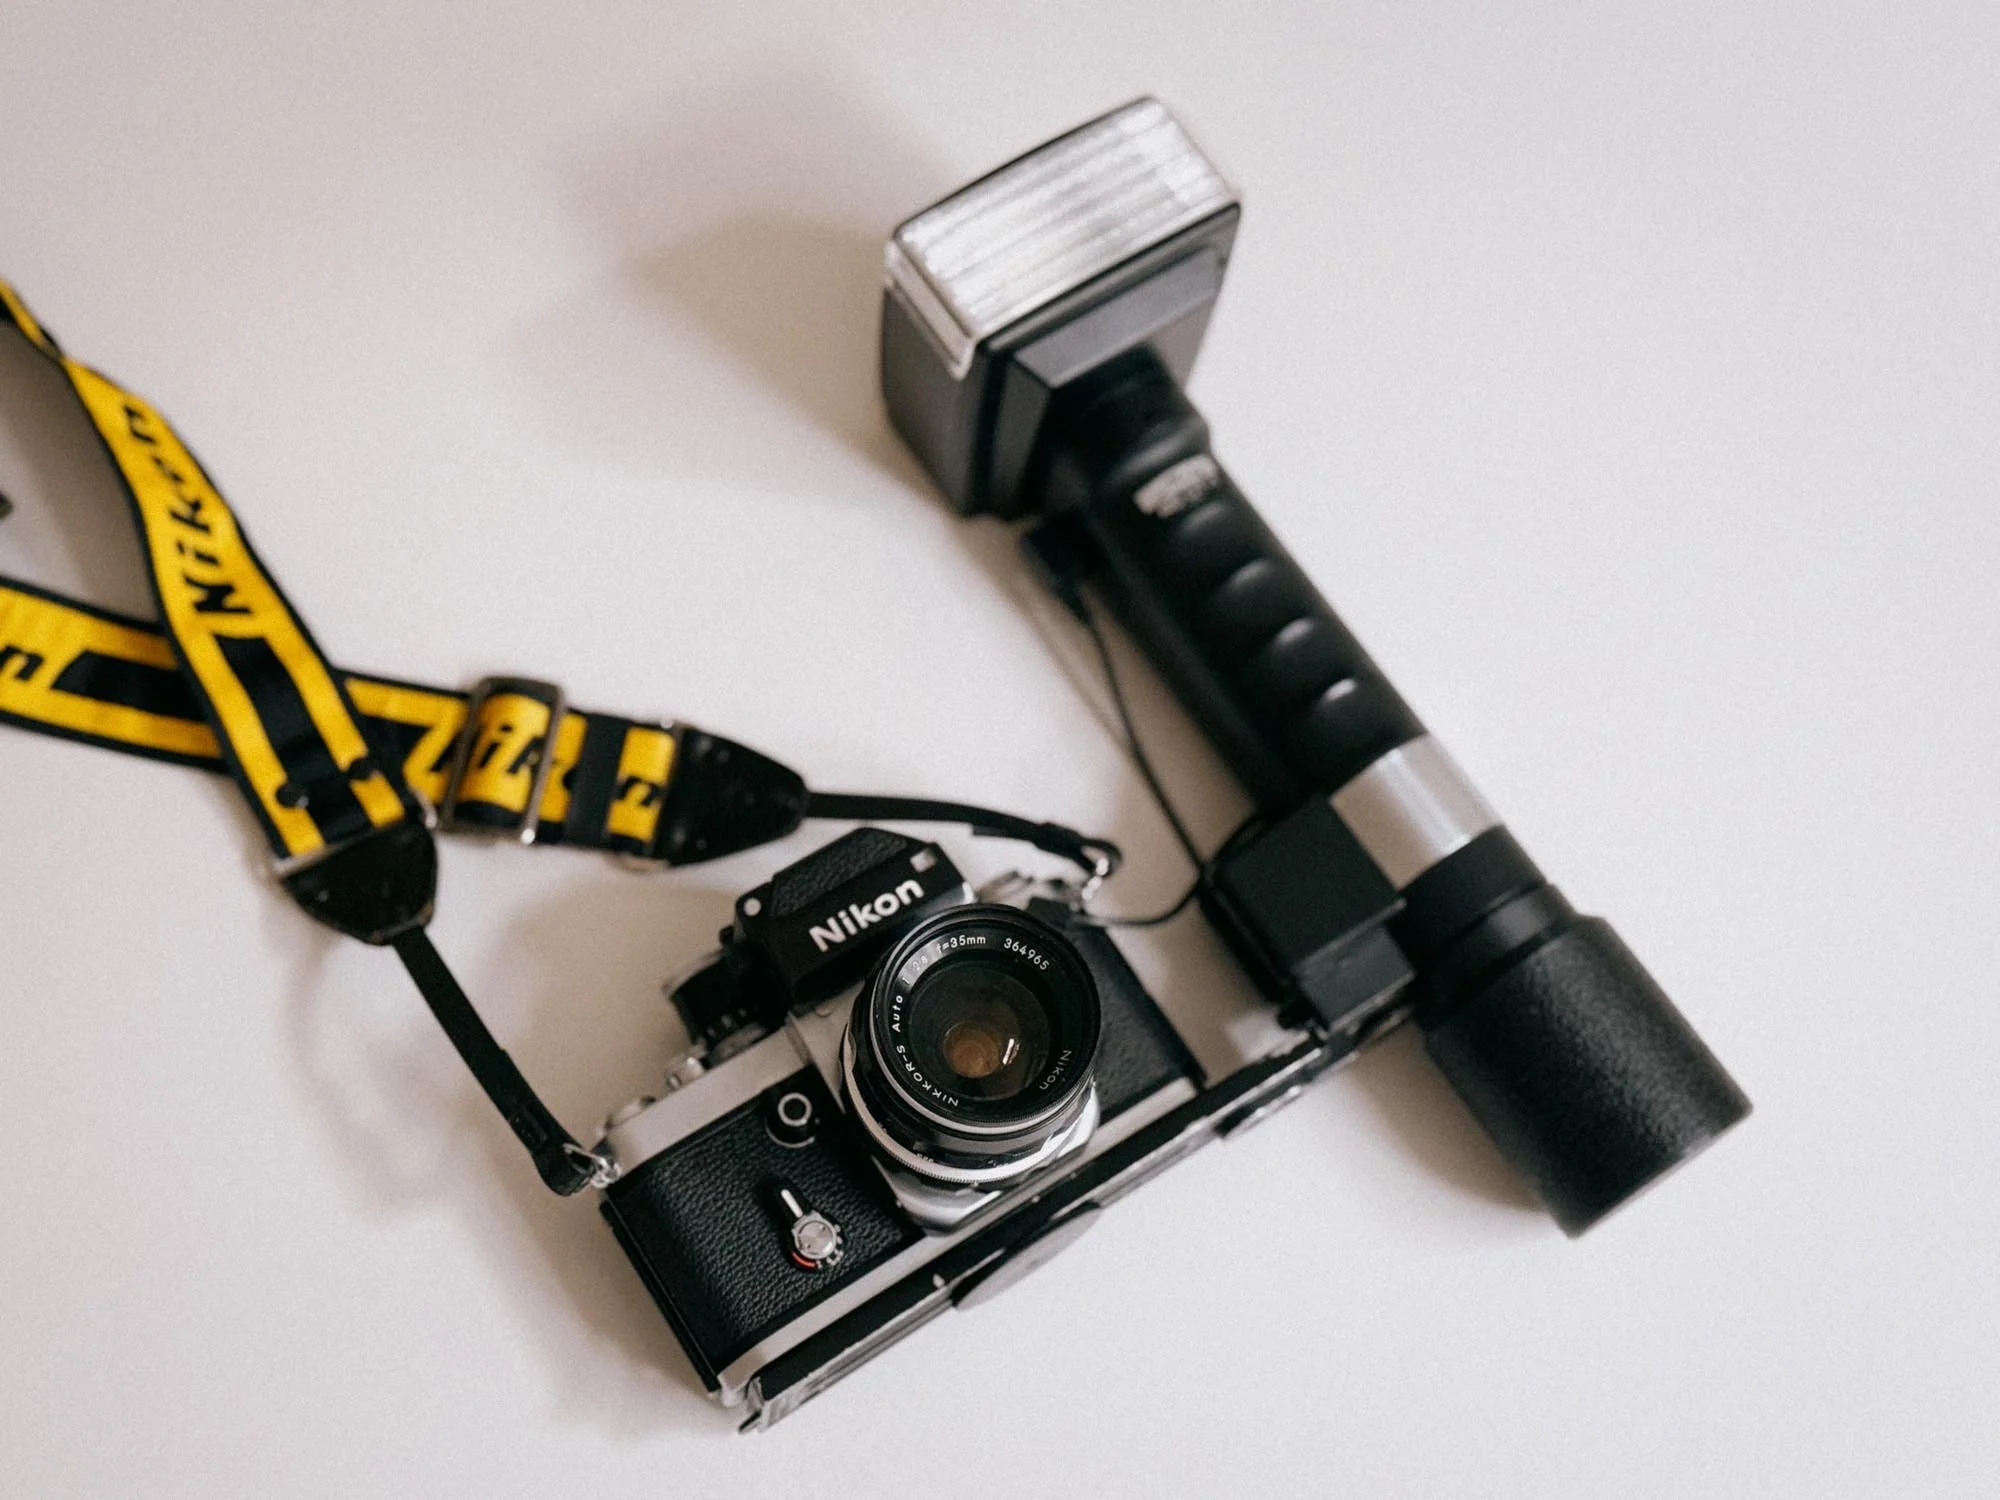
Quite The Rig!
Yes, it is big, and yes, it is heavy, but this thing is just great. I was skeptical too when I first rigged it up, but the large head can rotate as well as tilt. Plus, it comes with a metal plate that lets you position the camera at different distances from the flash. This allows you to create some very cool, dramatic shadows that add real depth to your shots, or you can simply aim it at the ceiling for a much softer bounce flash.
If that’s not enough, you can also attach an umbrella as a reflector for super soft, studio-like effects. This old bone literally does it all.
Setting it up is also super easy. Just attach your camera to the plate, plug in the PC sync cable, set your camera's flash sync speed, and match the ISO dial on top of the flash to the ISO of your film stock. The scale will automatically show you which aperture to use.
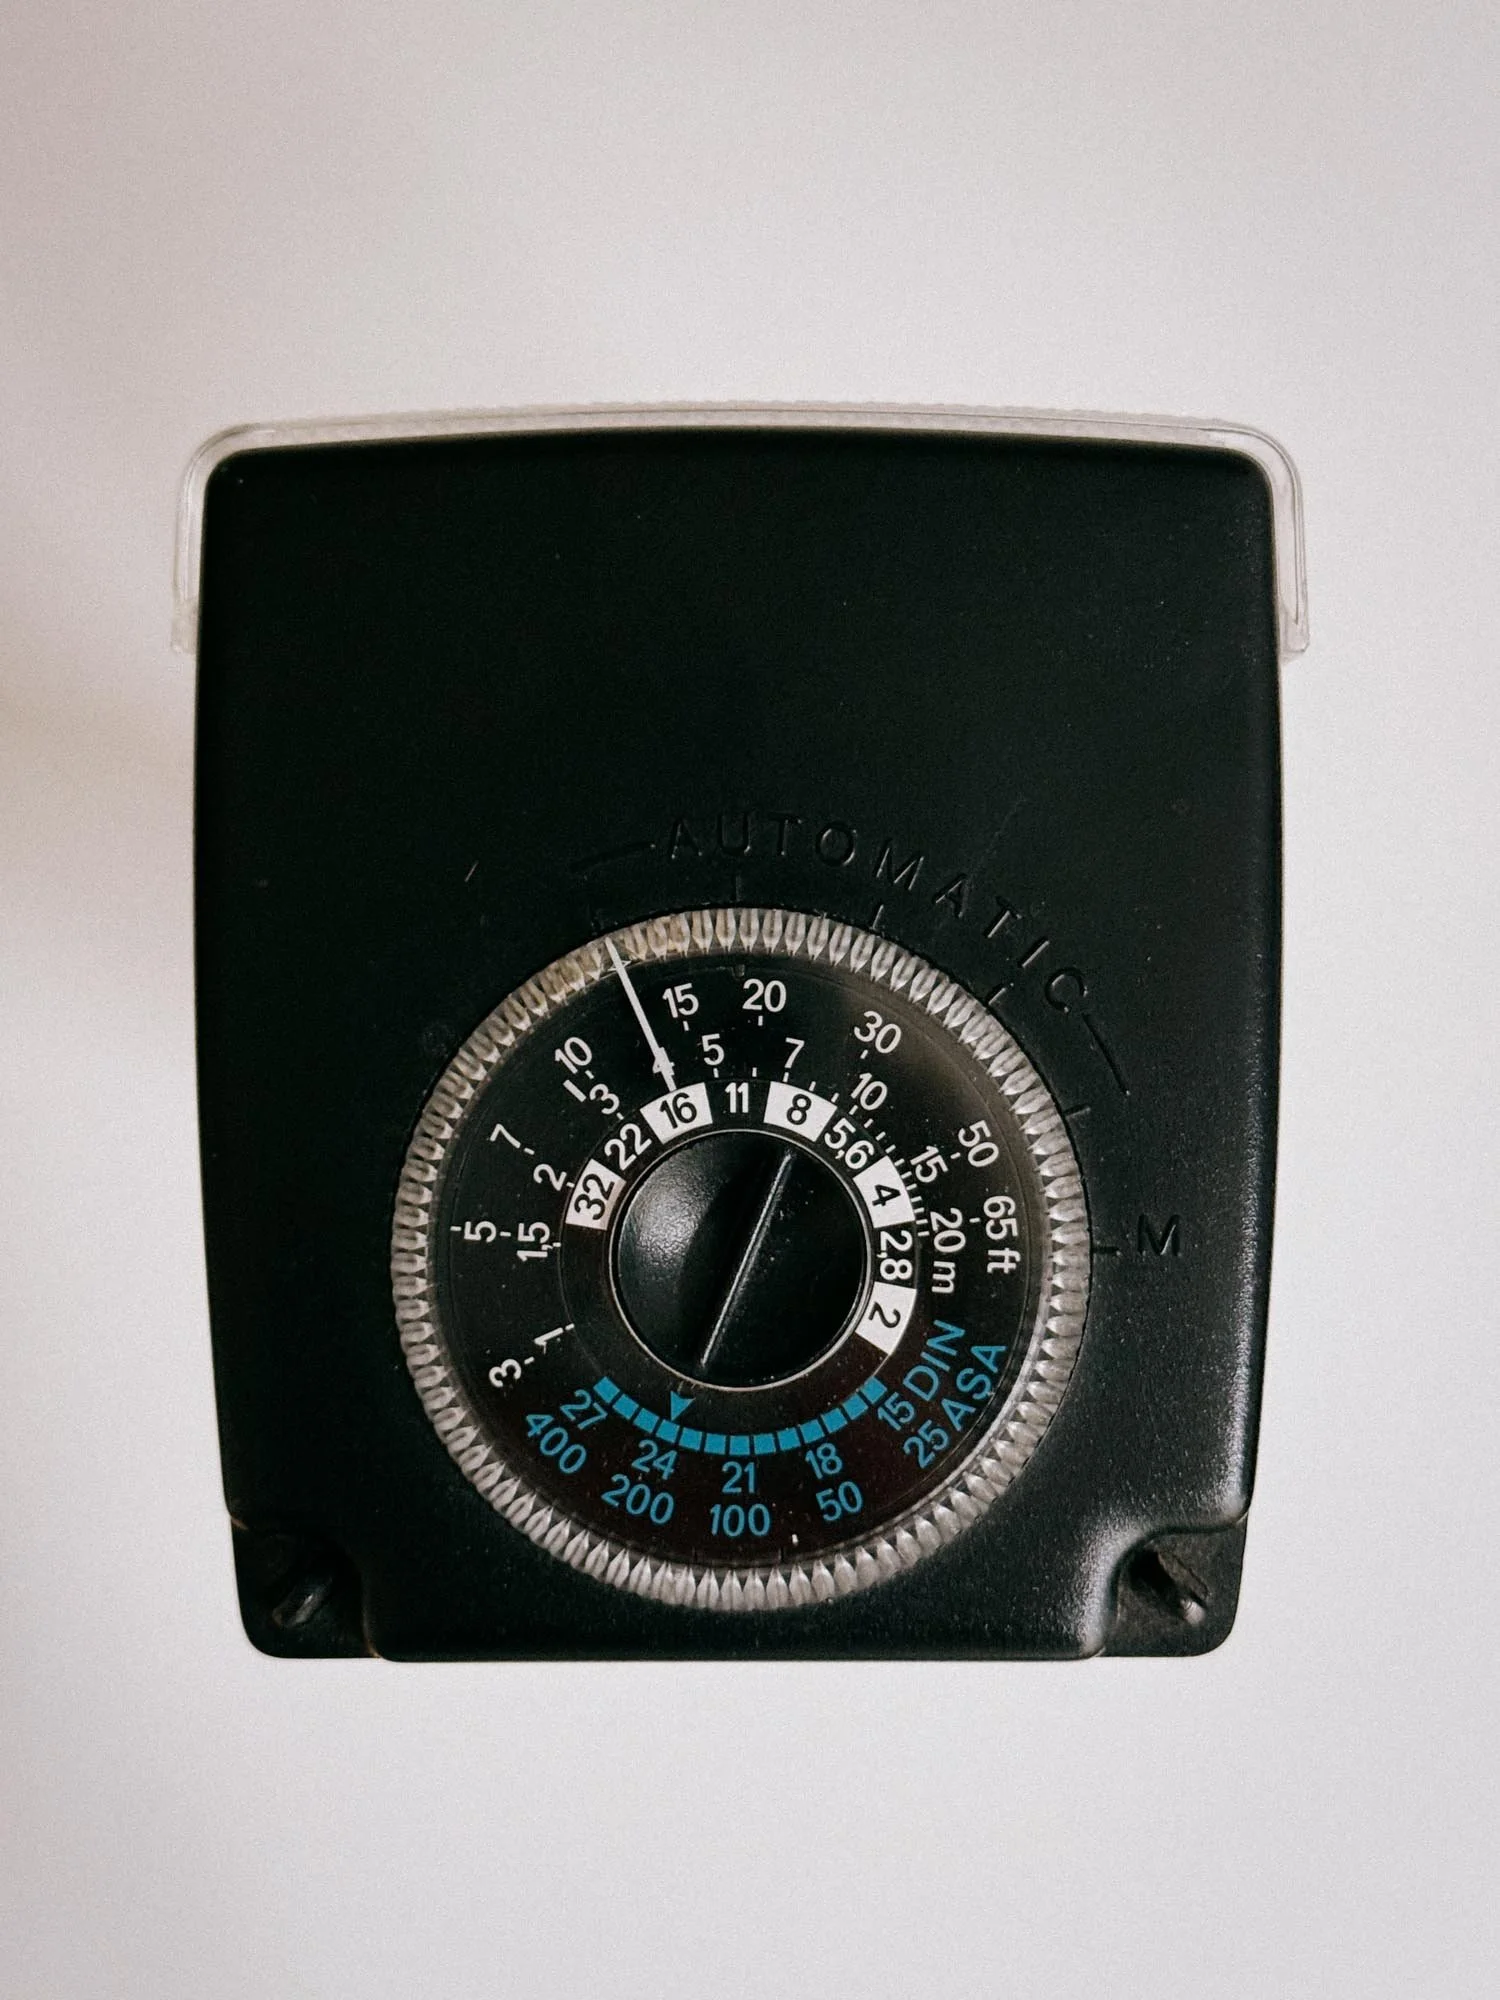
Metz 45 CT-1 Top Dial
For ISO 200, for example, you simply set your aperture to f/16 and you’re good to go, the Metz will handle the rest. All that's left to do is focus, advance the film, and shoot.
The look? Just awesome! Due to its larger size bulb an impressive guide number of 45 and the possibility of using it with a wide-angle diffusor it just makes for a very dramatic look.
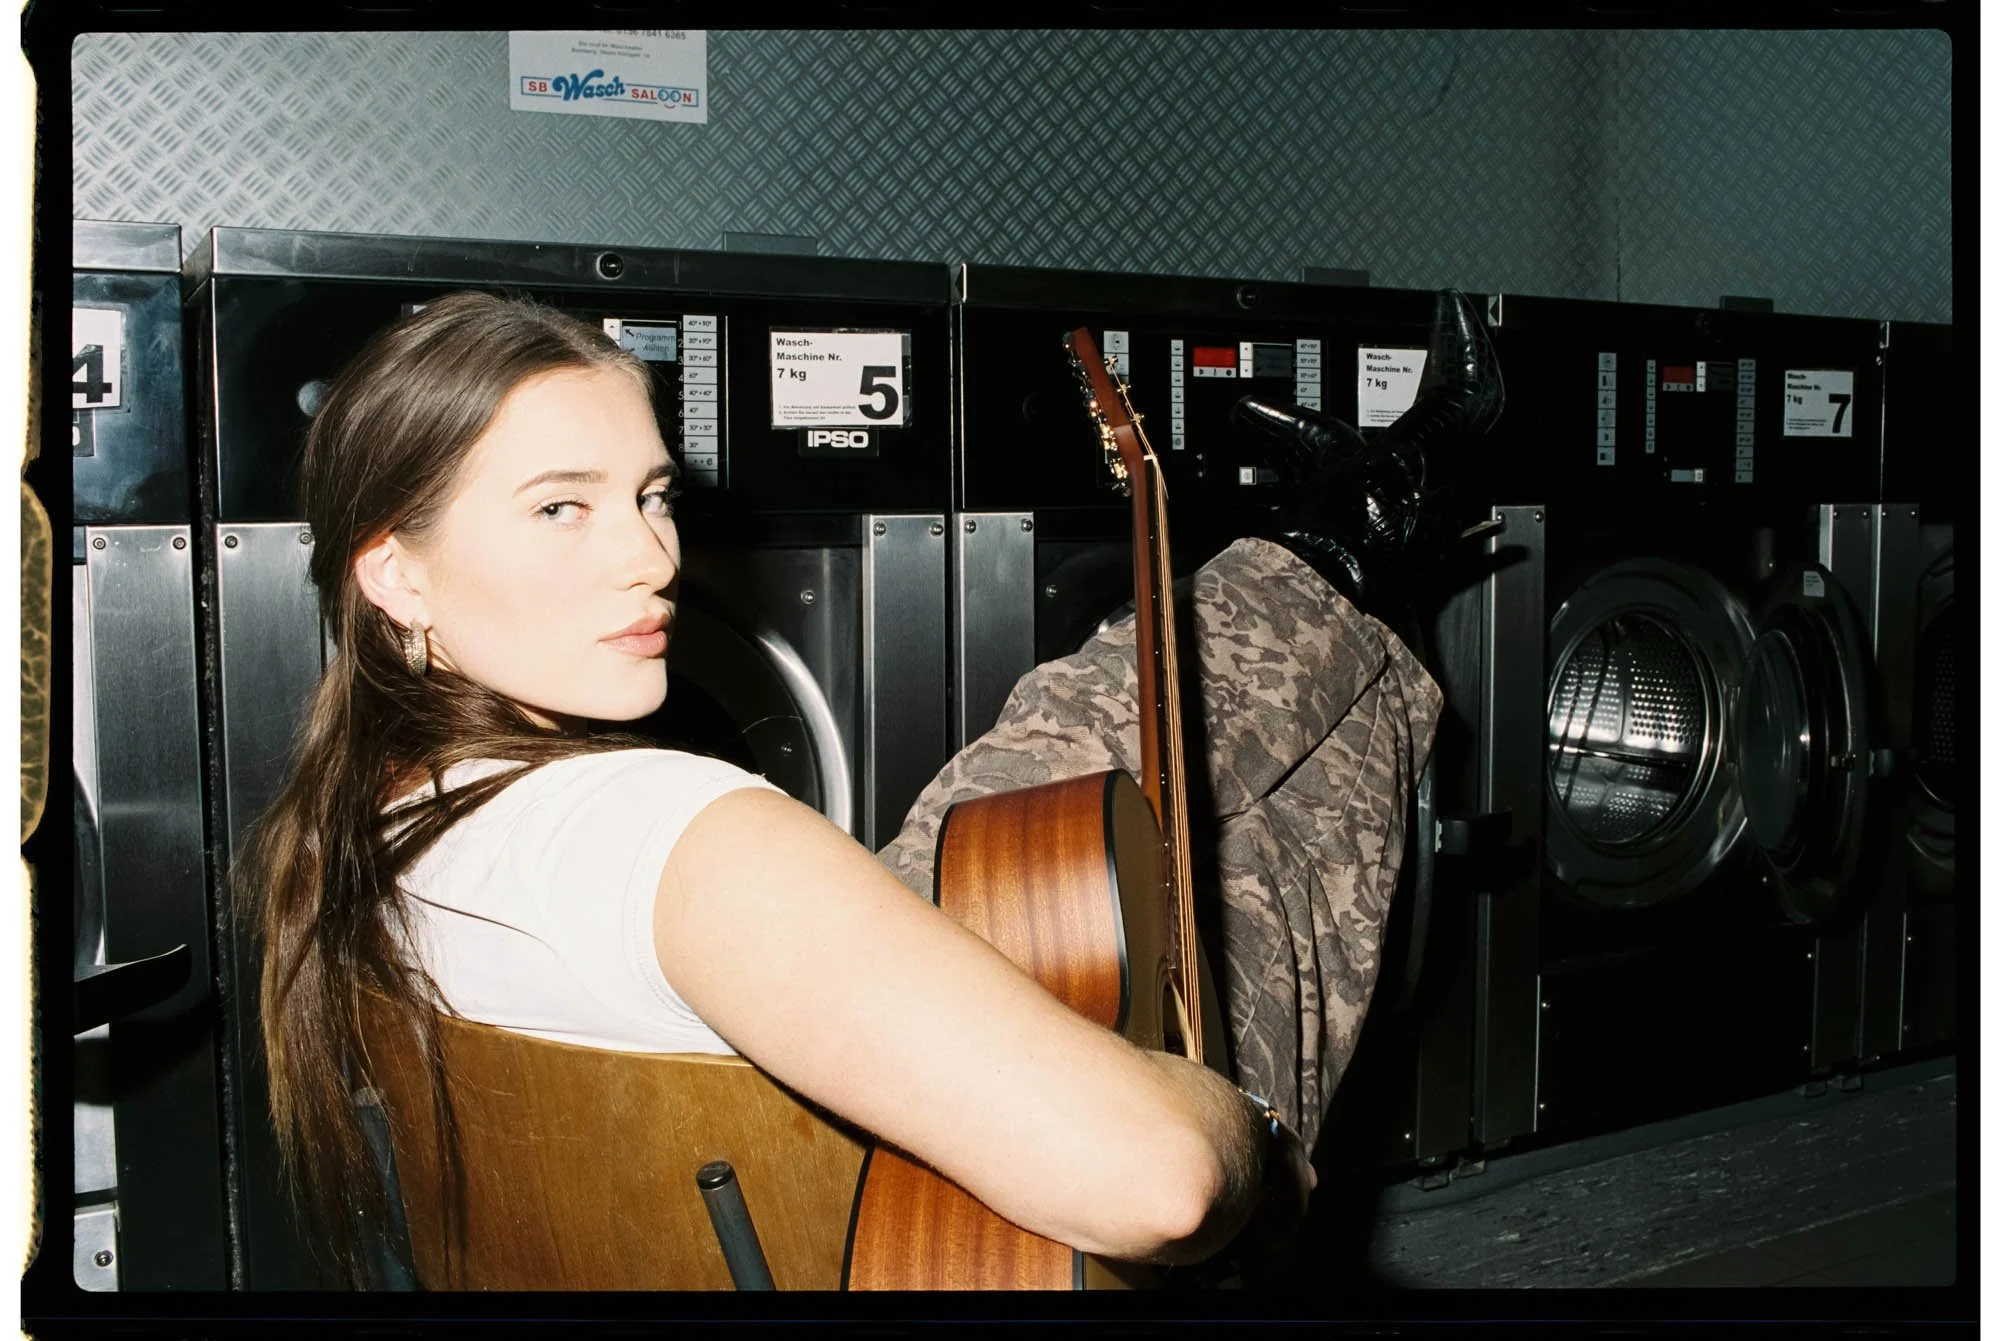
The main downside? It demands a lot of power and can eat through batteries quickly.
CAUTION: Older units (specifically early Metz 45 CT-1 models up to serial number 534,000) feature an extremely high trigger voltage of up to 600 volts. Do NOT plug these directly into cameras that cannot handle high voltages without using a safe sync adapter. It’s always a good idea to measure this or have it measured. Just to be sure.
On top of that, the contacts inside the vintage battery cage have, more often than not, been eaten away by leaking battery acid over the years. Luckily, there is a very easy fix for that.
Upgrading the Metz Mecablitz 45 for Modern Use
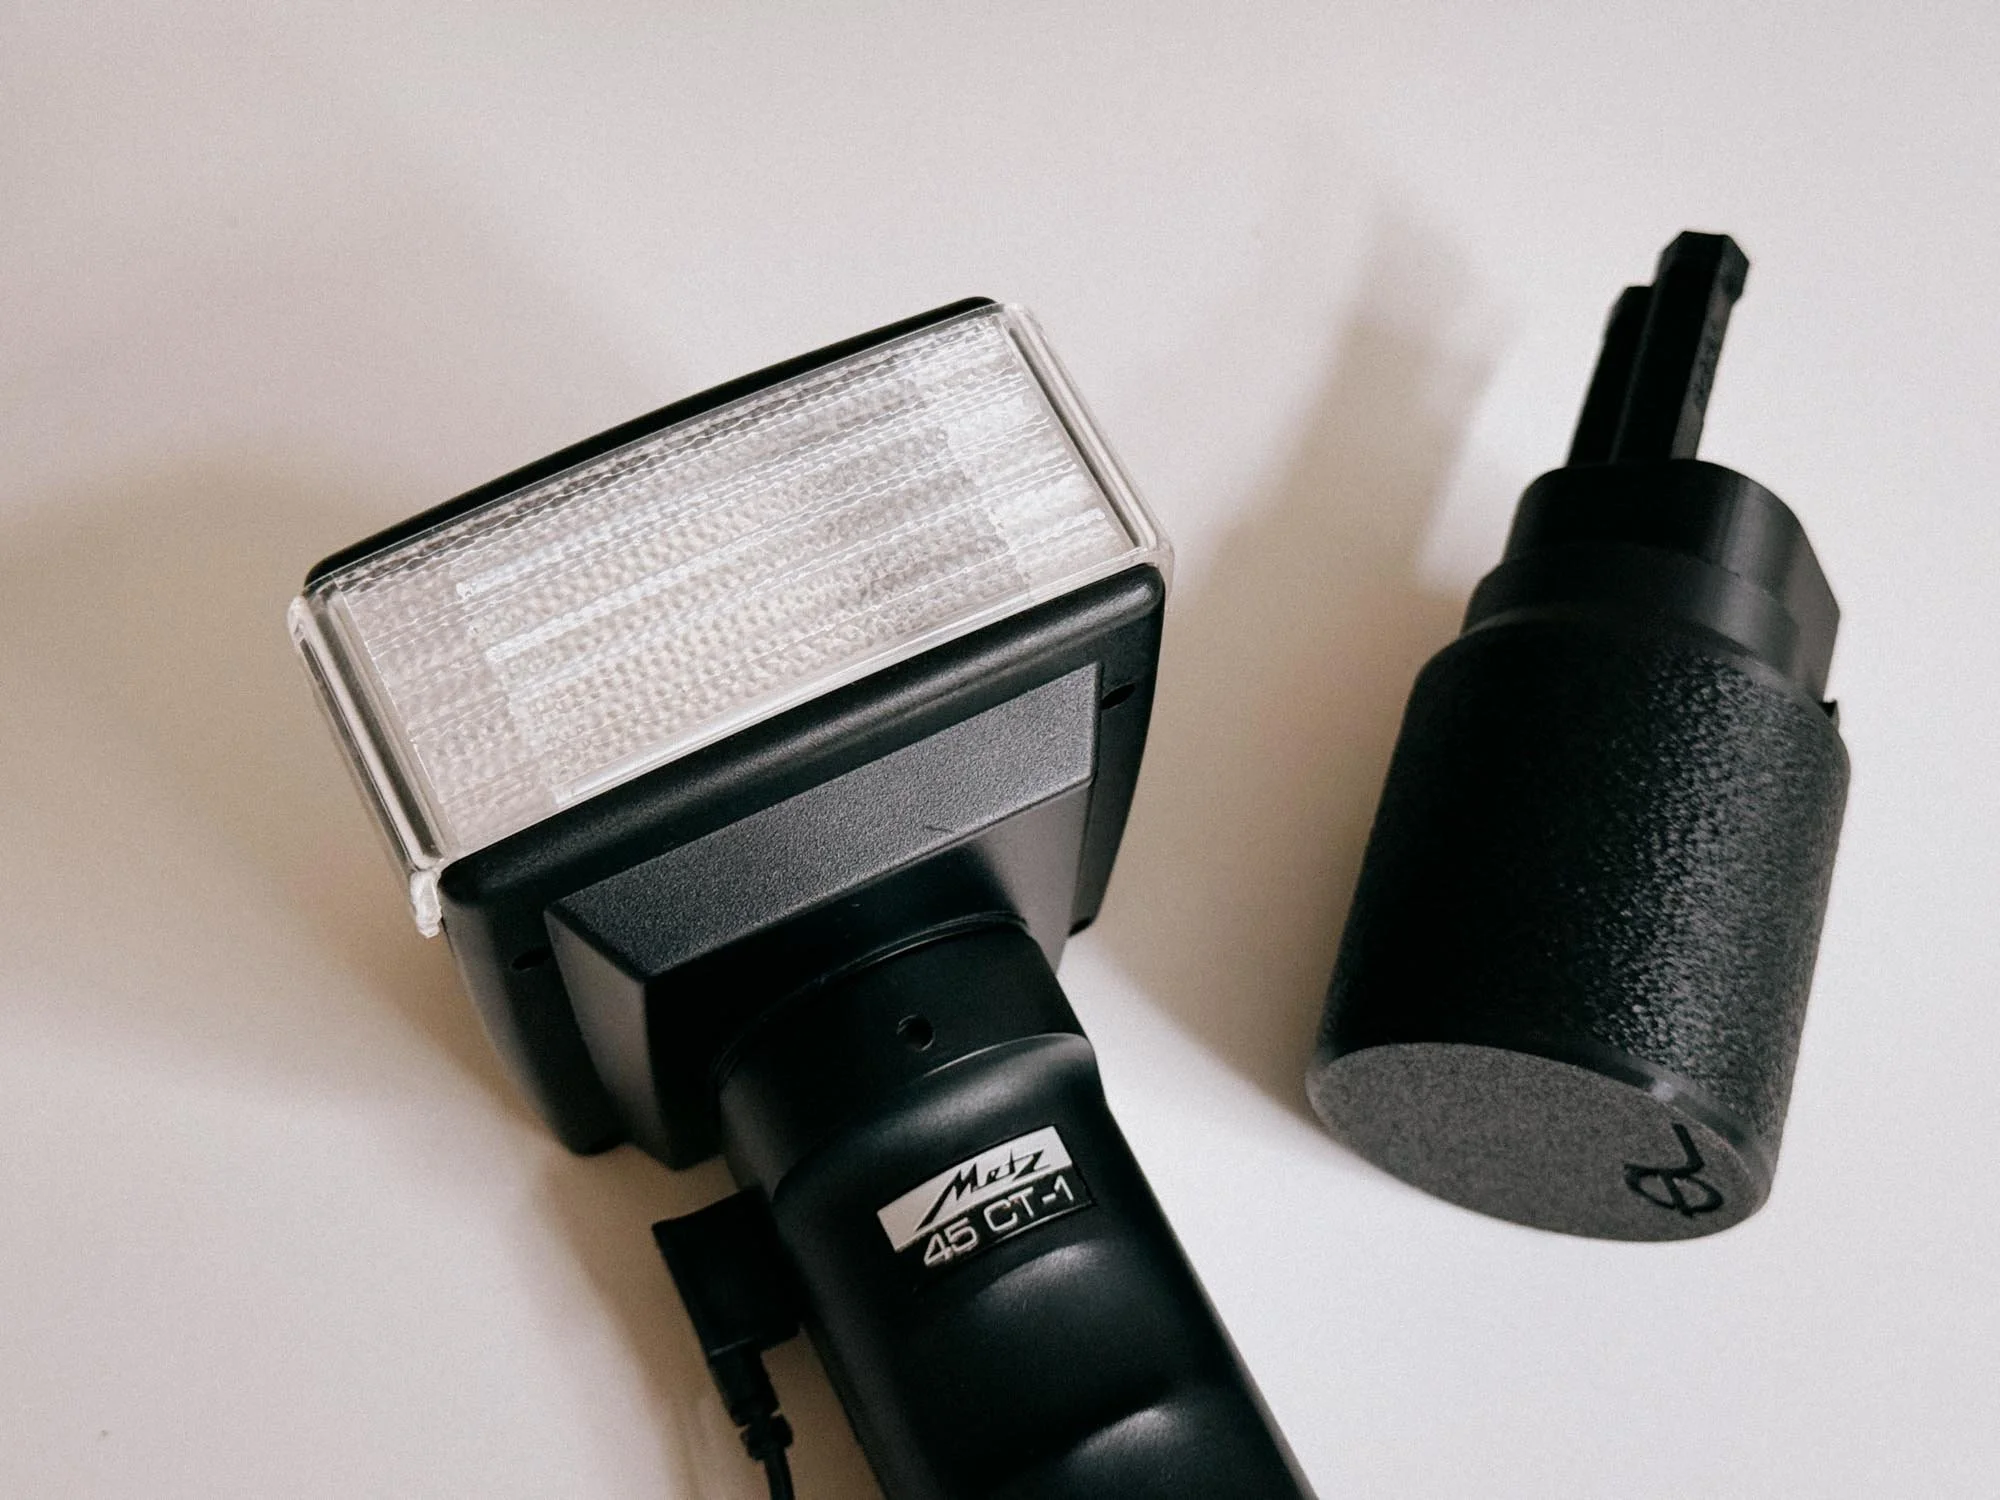
Metz 45 CT-1 With The Ausgeknipst Battery Cage
As my battery cage was rotten i was searching the web to find an old replacement. Luckily i stumbled over ausgeknipst.de. Besides Spareparts and Digitizing gear, they sell a 3D printed battery cage that is a direct replacement to the original.
You can get the cage in two variants. A Ni-Mh-Version (7,2 V) for 1,2-V-recharcheable batteries like Eneloop, and an Alkaline-Version (9 V) for 1,5-V-Batteries.
I purchased the 9V Alkaline version, (you can get it here) as i did not want to run into the risk of not having recharged them and therefore being unable to use the flash out in the field. Though the Eneloop versions offers quicker flash recharching times. The recycle times for the AA Alkaline batteries are 0,3 - 15 seconds. 0,3 Seconds for close range in Auto and 15 seconds for full power.
Two days later, the package arrived. I loaded it with six alkaline batteries and the flash was ready to go. The fit and finish are great. No slack, no brittleness like the original. Just sturdy, heavy-duty plastic. I’ve used the Metz 45 CT-1 on several professional shoots now and it has never let me down. With recycle times averaging out at around 2-5 seconds. But looking back i might invest in the recharcheable Eeneloope version as the Metz flash eats through AA batteries rather quickly.
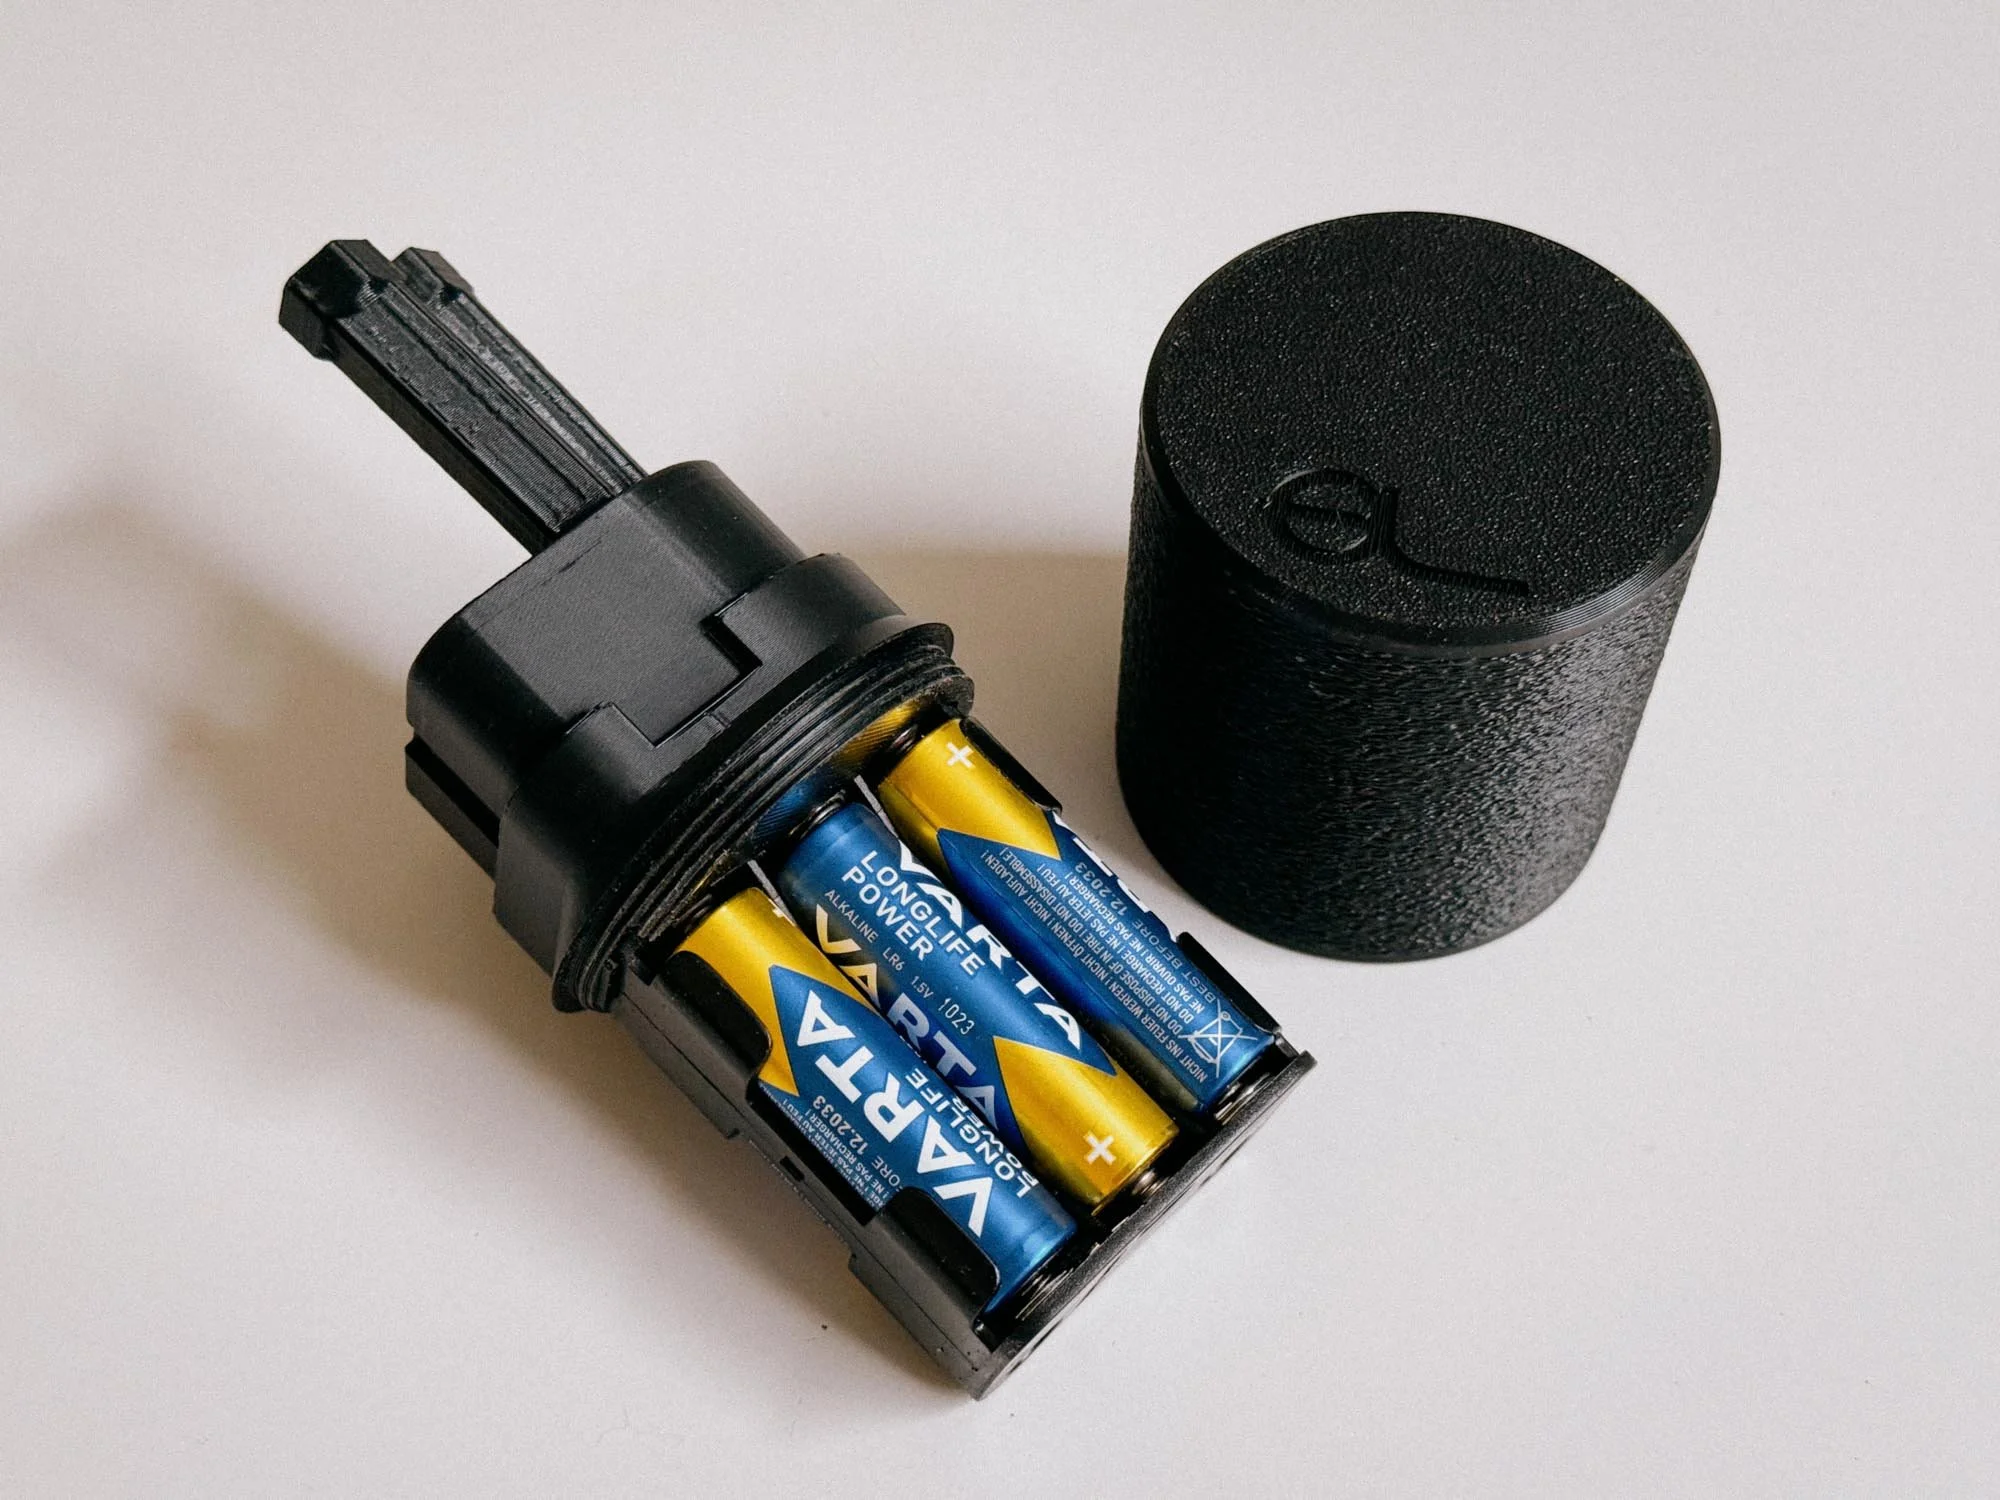
The Sturdy Ausgeknipst Battery Cage
(Disclaimer: I am not affiliated with Ausgeknipst in any way, they make great stuff, from prefitted foam sealings to scanning equipment. Please check out their webpage!)
Gallery:


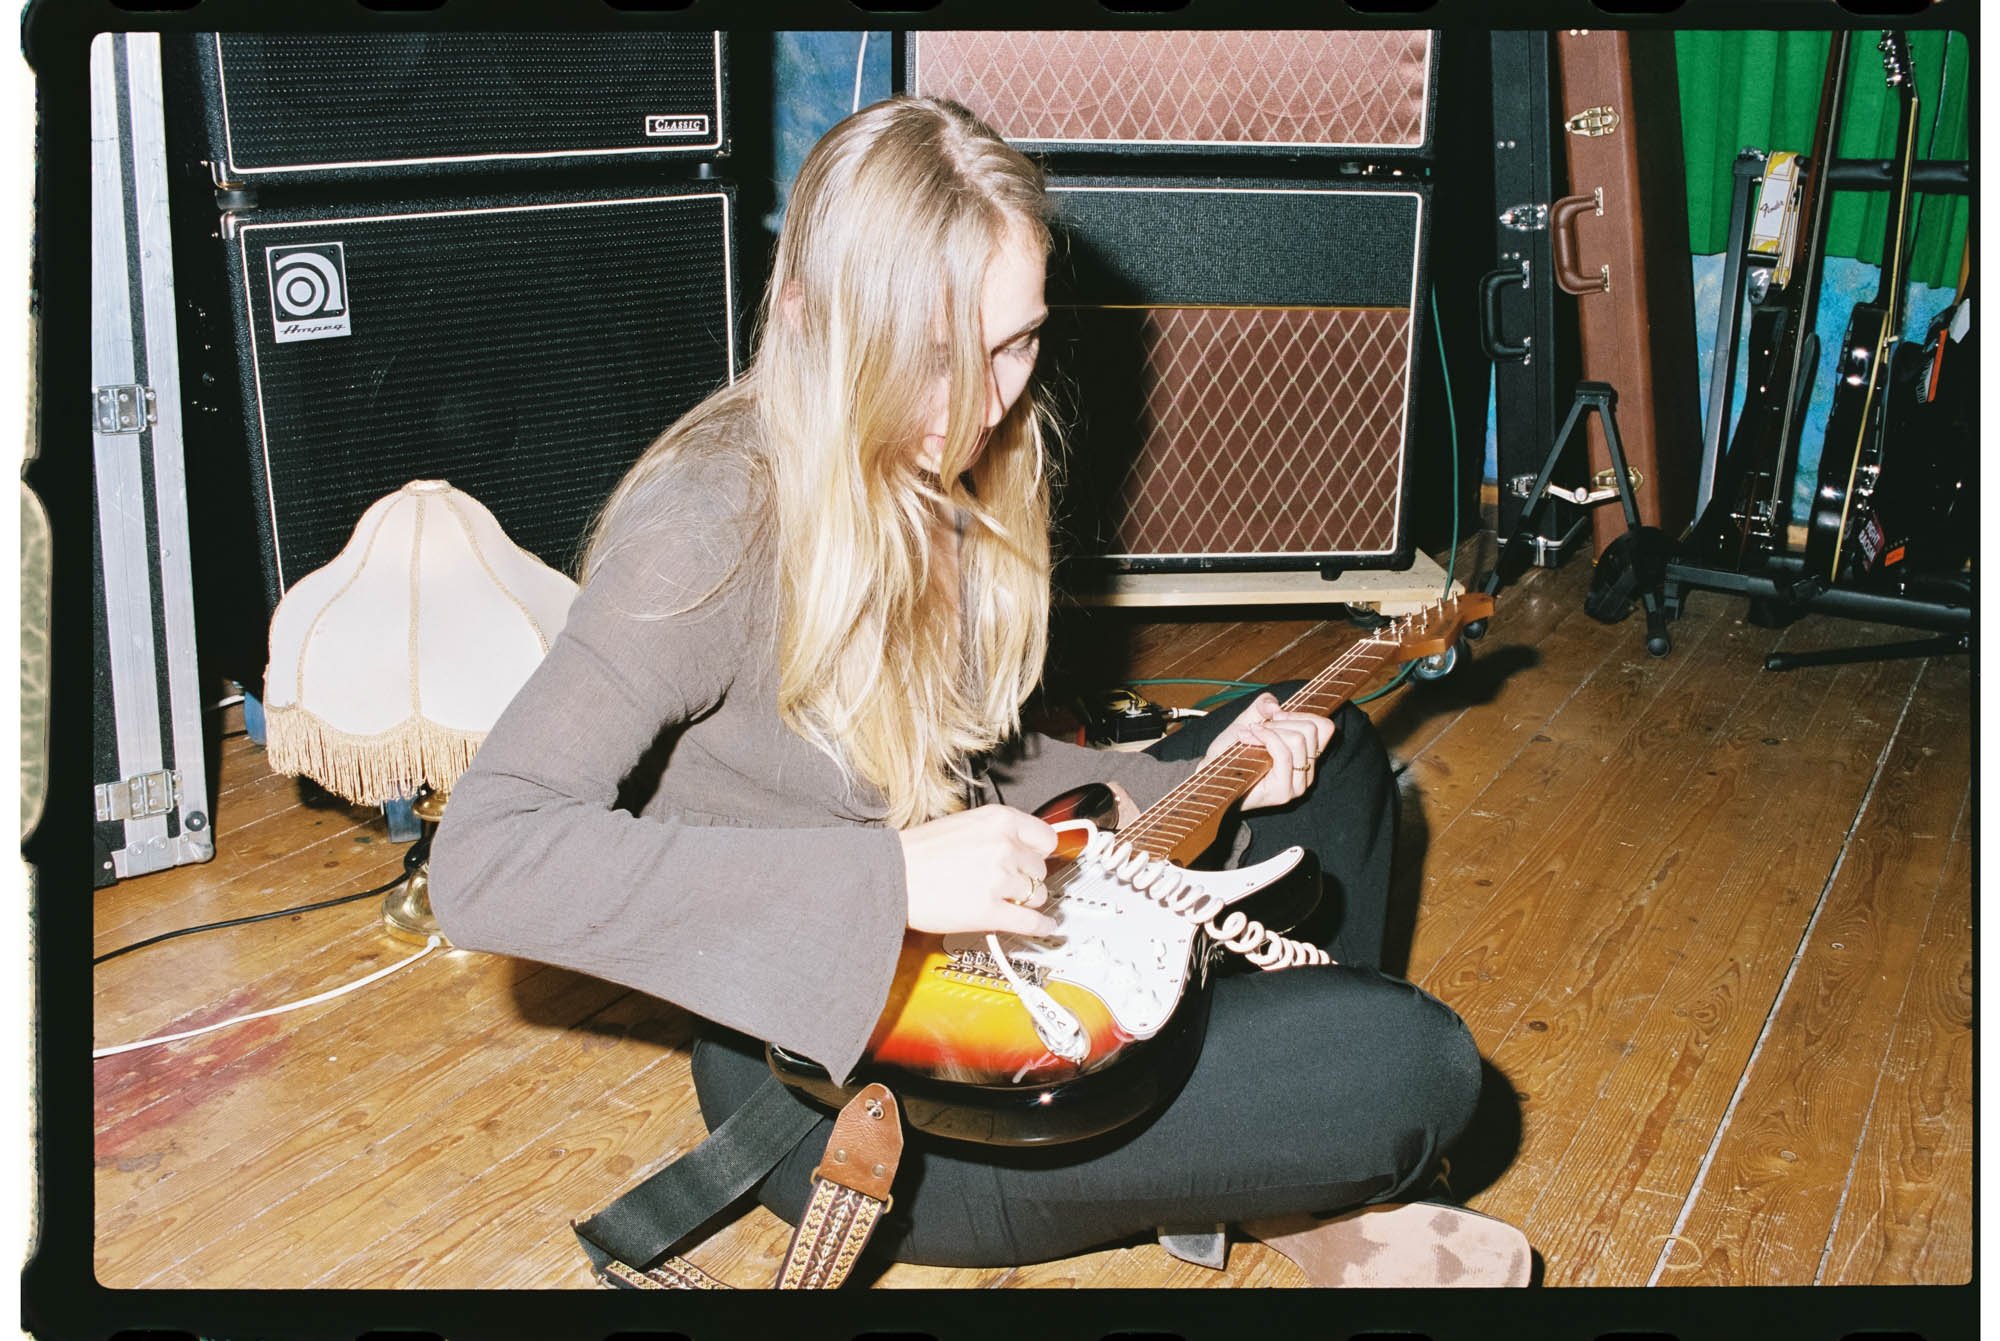
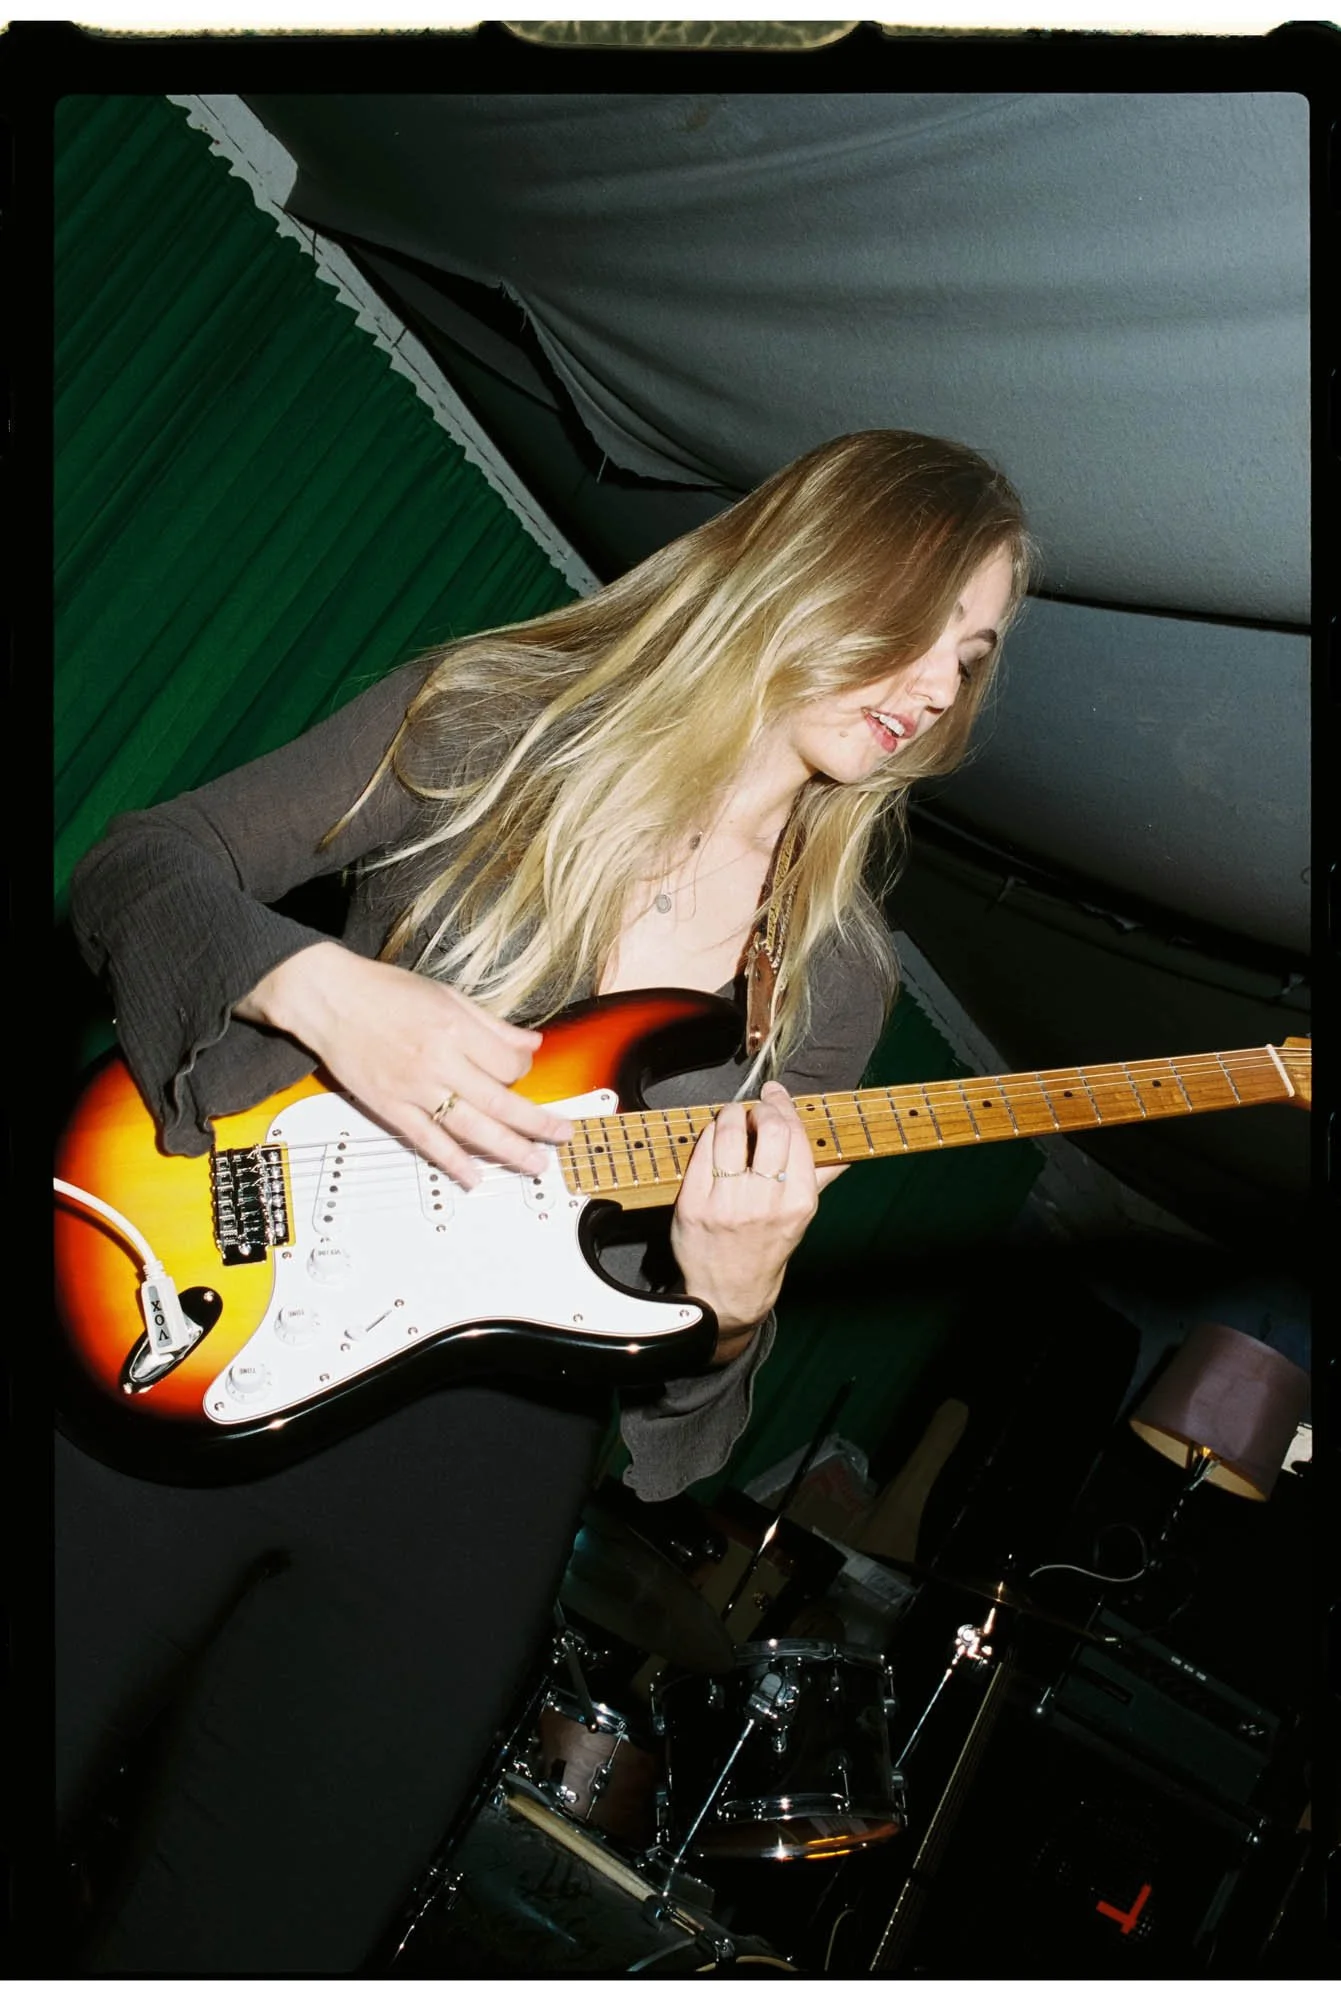
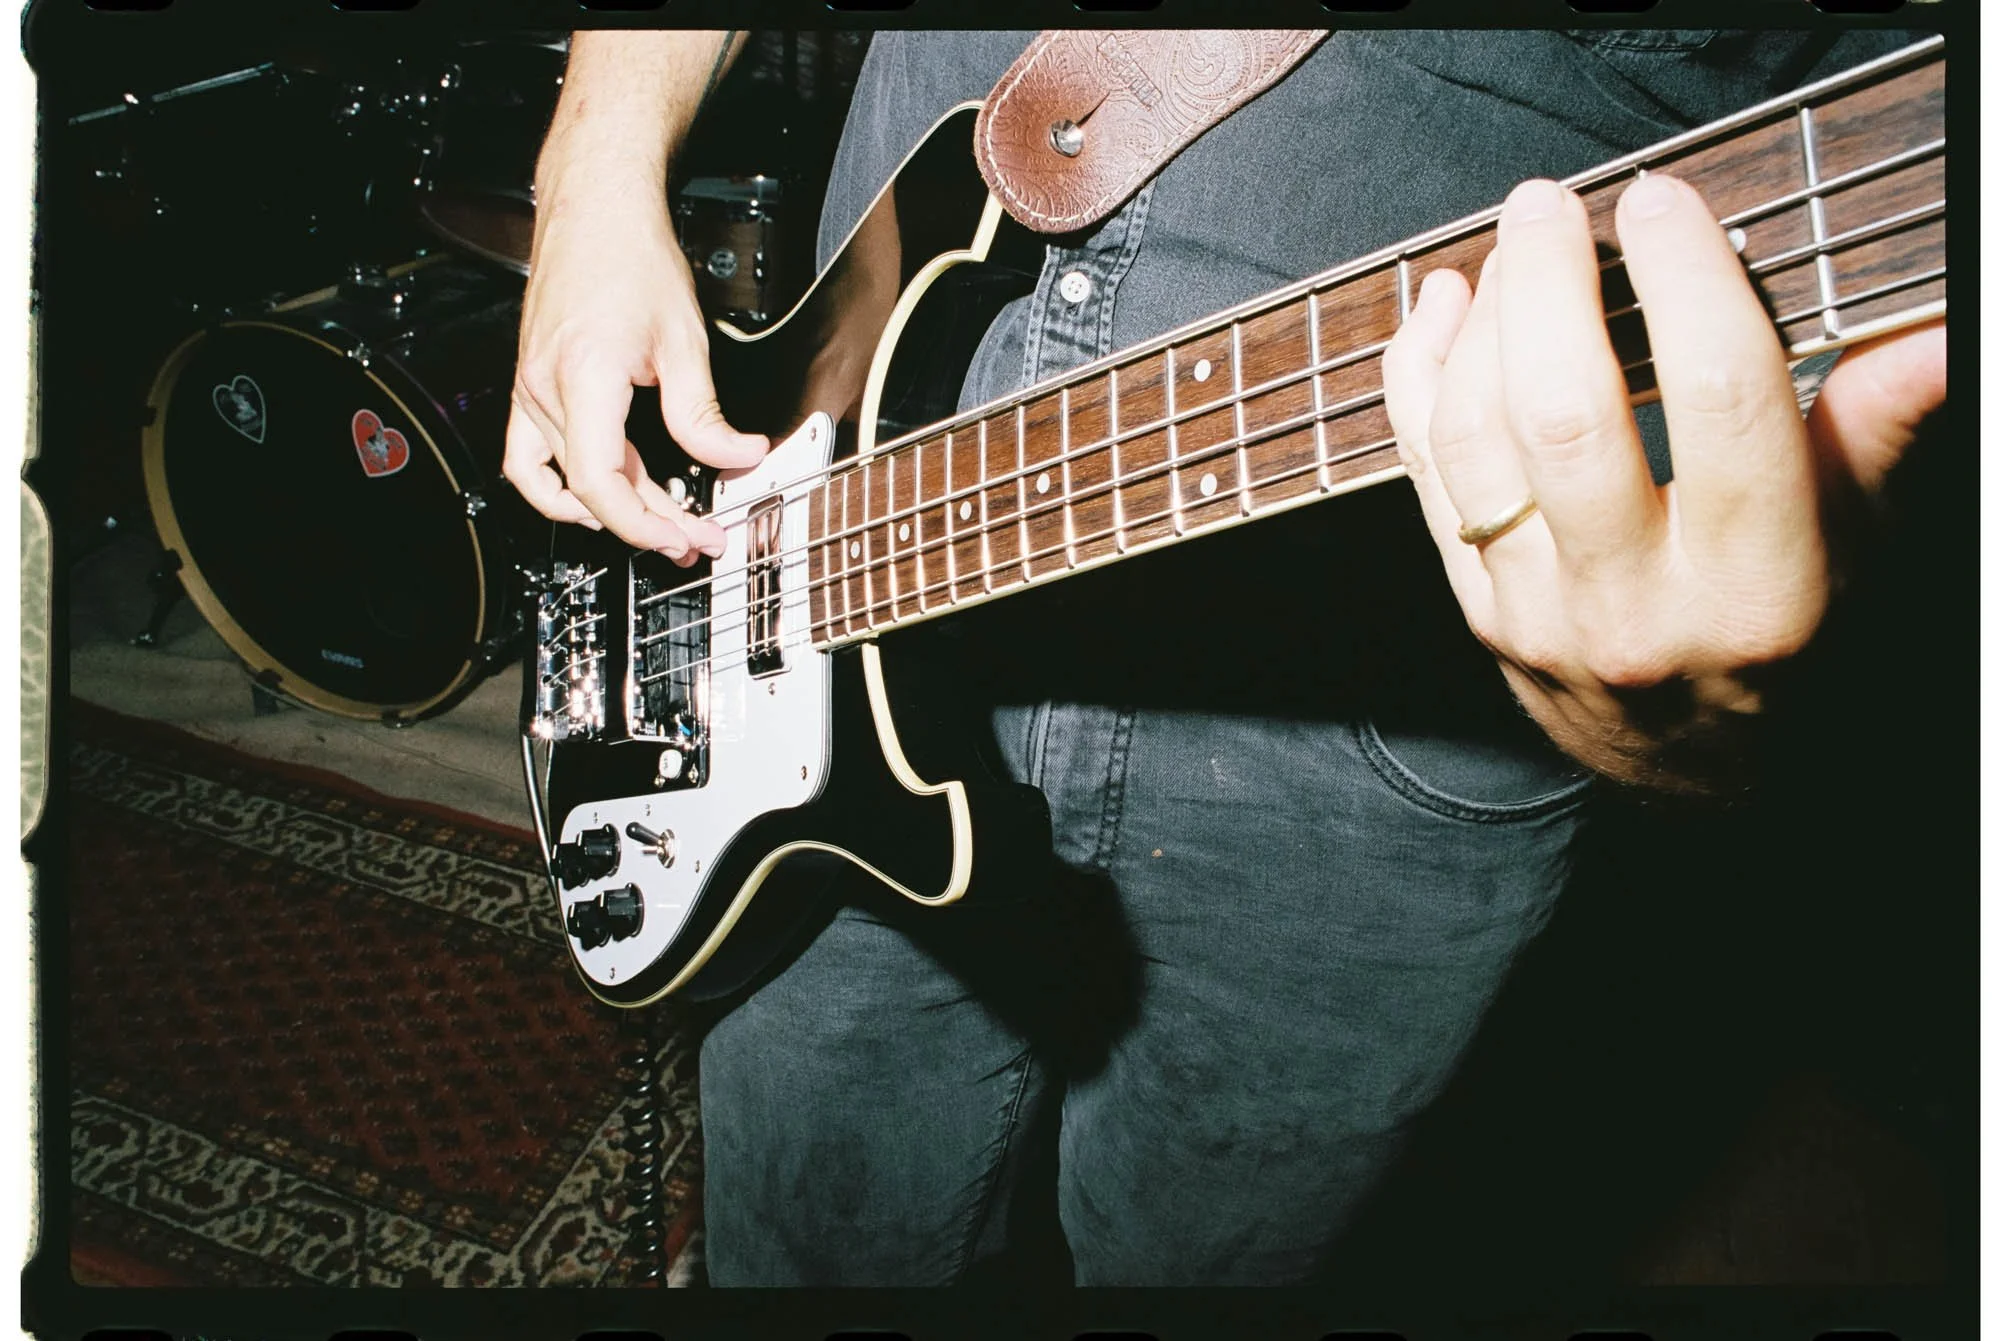
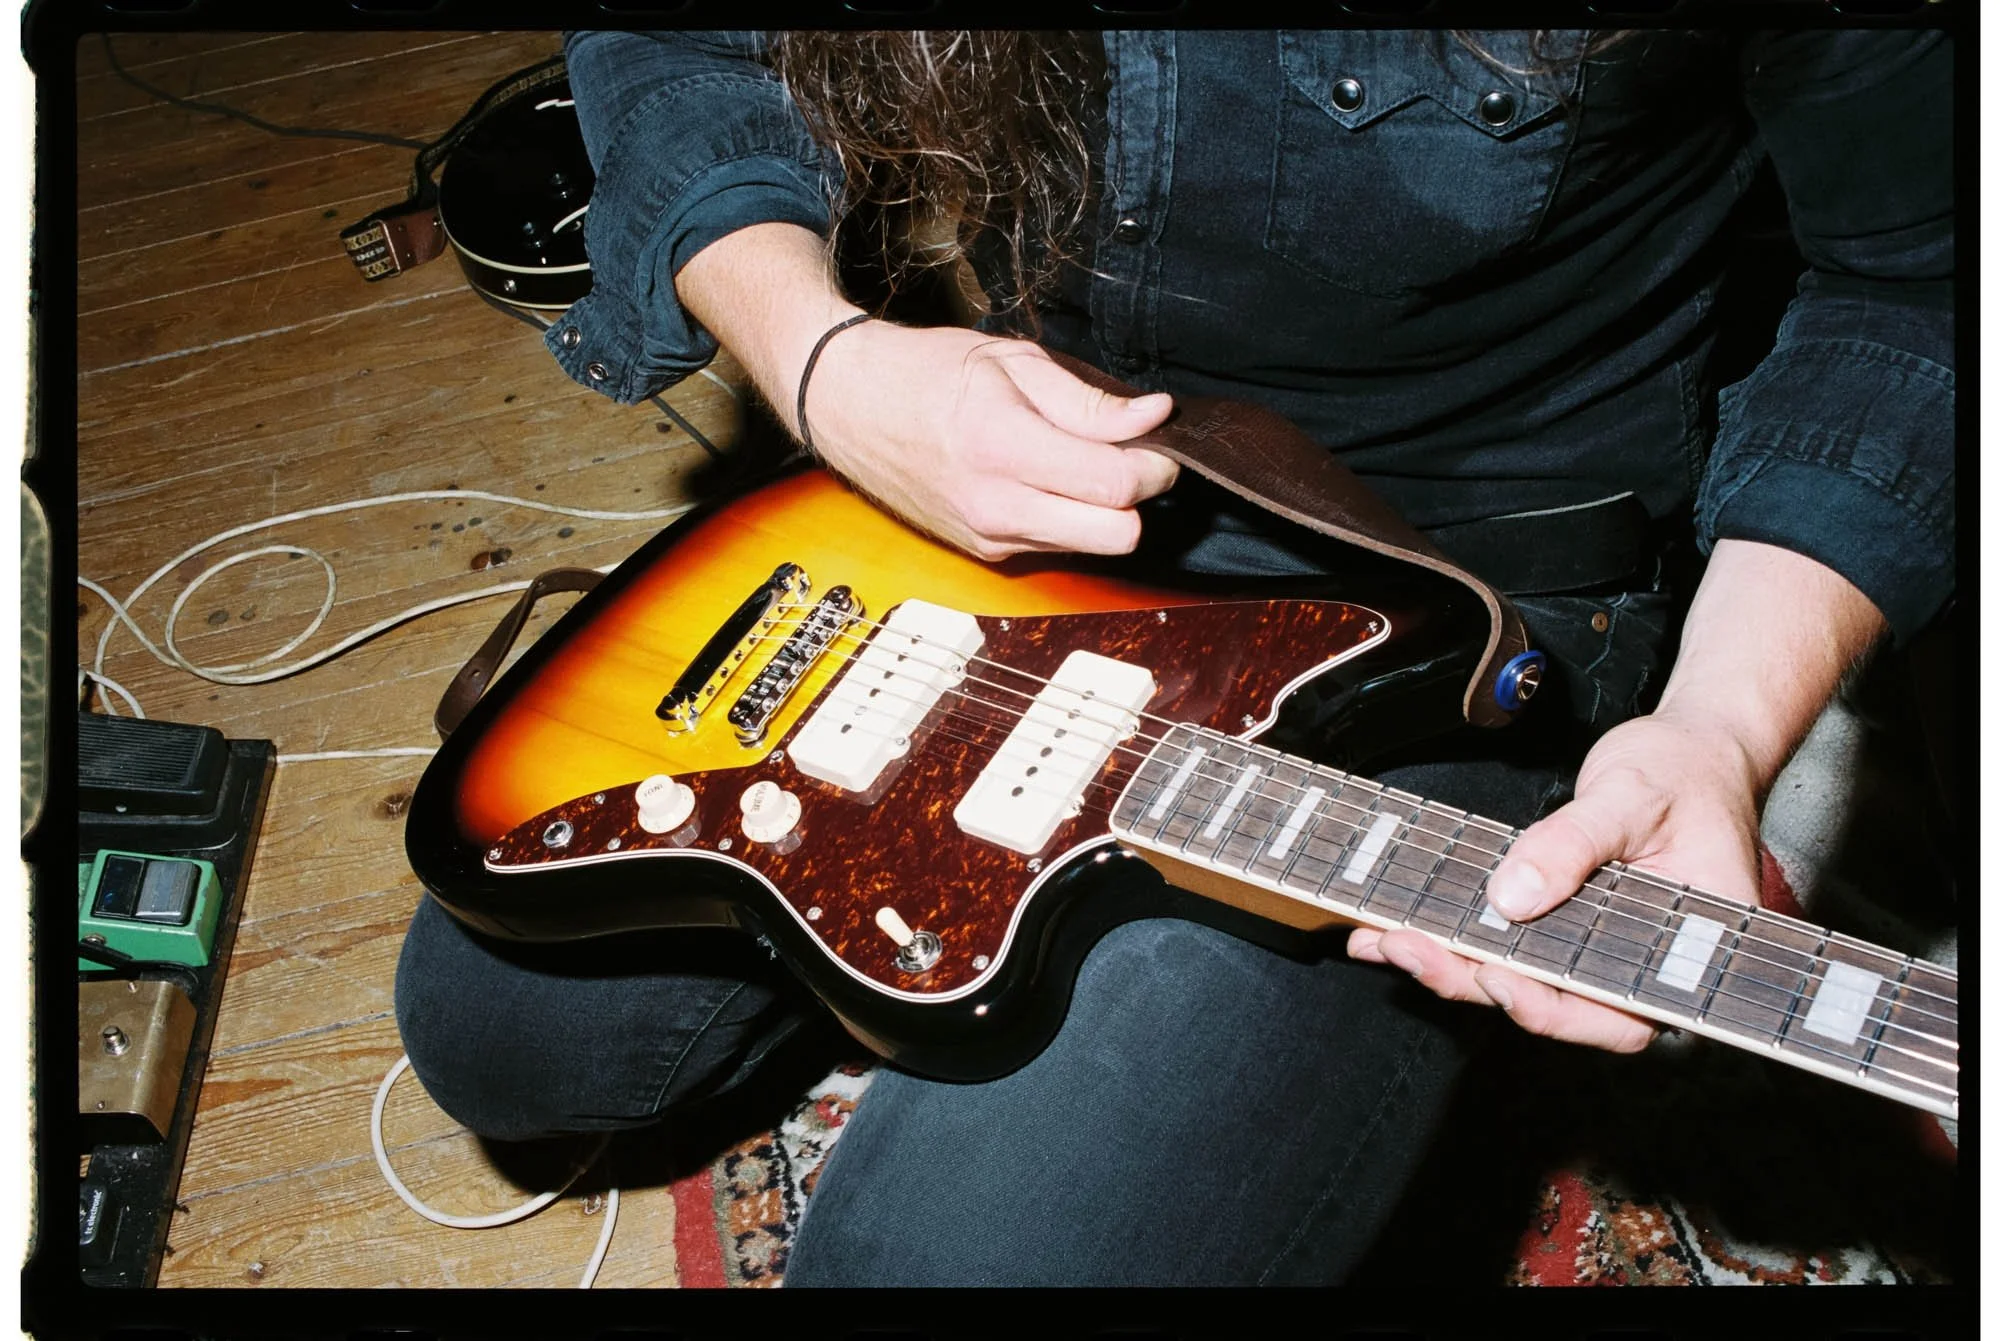
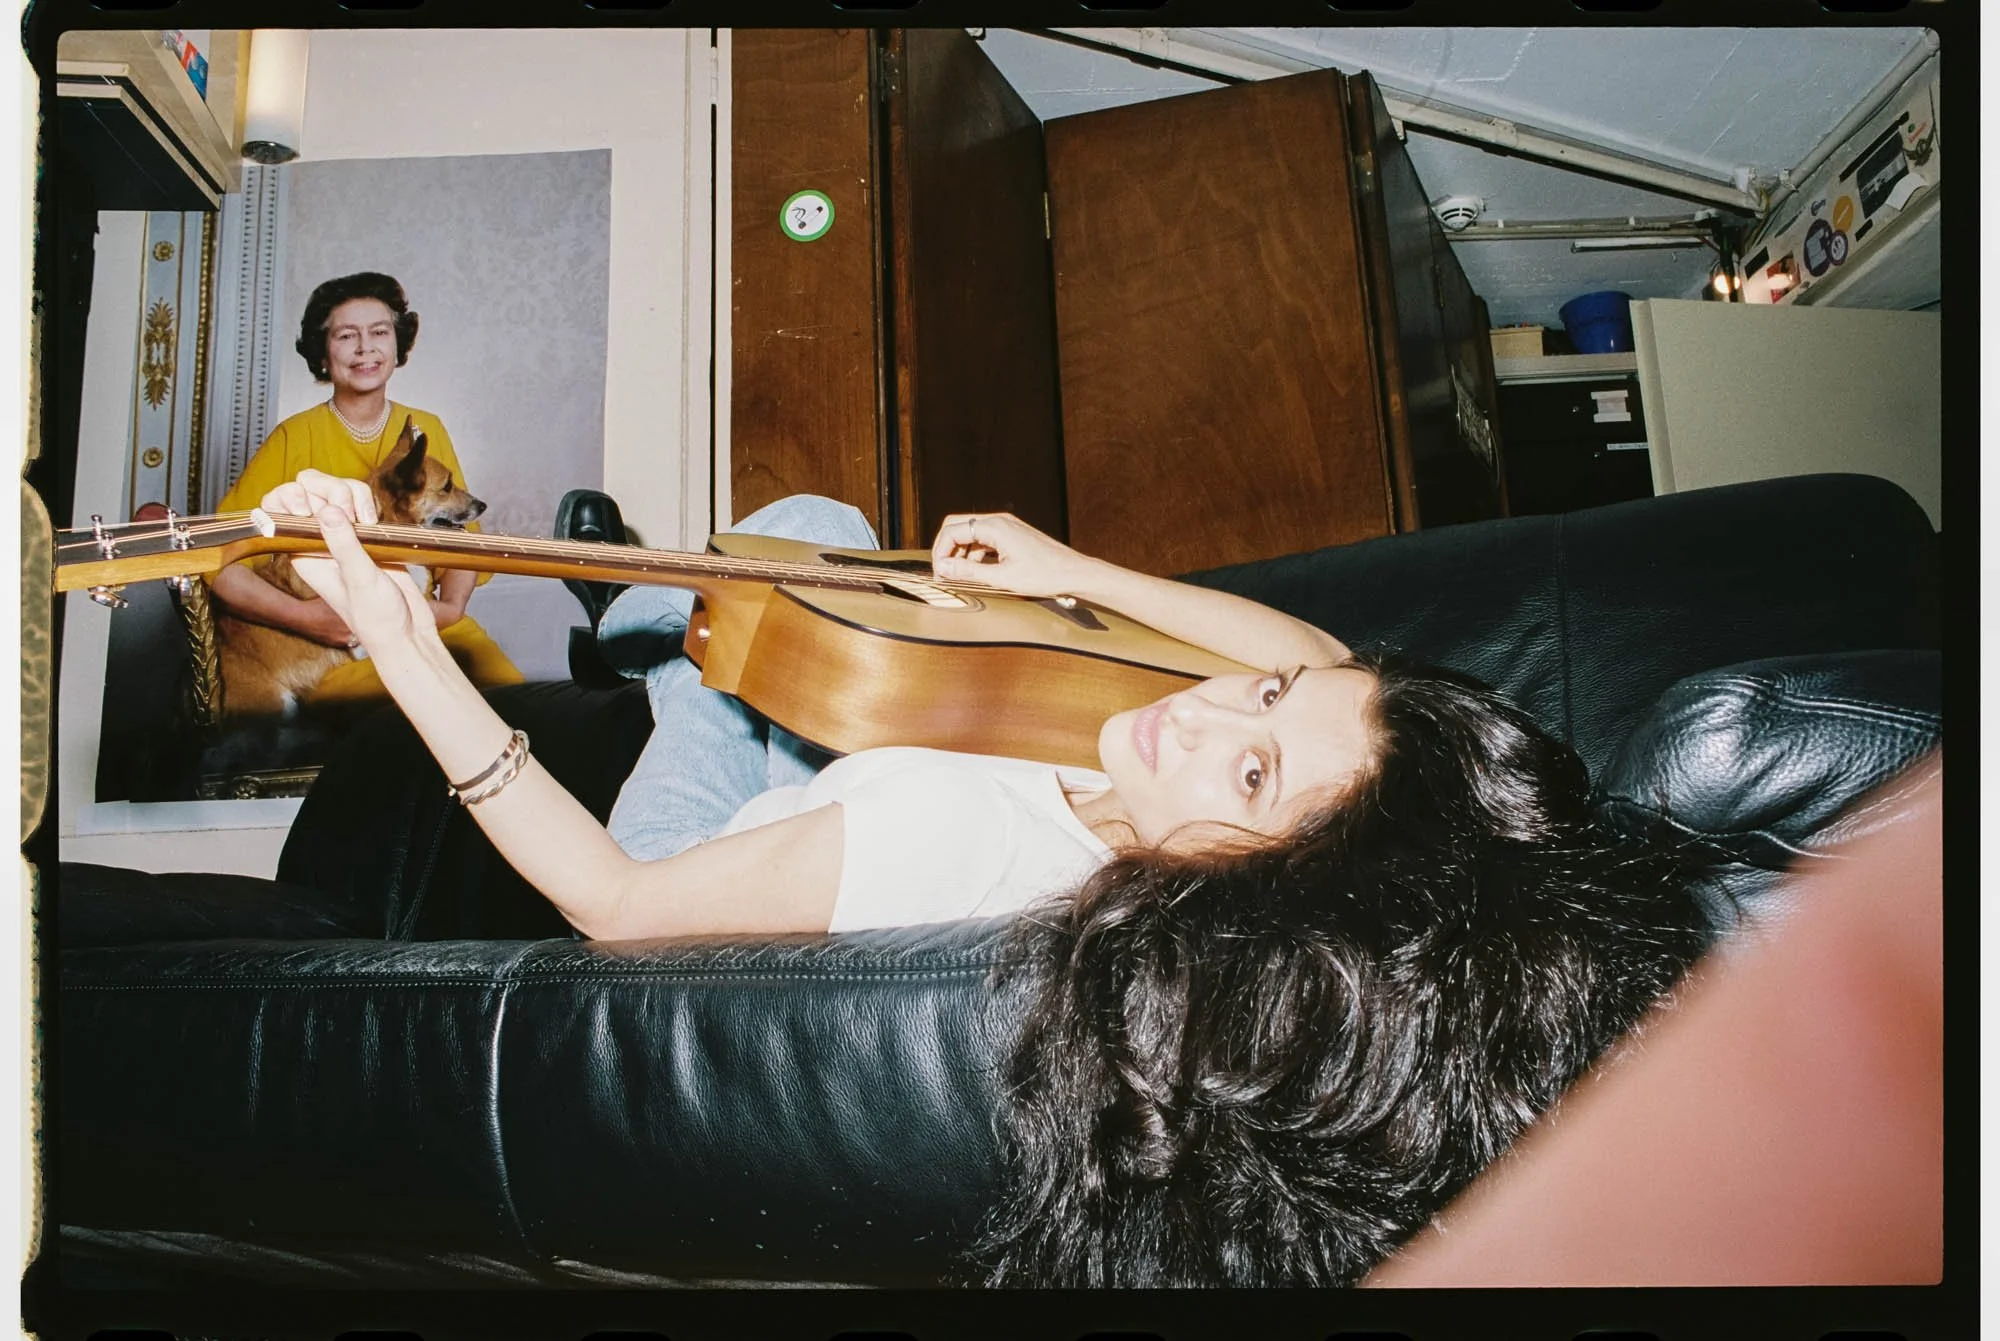

Verdict:
I love shooting with flash. It’s great to just have one in your bag to capture cool scenes at a friend's party or create edgy, fashion-style pictures. The list of creative uses is endless and is an entirely different topic altogether. I hope this guide helped you try out flash photography for yourself. It’s really not that hard, if I can do it, so can you.
Enjoyed this? You might also like:
If you found this article helpful, check out my other deep dives into the world of expired emulsions and color recovery:
Forget the Mju-II: Why the Olympus AF-1 is the Best Point & Shoot Under $100
How to Edit Expired Slide Film: A Technical Guide to Rescuing E-6 (Ektachrome 64T)
Nikon F Review (2026): Shooting the Indestructible 35mm Legend
FPP Retrochrome 400 Review: Shooting High-Speed Surplus Slide Film
422 Meters of Frozen Gold: The Expired Ektachrome Heist Part I
422 Meters of Frozen Gold: The Expired Ektachrome Heist Part II
Embrace the Blues: Why Ektachrome shifts cooler and how to handle it
Minolta SR-101 (SRT 101) Review: The Ultimate Mechanical SLR in 2026?